Strawberry Truffles
A Delicious Journey: Rediscovering Strawberry Truffles
Nestled in between the pages of my grandmother’s well-worn recipe book, I stumbled upon a simple yet beguiling entry: Strawberry Truffles. The memory of her sunlit kitchen, where the air was perpetually sweet with the scent of baking, inspired me to recreate these delightful morsels. These Strawberry Truffles are a testament to how something simple can bring immense joy. Perfect for a cozy weekend bake or a special treat, they encapsulate the joy of cooking and sharing with those you love.
The Magic Behind Strawberry Truffles
Why This Recipe Works:
The allure of these Strawberry Truffles lies in their rich flavor profile and ease of preparation, making them a delightful addition to any dessert table.
Rich Flavor Profile: The combination of vanilla cake mix and tangy freeze-dried strawberries creates a delightful contrast that is both sweet and refreshingly fruity. The freeze-dried strawberries provide a concentrated burst of strawberry essence, unmatched by fresh strawberries, preserving the dough’s integrity and enhancing the overall taste.
Creamy Texture: With cream cheese as a base, these truffles achieve a luscious, melt-in-your-mouth consistency. The cream cheese not only enriches the texture but also balances the sweetness of the cake mix and strawberries, ensuring each bite is perfectly smooth.
Ease of Preparation: No need for complicated techniques; these truffles are straightforward, making them accessible for home cooks of all levels. This simplicity is key for those who wish to enjoy gourmet-quality desserts without the fuss.
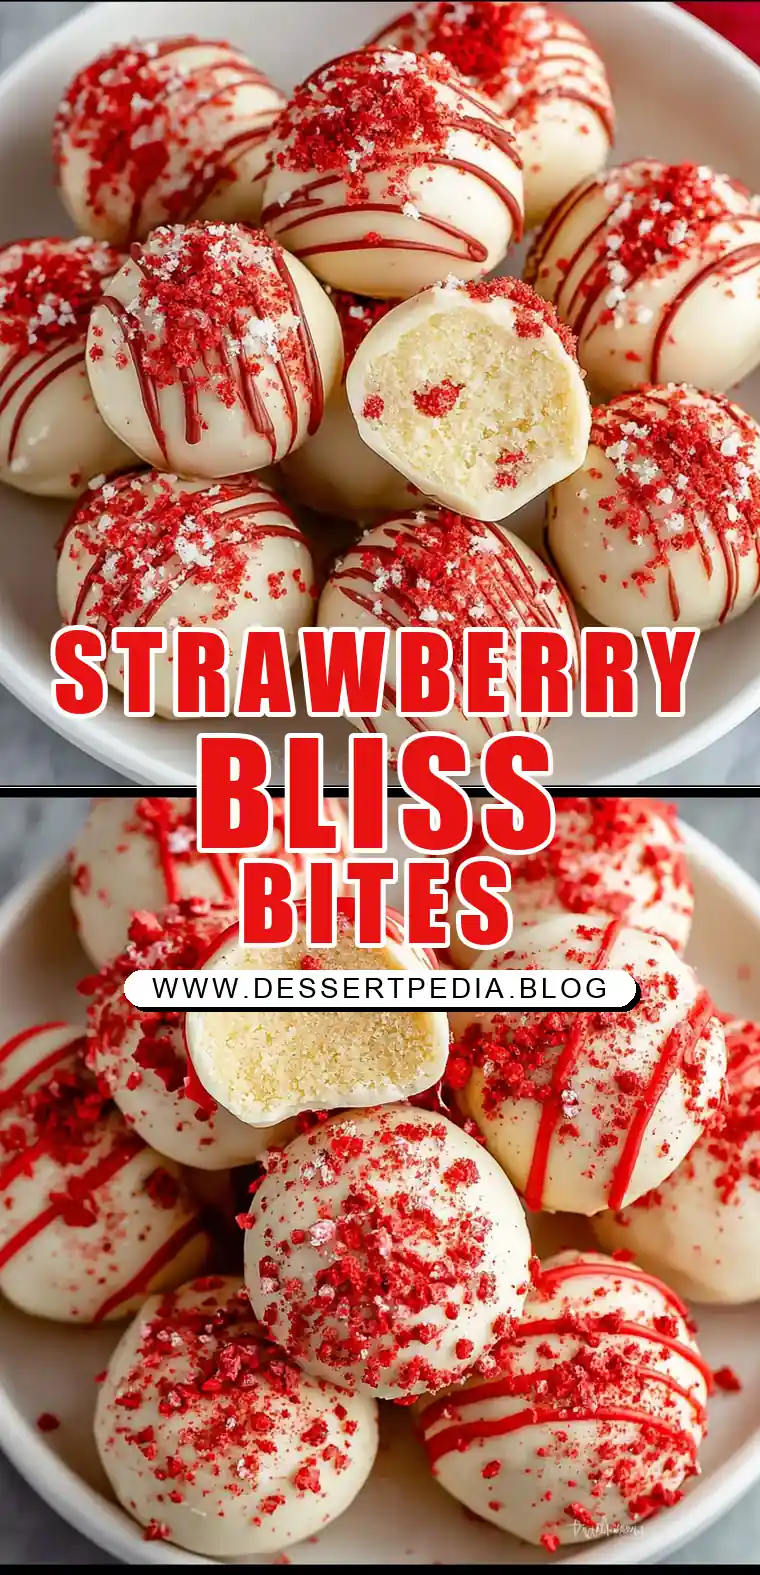
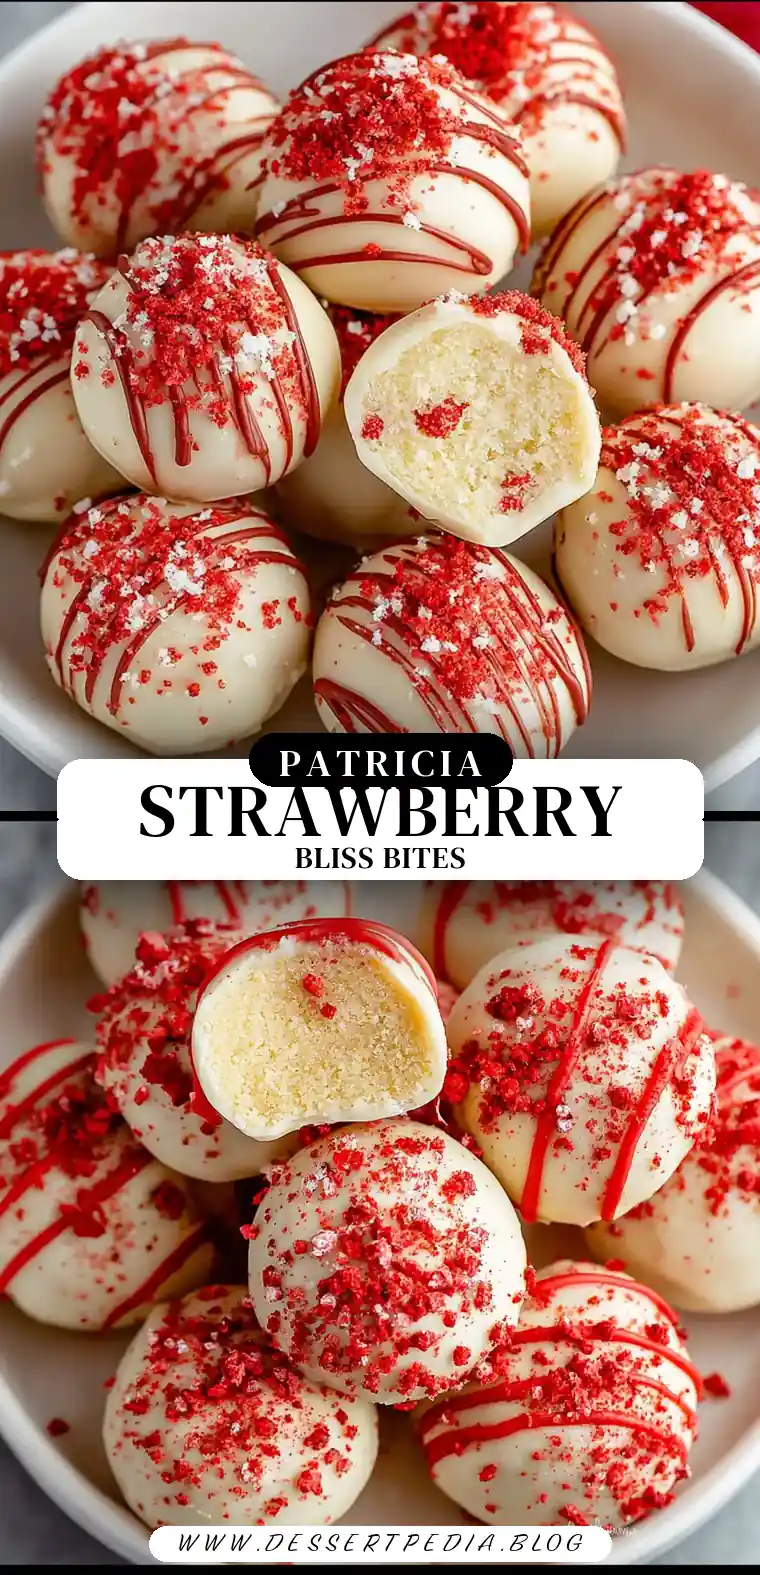
Visual Appeal: The vibrant red drizzle from the candy melts and the sprinkle of crushed strawberries make them irresistible to the eye. This aesthetic appeal is perfect for impressing guests or simply delighting in the beauty of your own culinary creations.
Versatile Treat: Perfect for gifting, sharing at gatherings, or simply enjoying as a personal indulgence. They fit seamlessly into any occasion, from casual family meals to elegant parties.
Ingredients: A Symphony of Flavors
- 15.25 ounce vanilla cake mix: Heat-treated to ensure safety. This forms the base of the truffle, lending a subtle vanilla backdrop.
- 8 ounce cream cheese: Softened to room temperature for easy mixing. It acts as the glue, binding all ingredients into a cohesive dough.
- ½ cup freeze-dried strawberries: Roughly chopped to incorporate bursts of flavor. These are the stars of the show, providing an intense strawberry punch.
- 20 ounces vanilla melting wafers: Ghirardelli recommended for smooth coating. A quality coating ensures the truffles have a professional finish.
- ½ cup red candy melts: Wilton, for decorative drizzle. These add a pop of color, making the truffles as delightful to look at as they are to eat.
- Crushed freeze-dried strawberries: For topping, adding texture and visual appeal. They serve as both garnish and additional flavor.
Step-by-Step Instructions: Crafting the Perfect Truffle
The process of making Strawberry Truffles is as rewarding as the end product. Here’s how to craft these delightful treats:
Heat Treating the Cake Mix:
Preheat your oven to 350°F and line a baking sheet with parchment paper. Spread the cake mix powder on the sheet and bake for 5 minutes. Allow it to cool completely on a wire rack. This step is crucial for food safety, as it eliminates any potential bacteria in the raw mix.Preparing the Truffle Dough:
Beat the softened cream cheese in a medium mixing bowl until smooth. Fold the cooled cake mix into the cream cheese using a spatula, then mix on medium-high speed until a dough forms. Incorporate the chopped freeze-dried strawberries thoroughly. The mixing process is essential for ensuring a uniform distribution of flavors.Chilling the Dough:
Cover the dough with plastic wrap and refrigerate for 2 hours. This step is crucial for easy handling and rolling. The chilling process allows the dough to firm up, making it easier to shape into balls.Shaping the Truffles:
Line two baking sheets with parchment paper. Use a 1 ½ tablespoon cookie scoop to portion the dough, rolling each into smooth balls. Allow them to rest for 15 minutes. This resting period helps the truffles maintain their shape during coating.Coating the Truffles:
Melt the vanilla wafers using a double boiler or microwave. Dip each truffle using a fork, let excess coating drip off, and place them on the lined sheets. Sprinkle half with crushed freeze-dried strawberries before the coating sets. The coating process is where the truffles gain their professional appearance.Adding the Finishing Touches:
Melt red candy melts and drizzle over the remaining truffles. Let them set completely before serving. This final touch adds an artistic flair, highlighting the truffles’ homemade charm.
Nutritional Insights
Prep Time: 15 minutes
Cooking Time: 5 minutes
Total Time: 20 minutes
Yield: 4-6 Servings
Table: Calorie Breakdown for a Typical Serving
| Nutrient | Amount |
|---|---|
| Calories | 321 kcal |
| Carbohydrates | 41 g |
| Protein | 4 g |
| Fat | 15 g |
| Sugar | 31 g |
These truffles are a delightful indulgence, perfect for satisfying your sweet tooth with a moderate portion size.
Patricia’s Tips for Success
Creating the perfect Strawberry Truffle involves a few key techniques and tips:
- Tip 1: Ensure the cream cheese is fully softened to avoid lumps in the dough. This ensures a smooth, creamy texture.
- Tip 2: Allowing the truffles to rest before coating helps prevent cracking. This rest period stabilizes the dough.
- Tip 3: Use high-quality melting wafers for a smooth finish. The quality of the coating affects both taste and appearance.
- Tip 4: Maintain a steady low heat when melting wafers to prevent burning. Patience is key to achieving the perfect melt.
- Tip 5: If the dough feels too sticky, lightly dust your hands with powdered sugar when rolling. This trick makes shaping easier.
- Tip 6: Experiment with different candy melt colors for festive occasions. Customizing colors adds a personal touch.
- Tip 7: Store in an airtight container to keep them fresh and delicious. Proper storage extends their shelf life.
Cooking Variations: Personalizing Your Truffles
- Variation 1: Substitute vanilla cake mix with chocolate for a richer flavor. Chocolate and strawberry are a classic combination.
- Variation 2: Use dark chocolate melting wafers instead of vanilla for a more intense coating. Dark chocolate adds depth and complexity.
- Variation 3: Add a pinch of sea salt to the dough for a sweet-salty combination. Salt enhances the sweetness and accentuates flavors.
Serving Suggestions: Enjoying Your Creations
The versatility of these truffles allows them to shine in various settings:
- Suggestion 1: Serve with a cup of afternoon tea for a delightful pick-me-up. The truffles complement the subtle flavors of tea.
- Suggestion 2: Pair with a glass of champagne at celebrations for an elegant dessert. The bubbles of champagne enhance the strawberry notes.
- Suggestion 3: Include in a dessert platter with assorted fruits and nuts for variety. This creates a balanced array of flavors and textures.
Additional Thoughts: The Joy of Creation
Creating these Strawberry Truffles reminds me of the joy of simple pleasures—the way a homemade treat can light up a room and bring people together. The process is as rewarding as the end result, each step filled with the anticipation of sharing something delightful. These truffles are more than just a dessert; they are a way to connect with cherished memories and create new ones. The act of making and sharing them is a celebration of love and creativity.
Join the Conversation
I’d love to hear your thoughts on this recipe! Did it bring back memories of your own, or inspire you to try something new? Share your experience in the comments below, or tag me on social media with your beautiful creations. Let’s spread the joy of cooking together! Engaging with fellow food enthusiasts is always inspiring and enriching.
Conclusion: A Sweet Symphony
With every bite, these Strawberry Truffles deliver a burst of flavor and a touch of nostalgia. Perfect for any occasion, they are an embodiment of love and creativity in the kitchen. Whether you’re a seasoned baker or a novice, this recipe is sure to become a favorite in your repertoire. Each batch is an opportunity to indulge, share, and create memories.
Frequently Asked Questions
Q: Can I use fresh strawberries instead of freeze-dried?
A: Freeze-dried strawberries are recommended for their intense flavor and low moisture content, which helps maintain the dough’s texture.
Q: How long can these truffles be stored?
A: They can be stored in an airtight container in the refrigerator for up to a week.
Q: Can I freeze the truffles?
A: Yes, you can freeze them before coating. Thaw in the fridge before dipping and decorating.
Q: What if I don’t have a microwave to melt wafers?
A: A double boiler on the stovetop works perfectly for melting wafers.
Q: Can I make these truffles without a mixer?
A: Absolutely, just ensure the cream cheese is very soft and mix vigorously by hand.
Q: Are there any dairy-free alternatives for cream cheese?
A: Yes, you can use a dairy-free cream cheese substitute.
Q: Can I add nuts to the recipe?
A: Chopped nuts can be mixed into the dough for added texture or used as a topping.
By following this comprehensive guide, you’re not just making Strawberry Truffles; you’re creating a culinary masterpiece that brings joy and delight. Enjoy the process, savor each bite, and cherish the moments shared around these delectable treats.
Strawberry Truffles
Ingredients
Equipment
Method
- Preheat the oven to 350°F and line a baking sheet with parchment paper.
- Spread the cake mix powder onto the prepared baking sheet and bake for 5 minutes. Then remove from the oven and allow it to cool completely on a wire rack.
- Beat the softened cream cheese in a medium mixing bowl until smooth and creamy.
- Add the cake mix and fold it into the cream cheese with a rubber spatula. Mix with the mixer on medium-high speed until fully combined and you get a dough consistency.
- Fold in the freeze-dried strawberries until fully combined. Cover the dough with plastic wrap and chill in the refrigerator for 2 hours.
- Line two baking sheets with parchment paper and use a 1 ½ tablespoon cookie scoop to scoop the dough onto the sheets. Roll each into smooth balls.
- Set aside and allow them to expand, about 15 minutes, to prevent cracking of the coating.
- Prepare a double boiler to melt the vanilla melting wafers on the stovetop over low heat.
- Dip each dough ball into the melted vanilla wafers, remove excess coating, and place on the lined baking sheet.
- Sprinkle the crushed freeze-dried strawberries on top of half of the truffles before the coating dries.
- Melt the red candy melts in microwave-safe piping bags and drizzle onto the remaining coated truffles.
- Allow to set completely before serving.