salt dough recipe
Imagine a crisp autumn morning, the gentle aroma of freshly baked apples wafting through the air, and the sight of leaves dancing in the wind. This is the kind of cozy, inviting atmosphere I grew up with, inspired by my grandmother’s kitchen. Every weekend, we’d gather around her wooden table to create something magical out of simple ingredients. One of my cherished memories involves her salt dough recipe. Though we weren’t crafting culinary masterpieces, the joy was in the process and the creativity it sparked. Salt dough is not just a recipe; it’s a canvas for your imagination, perfect for creating personalized ornaments or keepsakes. This delightful craft has been a family tradition, and today I’m thrilled to share it with you.
Table of Contents
Why This Recipe Works
• Simple Ingredients: The salt dough recipe requires only three ingredients, making it an accessible and economical choice for crafting.
• Easy to Make: With straightforward steps, even novice crafters can confidently create beautiful ornaments.
• Customizable: The dough can be shaped and decorated in countless ways, allowing for personalized creations.
• Durable: When baked properly, salt dough ornaments are sturdy and long-lasting.
• Family-Friendly Activity: This recipe is perfect for involving children and creating lasting memories together.
• Versatile for All Seasons: While it’s a favorite for holiday decorations, this salt dough recipe is perfect year-round for any occasion.

Ingredients
• 1 cup flour (all-purpose): This is the base of your dough, providing structure and pliability.
• 1/2 cup salt: Essential for preserving the dough and giving it texture.
• 1/4 to 1/2 cup lukewarm water: Adjust the amount to achieve the perfect dough consistency.
Step-by-Step Instructions
Mix the Dry Ingredients
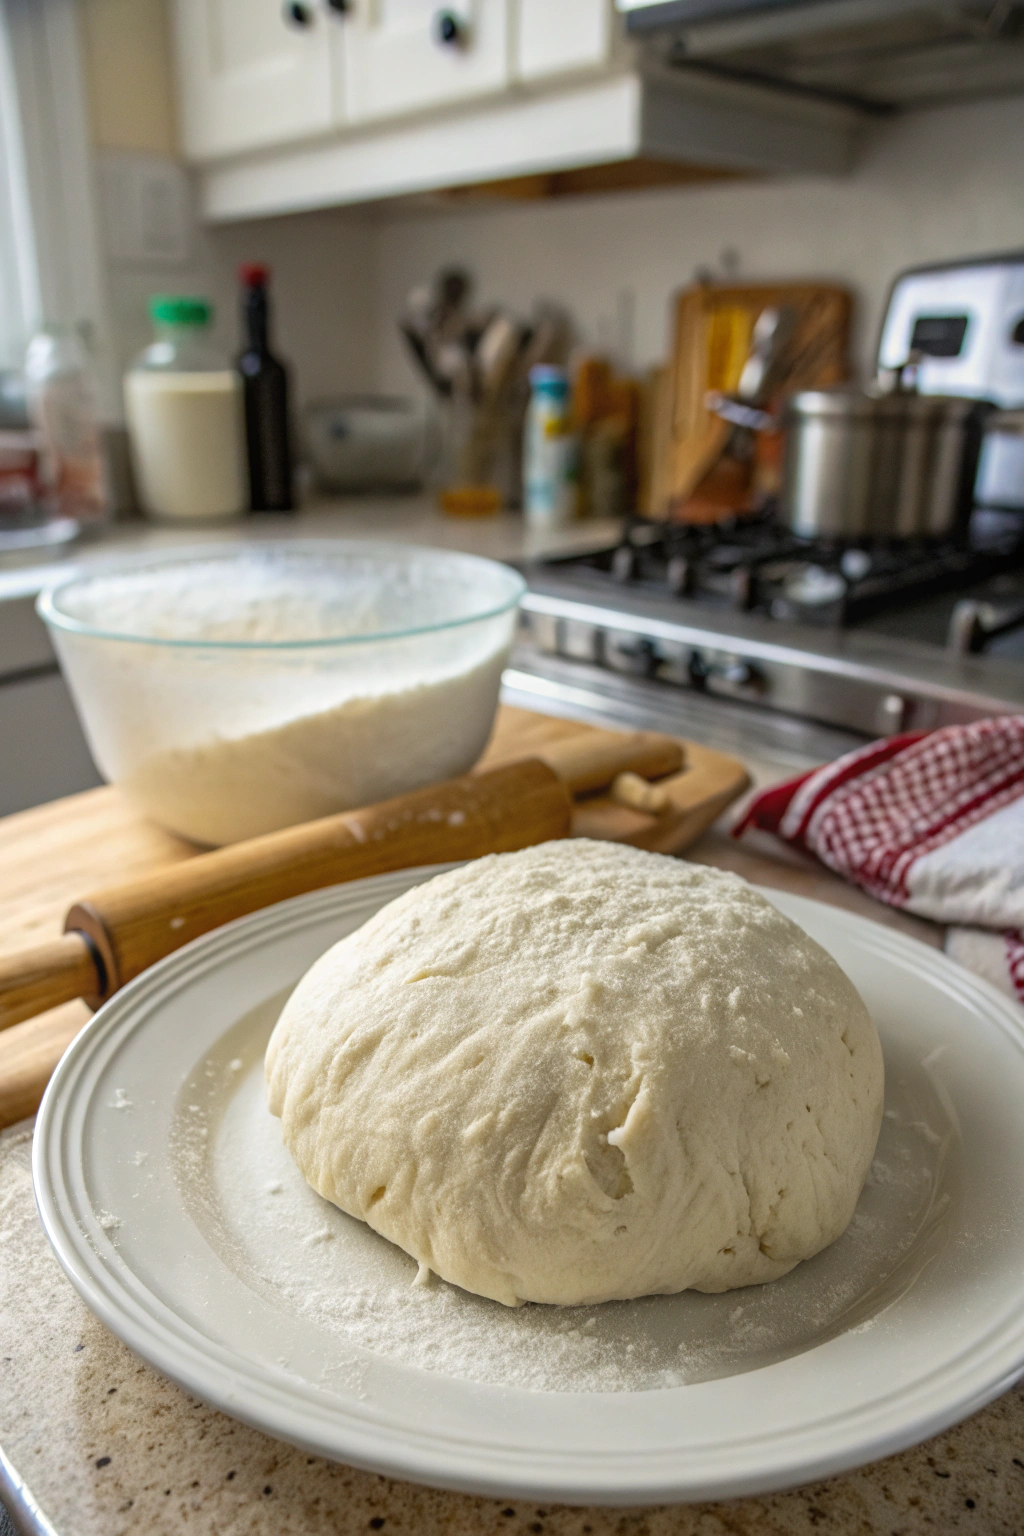
Begin by combining 1 cup of flour and 1/2 cup of salt in a large mixing bowl. Use a fork or whisk to ensure the ingredients are evenly distributed. This step is crucial for achieving a uniform dough texture.Add Water Gradually
Slowly pour 1/4 to 1/2 cup of lukewarm water into the dry mixture. Start with the smaller amount, stirring constantly with a spoon or your hands. You want the dough to come together without being too sticky. If necessary, add a little more water, a teaspoon at a time.Knead the Dough
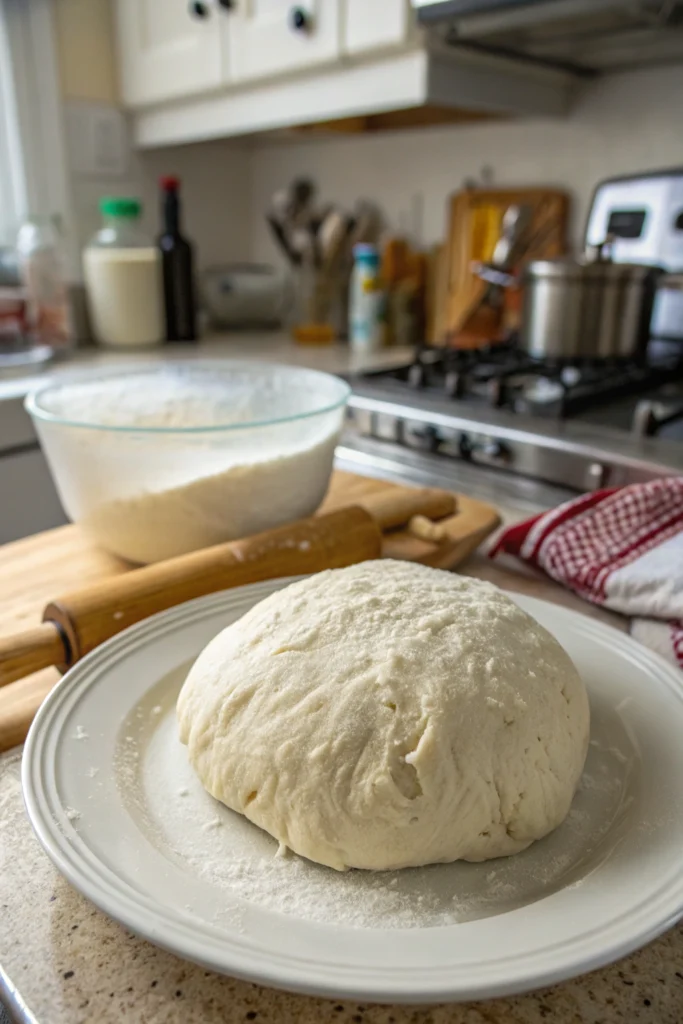
Transfer the dough onto a clean, floured surface. Knead it for about 10 minutes until it becomes smooth and elastic. This process helps in developing the dough’s consistency, making it easier to work with.Roll Out the Dough
Using a rolling pin, flatten the dough to about 1/4 inch thickness. Ensure the surface is even to allow for consistent baking.Shape the Dough
Use cookie cutters to cut out your desired shapes. Whether it’s stars, hearts, or holiday-themed ornaments, the choice is yours. Get creative and involve your family in this step for added fun.Preheat the Oven
While shaping the dough, preheat your oven to 200 degrees F (100 degrees C). A low temperature is crucial for drying the dough without burning it.Prepare for Baking
Place the shaped dough pieces onto a baking sheet lined with parchment paper. This prevents sticking and ensures easy removal after baking.Bake and Turn
Bake the dough in the preheated oven for about an hour. Then, carefully turn the ornaments over and bake for another hour. This step ensures even drying on both sides.Check for Doneness
After two hours, check if the ornaments are hard and dry. If needed, bake for an additional hour, checking periodically to avoid overbaking.Cool Completely
Allow the baked ornaments to cool completely on a wire rack. This is essential before any decorating can begin, as it ensures the ornaments are set and ready to be painted or adorned.
Prep Time: 15 minutes
Cooking Time: 2 hours
Total Time: 3 hours
Yield: Makes enough dough for several ornaments
Table: Calorie Breakdown for a Typical Serving
| Nutrient | Amount per Serving |
|---|---|
| Calories | 10 |
| Carbs | 2g |
| Protein | 0g |
| Fat | 0g |
| Sugar | 0g |
Patricia’s Tips for Success
Tip 1: Use fine salt for a smoother dough texture. Coarse salt can create a rough surface.
Tip 2: If the dough is too sticky, add a bit more flour. Conversely, if it’s too dry, gradually incorporate more water.
Tip 3: For a glossy finish, brush the ornaments with a mixture of water and egg white before baking.
Tip 4: Create a hole for hanging by using a straw to cut out a small circle near the top of each ornament before baking.
Tip 5: If you plan to paint the ornaments, use acrylic paint for vibrant colors and seal with a clear varnish to protect your artwork.
Tip 6: Store unused dough in an airtight container in the refrigerator for up to a week.
Tip 7: Experiment with different cookie cutter shapes or hand mold unique designs for a personal touch.
Cooking Variations
Variation 1: Incorporate food coloring into the dough for pre-colored ornaments. This can be especially fun for kids.
Variation 2: Mix in glitter with the flour and salt for a sparkling effect, perfect for festive decorations.
Variation 3: For a natural look, leave the dough unpainted and use natural twines for hanging.
Variation 4: Add a few drops of essential oils like cinnamon or peppermint to give your ornaments a pleasant scent.
Variation 5: Try embossing patterns on the dough with textured objects like lace or stamps before baking.
Serving Suggestions
Suggestion 1: Use your salt dough creations as holiday ornaments, adding a personal touch to your tree.
Suggestion 2: Create themed garlands by stringing multiple shapes together with twine or ribbon.
Suggestion 3: Gift personalized ornaments as thoughtful, handcrafted presents during the holiday season.
Suggestion 4: Use the ornaments as decorative tags for presents, adding both beauty and a personal touch.
Suggestion 5: Display your creations as part of a seasonal centerpiece, combining them with candles and foliage for a festive table setting.
Additional Thoughts
Crafting with salt dough opens a world of possibilities that extends beyond the kitchen. It’s a tradition that connects generations, as it did for me with my grandmother. The tactile nature of kneading the dough and shaping it into something meaningful is a meditative process, allowing you to slow down and enjoy the moment. Salt dough ornaments are more than just decorations; they’re mementos of time spent together, laughter shared, and creativity expressed.
I remember one snowy afternoon when my grandmother and I decided to make salt dough ornaments for the first time. The house was filled with the warmth of her smile and the enticing aroma of her famous apple pie cooling on the windowsill. We laughed as flour dusted our noses and cheeks, and I learned the simple joy of turning ordinary ingredients into something extraordinary. Those ornaments, though simple, were treasures, each one a testament to our shared history and love.
Salt dough is incredibly forgiving, making it ideal for involving children in the crafting process. Encourage them to use their imaginations, and you’ll be amazed by the creativity they bring to the table. Whether it’s a family project or a solo endeavor, the satisfaction of creating something with your own hands is unmatched.
Over the years, I’ve experimented with various additions to the basic salt dough recipe, from essential oils for added fragrance to natural dyes for color. Each variation brings its own charm, allowing for endless experimentation. The joy of salt dough crafting lies in its adaptability and the personal stories it can hold.
As you embark on this crafting journey, remember that each ornament tells a story. Whether it’s a commemorative piece for a special occasion or a playful creation for the holiday season, these homemade treasures capture moments in time. They serve as reminders of the love and effort put into making them, becoming cherished keepsakes that can be passed down through generations.
Join the Conversation
I’d love to hear about your salt dough adventures! Did you create a masterpiece or discover a new technique? Share your stories and photos in the comments below. Let’s inspire each other with our creations and keep this delightful tradition alive. Remember, there’s no right or wrong way to craft with salt dough—just pure, unadulterated fun. Join our community of creative minds and together, let’s celebrate the joy of making and sharing handmade treasures.
Conclusion
The salt dough recipe is more than just a craft; it’s a beloved tradition that brings family and friends together. Whether you’re a seasoned crafter or trying this for the first time, the simplicity and versatility of salt dough offer endless possibilities for creativity. From holiday ornaments to personalized gifts, the joy of crafting with salt dough lies in the process and the memories made along the way. So gather your loved ones, roll up your sleeves, and embrace the magic of salt dough crafting. Let each creation be a testament to the love and laughter shared, and may they adorn your home with warmth and joy for years to come.
Frequently Asked Questions
Q: Can I use whole wheat flour for the salt dough recipe?
A: Yes, but it will result in a coarser texture and a darker color.
Q: How should I store finished salt dough ornaments?
A: Store them in a cool, dry place wrapped in tissue paper to prevent moisture damage.
Q: Can I paint the ornaments before baking?
A: It’s best to bake them first and then paint, as the heat can alter the colors.
Q: What if my dough is too crumbly?
A: Add a bit more water, a teaspoon at a time, until the dough holds together.
Q: Is the salt dough recipe safe for children?
A: Yes, it’s non-toxic, but it’s not meant to be eaten.
Q: Can I use this dough for handprints or footprints?
A: Absolutely! It’s perfect for capturing little handprints or footprints as keepsakes.
Q: How long do salt dough ornaments last?
A: When stored properly, they can last for many years without any issues.
Salt Dough
Course: CraftCuisine: AmericanDifficulty: EasyLooking for a fun and easy activity to do with the kids? This salt dough recipe is perfect for creating ornaments or trinkets for any occasion. With just a few simple ingredients, you can make your own dough that dries hard and can be painted and decorated to your heart’s content.
Ingredients
1 cup flour (all-purpose)
1/2 cup salt
1/4 to 1/2 cup lukewarm water
Directions
- In a large bowl, mix together the flour and salt.
- Slowly add the lukewarm water while stirring and mixing the ingredients.
- Knead the dough for about 10 minutes, or until it has an even consistency.
- Roll out the dough to about 1/4 inch thickness.
- Use cookie cutters to create desired shapes or ornaments.
- Preheat the oven to 200°F (100°C).
- Place the shaped dough onto a baking sheet.
- Bake for about an hour, then carefully turn the ornaments and bake for another hour.
- Check for doneness, and if needed, bake for an additional hour, checking periodically.
- Remove from the oven and allow to cool completely before decorating.