Red Velvet Cream Cheese Brownies
In the heart of my grandmother’s cozy kitchen, the aroma of freshly baked goods was always a comforting embrace. Among her many cherished recipes, a decadent, velvety delight stood out—one that I now share with you: Red Velvet Cream Cheese Brownies. These aren’t just any brownies; they are a beautiful marriage of rich cocoa and tangy cream cheese, perfect for a cozy weekend bake.
Imagine a lazy afternoon, the sunlight streaming through the window, casting a warm glow on the red velvet hues of these brownies. The recipe is a nod to my grandmother’s love for simple yet indulgent treats, encouraging even the most hesitant of home cooks to dive into the joy of baking. Let’s embark on this delicious journey together, transforming basic ingredients into a masterpiece that’s sure to impress.
Why This Recipe Works
Flavor Fusion
The beauty of Red Velvet Cream Cheese Brownies lies in the perfect balance of flavors. The rich cocoa provides a deep, chocolatey base that is beautifully complemented by the tangy cream cheese swirls. This combination is not only delicious but also sophisticated, offering a treat that feels special and indulgent without being overly complicated.
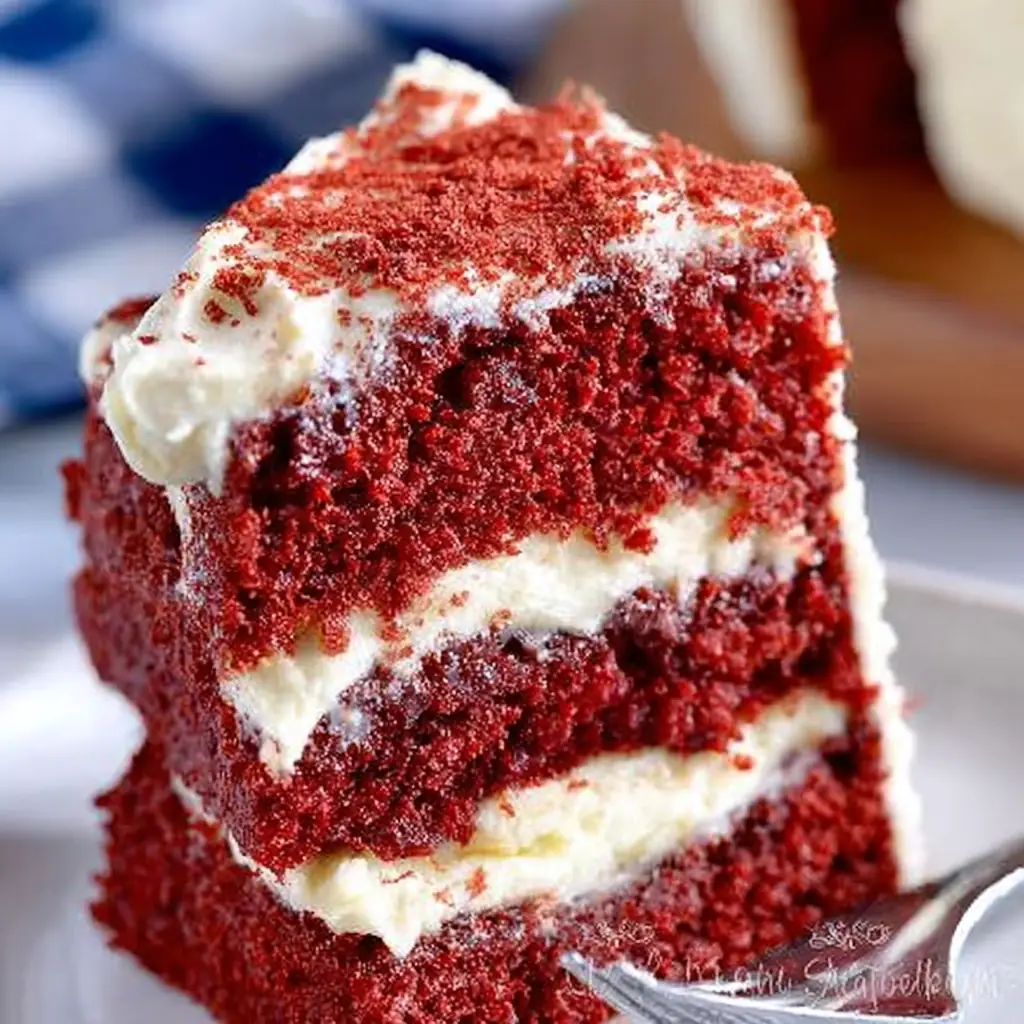
Visual Appeal
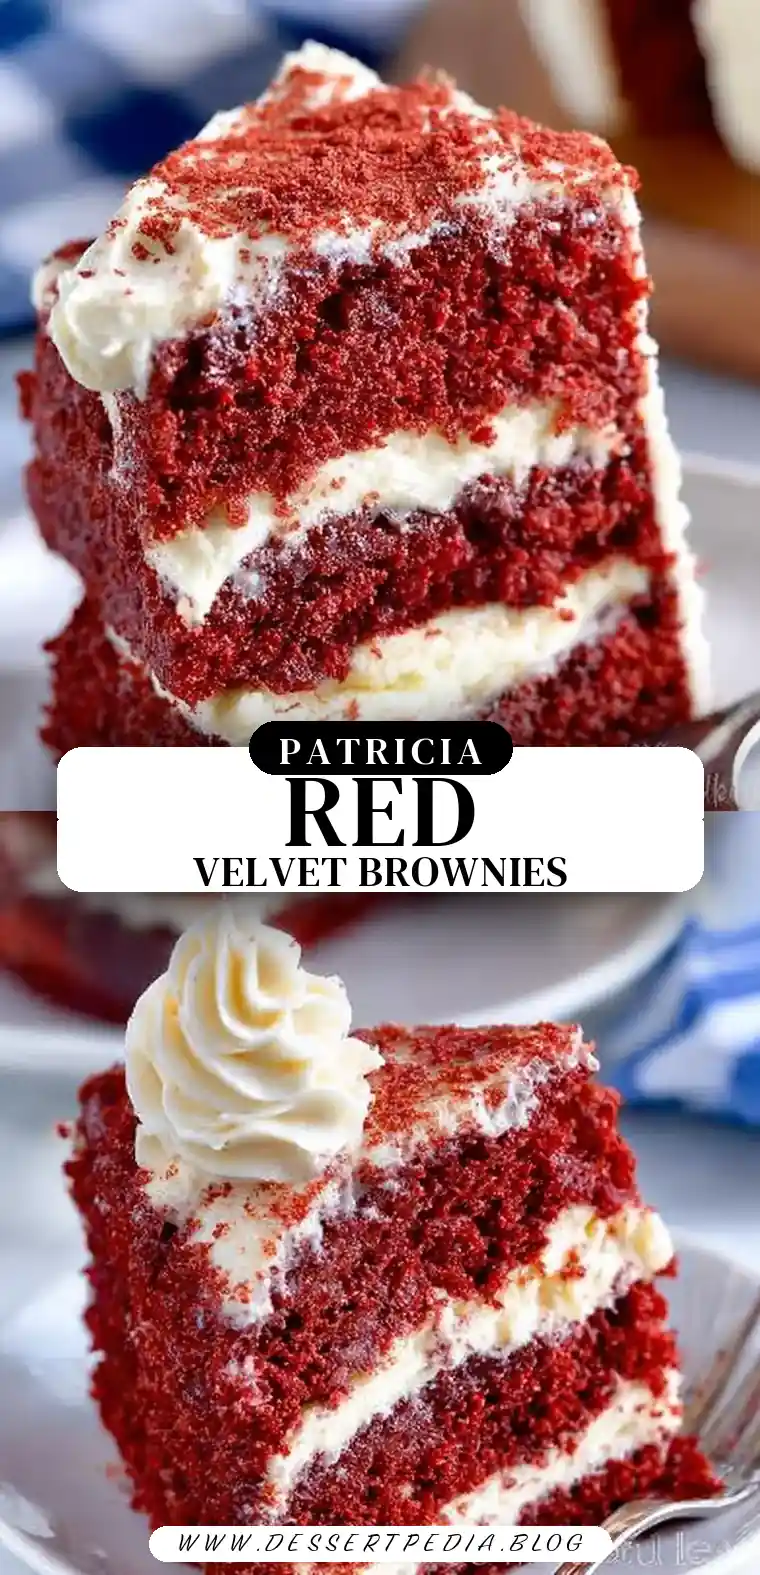
One of the first things that capture the heart and the eye is the stunning visual appeal of these brownies. The vibrant red color, a hallmark of red velvet, is made even more striking with the creamy white swirls of the cream cheese mixture. This contrast makes the brownies not just a treat for the taste buds, but also a feast for the eyes, making them an instant hit at any gathering.
Moist Texture
Achieving the perfect texture is crucial in baking, and these brownies deliver with a moist and tender crumb. The addition of sour cream and milk is instrumental in creating a soft texture that melts in your mouth, ensuring every bite is as delightful as the last.
Versatile Serving
These brownies are versatile enough to suit a variety of occasions. They fit perfectly on a dessert table, can be served at afternoon teas, or even wrapped up as a special homemade gift. No matter the occasion, their delightful taste and appearance are sure to leave a lasting impression.
Ease of Preparation
Despite their complex flavor profile and stunning appearance, these brownies are surprisingly easy to prepare. The recipe involves simple steps and readily available ingredients, making it accessible for bakers of all skill levels. Whether you’re a novice or a seasoned baker, you can confidently create these delicious treats.
Ingredients
Butter (1 cup)
Softened butter is essential for incorporating easily into the batter, providing richness and moisture that contribute to the brownies’ tender texture.
Granulated Sugar (2 cups)
Sugar not only sweetens the brownies but also adds structure, helping to create the perfect crumb.
Eggs (4)
Eggs are crucial for binding the batter together, providing richness and aiding in creating a smooth, cohesive mixture.
Sour Cream (1 cup)
Sour cream adds moisture and a slight tanginess to balance the sweetness, enhancing both flavor and texture.
Milk (½ cup)
Milk helps achieve a smooth batter consistency, ensuring even mixing and a tender crumb.
Red Food Coloring (1 oz liquid or 1 tbsp gel)
This gives the iconic red velvet hue that makes these brownies visually striking.
Vanilla (2 tsp)
Vanilla enhances the overall flavor, adding depth and warmth to the brownies.
All-Purpose Flour (2½ cups)
Flour forms the base of the brownie structure, providing the necessary framework for the other ingredients.
Cocoa Powder (½ cup)
Using non-Dutch processed cocoa powder ensures that classic red velvet taste, giving a rich chocolate flavor without overpowering the other elements.
Baking Soda (1 tsp)
As a leavening agent, baking soda helps achieve a light texture, preventing the brownies from becoming dense.
Salt (½ tsp)
Salt balances the sweetness, enhancing the overall flavor profile.
Cream Cheese (8 oz)
Softened cream cheese is used for the smooth, creamy frosting that swirls through the brownies, adding a tangy contrast to the rich cocoa base.
Confectioner’s Sugar (3½ cups)
This sweetens the frosting, helping achieve the perfect creamy consistency.
Additional Vanilla (2 tsp)
Adding vanilla to the frosting provides depth of flavor, complementing the tanginess of the cream cheese.
Step-by-Step Instructions
Preheat the Oven: Start by preheating your oven to 350°F. Prepare three 8-inch round cake pans by greasing them and dusting with flour or cocoa powder to prevent sticking.
Cream Butter and Sugar: In a large mixing bowl, cream together the softened butter and sugar until light and fluffy. This step is crucial for aerating the mixture, contributing to the brownies’ tender texture.
Incorporate Eggs: Beat in the eggs, one at a time, ensuring each is fully incorporated before adding the next. This gradual process helps maintain a smooth, cohesive batter.
Add Wet Ingredients: Mix in the sour cream, milk, red food coloring, and vanilla until well combined. These ingredients add moisture and flavor, creating a rich, vibrant batter.
Combine Dry Ingredients: Gradually add the flour, cocoa powder, baking soda, and salt, mixing until the batter is smooth and free of lumps.
Bake: Divide the batter evenly among the prepared pans and bake for 24 minutes, or until a toothpick inserted in the center comes out clean. This ensures the brownies are fully cooked without being overbaked.
Cool: Allow the cakes to cool in the pans for 15 minutes, then invert onto a wire rack to cool completely. Cooling completely helps prevent the frosting from melting.
Prepare Frosting: For the frosting, beat together the cream cheese, butter, and sour cream in a separate bowl until smooth. Gradually add the confectioner’s sugar and vanilla, beating until the frosting is light and fluffy.
Assemble: Assemble the cake by placing one layer on a serving dish, covering the top with 1/3 of the frosting, and repeating with remaining layers and frosting.
Prep Time: 20 minutes
Cooking Time: 24 minutes
Total Time: 44 minutes
Yield: 8 servings
Calorie Breakdown for a Typical Serving
| Calories | Carbs | Protein | Fat | Sugar |
|---|---|---|---|---|
| 1016 kcal | 139 g | 11 g | 48 g | 104 g |
Patricia’s Tips for Success

Tip 1: Room Temperature Ingredients
Using room temperature ingredients is key for a smoother batter, ensuring even mixing and a tender crumb.
Tip 2: Don’t Overmix
Avoid overmixing the batter to keep the brownies tender. Overmixing can lead to a dense, tough texture.
Tip 3: Cool Completely
Allow the cakes to cool completely before frosting to prevent the frosting from melting and sliding off.
Tip 4: Gel Food Coloring
Use gel food coloring for a more vibrant red hue. Gel coloring is more concentrated, achieving a deeper color without altering the batter’s consistency.
Tip 5: Thicker Frosting
If you want a thicker frosting layer, consider doubling the frosting recipe. This allows for a generous amount of creamy, tangy frosting with every bite.
Cooking Variations
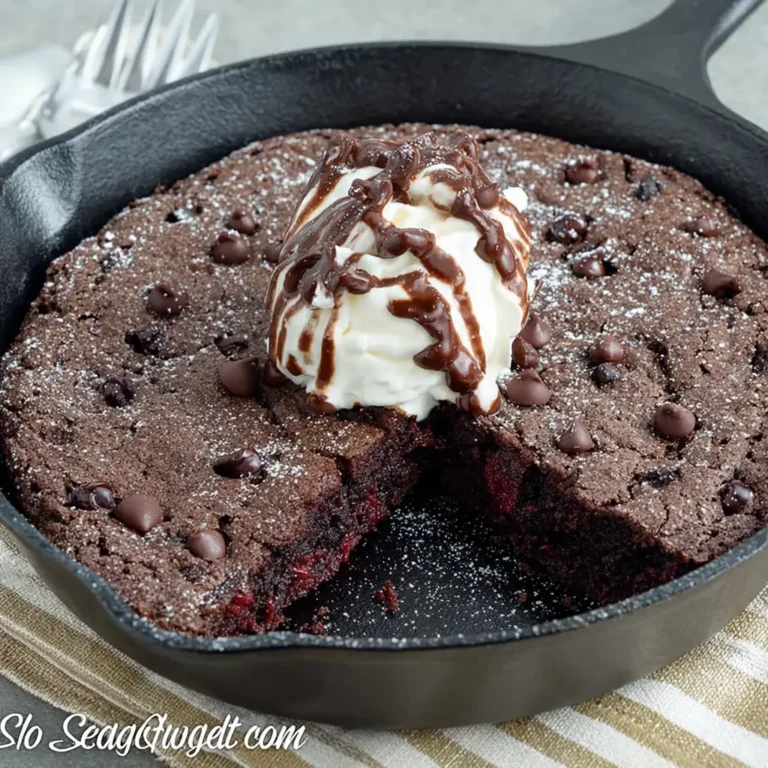
Variation 1: Chocolate Chips
Add a handful of chocolate chips to the batter for extra chocolatey goodness, enhancing the depth of flavor and adding delightful texture.
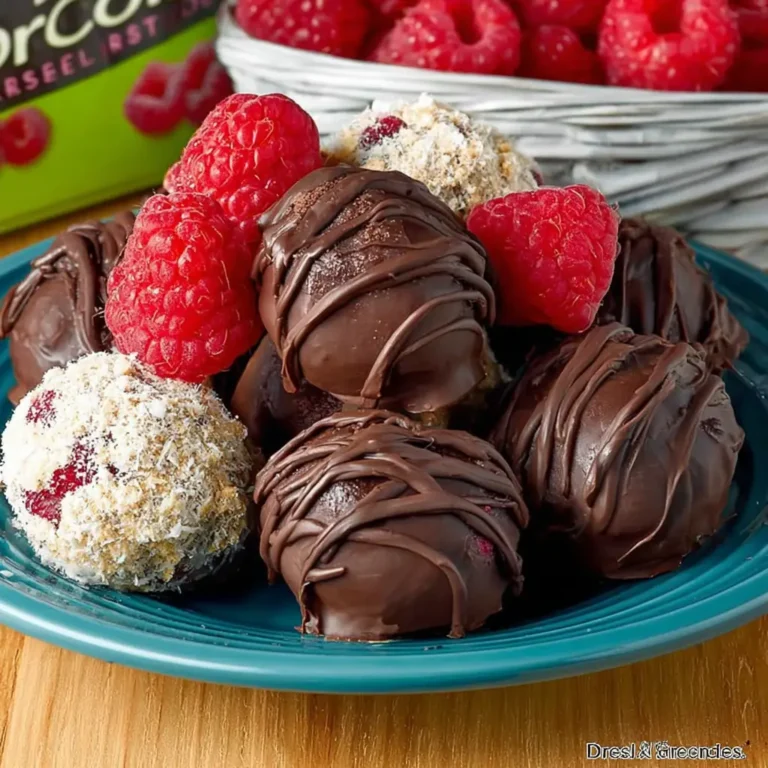
Variation 2: Raspberry Jam Swirl
Swirl in raspberry jam with the cream cheese for a fruity twist. The tartness of the raspberries pairs beautifully with the rich cocoa and tangy cream cheese.
Variation 3: Almond Extract
Substitute almond extract for vanilla in the frosting for a nutty flavor that adds a unique twist to the classic recipe.
Serving Suggestions
Suggestion 1: Vanilla Ice Cream
Serve these brownies with a scoop of vanilla ice cream for a delightful contrast. The cold, creamy ice cream pairs perfectly with the rich, warm brownies.
Suggestion 2: Coffee Pairing
Pair with a cup of hot coffee or espresso for a perfect afternoon treat. The bitterness of the coffee complements the sweetness of the brownies, creating a balanced flavor experience.
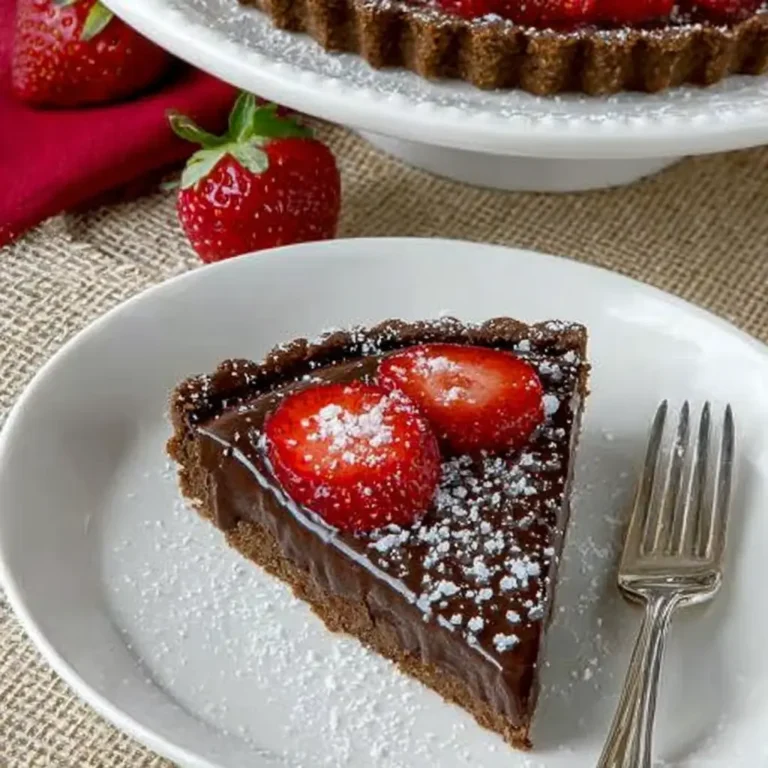
Suggestion 3: Berry Garnish
Garnish with fresh berries for a touch of elegance. The freshness of the berries adds a burst of flavor and color, enhancing both the taste and presentation.
Additional Thoughts
Baking these Red Velvet Cream Cheese Brownies is more than just a culinary task; it’s an opportunity to create memories. Whether you’re sharing them with loved ones or indulging solo, these brownies are bound to bring joy. The vivid red hue and creamy frosting are a testament to the love and care you put into your creations. Remember, baking is both an art and a science, and with each attempt, you only get better. These brownies remind me of my grandmother’s kitchen, filled with warmth and love, and I hope they bring a piece of that into your home too.
Join the Conversation
I’d love to hear about your experiences with this recipe! Did these Red Velvet Cream Cheese Brownies transport you back to a cherished memory, or maybe inspire a new tradition in your home? Share your thoughts, tips, and variations in the comments below. Let’s create a community where we inspire each other with the joy of cooking and baking.
Conclusion
These Red Velvet Cream Cheese Brownies are a celebration of flavors and textures, embodying the essence of indulgence and comfort. Perfect for any occasion, they’re sure to become a staple in your baking repertoire. Let these brownies be a reminder of the simple pleasures in life—rich, moist, and utterly delicious.
Frequently Asked Questions
Q: Can I use Dutch processed cocoa powder?
A: It’s best to use regular cocoa powder to maintain the acidity needed for that classic red velvet flavor and texture.
Q: How can I make these brownies egg-free?
A: You can substitute eggs with a flaxseed mixture or commercial egg replacers. For each egg, mix 1 tablespoon of flaxseed meal with 3 tablespoons of water and let it sit for a few minutes to thicken.
Q: Can I freeze the brownies?
A: Yes, you can freeze unfrosted brownies for up to 3 months. Wrap them well to prevent freezer burn, and thaw them at room temperature before serving.
Q: What if I don’t have sour cream?
A: You can use plain Greek yogurt as a substitute for sour cream. It offers similar tanginess and moisture, making it an excellent alternative.
Q: How do I achieve a vibrant red color?
A: Gel food coloring provides a more intense red hue compared to liquid food coloring, ensuring your brownies have that iconic red velvet look.
Q: Can I make this recipe gluten-free?
A: Yes, substitute the all-purpose flour with a gluten-free flour blend for baking. Ensure the blend contains xanthan gum or add it separately to achieve the desired texture.
Q: What’s the best way to store these brownies?
A: Store them in an airtight container in the refrigerator for up to a week to keep them fresh. If you prefer them at room temperature, let them sit out for a few minutes before serving.

Red Velvet Cream Cheese Brownies
Ingredients
Equipment
Method
- Preheat the oven to 350ºF. Prepare three 8-inch round cake pans by spraying them with shortening or softened butter and then adding a light coat of flour or cocoa powder. Set aside.
- In a large mixing bowl, cream together the butter and sugar. Beat in the eggs. Mix in the sour cream, milk, food color, and vanilla.
- Slowly blend in the flour, cocoa, baking soda, and salt. Divide the batter between the 3 prepared round cake pans.
- Bake at 350°F for 24 minutes or until toothpick comes out clean OR until they spring back when gently pressed in the center.
- Allow the cakes to cool for 15 minutes before flipping them out of the pans and onto your work surface. Allow to cool completely before assembling or decorating.
- Beat the cream cheese, butter, and sour cream together in a large mixing bowl. Add the confectioner’s sugar and vanilla. Beat until smooth.
- Place one layer of cake on a serving dish. Cover the top with 1/3 of the frosting. Add another layer of cake on top of that frosting, followed by another layer of frosting. Add the final layer of the cake and decorate the top with the remaining frosting.