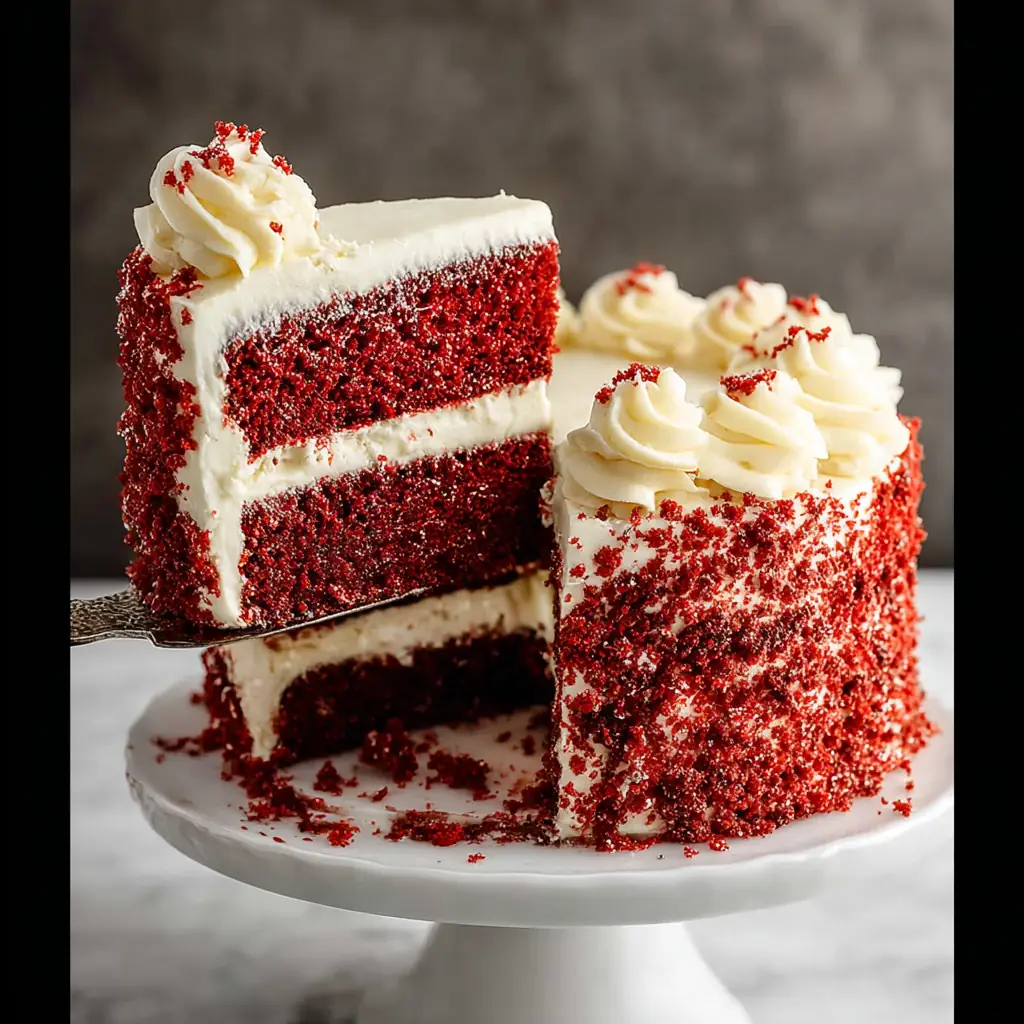
Red Velvet Cake
Red Velvet Cake: A Taste of Tradition and Love
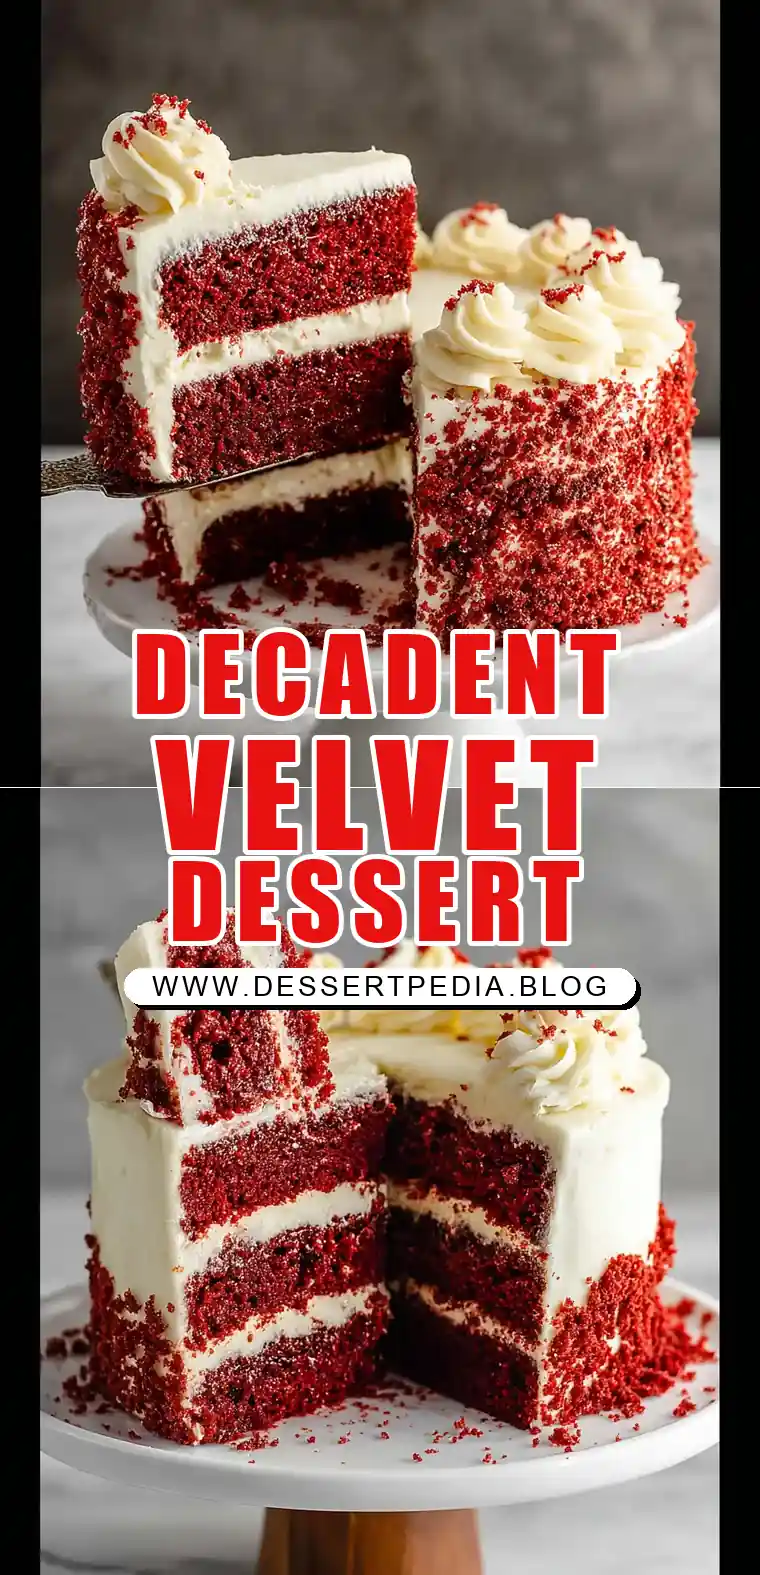
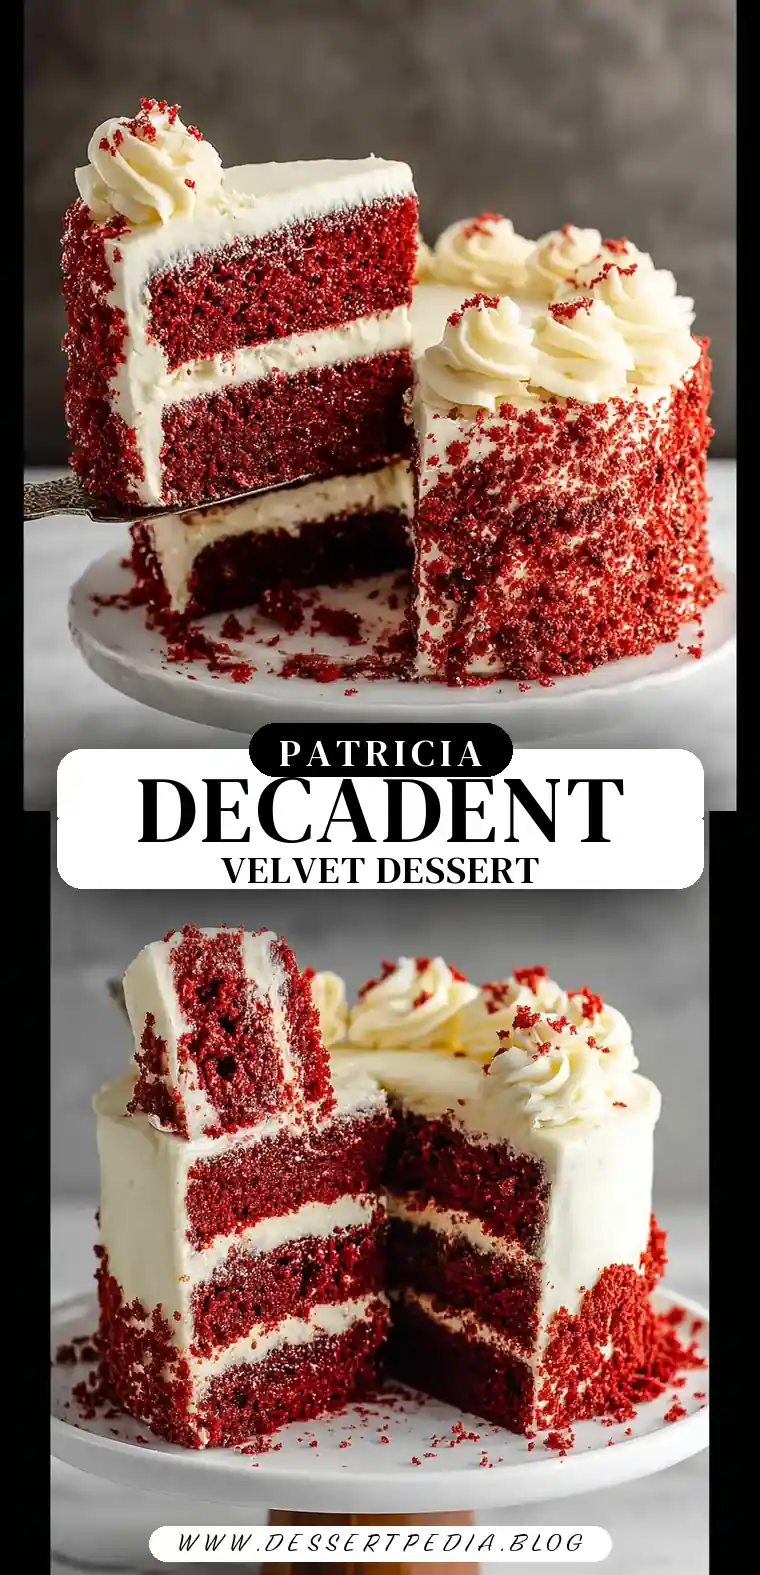
Red Velvet Cake holds a special place in my heart, conjuring vivid memories of cozy weekends spent in my grandmother’s warm kitchen. The rich aroma of cocoa mingled with the sweetness of vanilla would fill the air as she skillfully crafted layers of this iconic cake. Sharing a slice of Red Velvet Cake wasn’t just about indulging in its velvety texture and tangy cream cheese frosting; it was about moments of connection, laughter, and love. Now, I invite you to bring this delightful tradition into your own kitchen with a recipe that promises simplicity, indulgence, and the joy of sharing with loved ones.
Why This Recipe Works:
- Balanced Flavor: This recipe harmonizes the slight bitterness of cocoa with the sweetness of sugar, enhanced by a hint of tang from the sour cream.
- Moist Texture: The combination of butter and oil ensures a moist crumb that stays tender even after refrigeration.
- Vibrant Color: The red food coloring gives the cake its iconic hue, while the cocoa deepens the color for a visually striking dessert.
- Easy Frosting: The cream cheese frosting is smooth and creamy, providing the perfect tangy complement to the sweet cake.
- Versatile Ingredients: Options for substitutions and variations allow flexibility for dietary preferences and available ingredients.
Ingredients:
- All-purpose flour: Provides structure to the cake; consider using cake flour for a lighter texture.
- Unsweetened cocoa powder: Adds depth of flavor and color; natural cocoa works best.
- Baking soda and kosher salt: Essential for leavening and enhancing the overall flavor.
- Unsalted butter and vegetable oil: Create a moist and tender crumb; you can use either or both as preferred.
- Granulated sugar: Sweetens the cake while contributing to its tender texture.
- Sour cream: Adds moisture and a slight tang; substitute with Greek yogurt or buttermilk if needed.
- Milk: Provides liquid for the batter; any milk, including non-dairy, can be used.
- Large eggs: Bind the ingredients and provide structure.
- Pure vanilla extract: Infuses warmth and depth of flavor.
- Red food coloring: Gives the cake its classic red hue; adjust with beet powder for a natural alternative.
Step-by-Step Instructions:
- Preheat and Prepare: Preheat your oven to 350°F. Grease three 9-inch round cake pans and line the bottoms with parchment paper for easy release.
- Mix Dry Ingredients: In a large bowl, whisk together 3½ cups of all-purpose flour, ¼ cup of cocoa powder, 1½ teaspoons of baking soda, and 1 teaspoon of kosher salt. This ensures that the leavening agents are evenly distributed throughout the flour.
- Cream Butter and Sugar: In the bowl of a stand mixer fitted with the paddle attachment, beat together ½ cup of unsalted butter, 1¼ cups of vegetable oil, and 2½ cups of granulated sugar on medium-high speed until the mixture is smooth and creamy, about 3 minutes.
- Add Wet Ingredients: Add 1 cup of sour cream, ¾ cup of milk, 3 large eggs, and 1 tablespoon of pure vanilla extract to the butter mixture. Beat on medium speed until thoroughly combined.
- Incorporate Food Coloring: Add 2 tablespoons of red food coloring and beat until the color is fully incorporated. Adjust with more food coloring or beet powder if a deeper hue is desired.
- Combine Wet and Dry Ingredients: With the mixer on low speed, gradually add the dry ingredients to the wet ingredients, mixing just until combined. Avoid overmixing to prevent a tough cake.
- Divide and Bake: Divide the batter evenly among the prepared cake pans, about 634 grams per pan. Bake for 25-30 minutes, or until a toothpick inserted into the center comes out clean. Allow the cakes to cool in the pans for at least 10 minutes before transferring them to a wire rack to cool completely.
Prep Time: 20 minutes
Cooking Time: 30 minutes
Total Time: 50 minutes
Yield: 12 Servings
Table: Calorie Breakdown for a Typical Serving
| Nutrient | Amount per Serving |
|---|---|
| Calories | 1164 kcal |
| Carbohydrates | 125 g |
| Protein | 10 g |
| Fat | 71 g |
| Sugar | 94 g |
Patricia’s Tips for Success:
- Room Temperature Ingredients: Using room temperature ingredients ensures a smooth batter and even baking. Cold ingredients can cause the batter to clump and result in an uneven texture.
- Accurate Measuring: Measure flour using the spoon-and-level method to prevent a dense cake. This involves fluffing the flour with a spoon, spooning it into the measuring cup, and leveling it off with a knife.
- Sift for Smooth Frosting: Sift powdered sugar before adding it to the frosting to avoid lumps and achieve a creamy consistency.
- Cool Cakes Completely: Allow cakes to cool completely before frosting to prevent the frosting from melting and sliding off.
- Natural Coloring: For a natural color, use beet powder instead of food coloring. This not only provides a beautiful red hue but also adds a subtle, earthy flavor.
Cooking Variations:
- Variation 1: Substitute plain Greek yogurt or buttermilk for sour cream. Both options provide a similar tang and moisture, making them excellent alternatives.
- Variation 2: Use cake flour instead of all-purpose flour for a lighter, fluffier cake. Cake flour has a lower protein content, resulting in a softer crumb.
- Variation 3: For a larger cake, divide the batter between two 8-inch pans and adjust the baking time to 30-35 minutes.
Serving Suggestions:
- Ice Cream Pairing: Serve with a scoop of vanilla ice cream for an extra indulgent treat. The cold, creamy ice cream complements the rich, moist cake beautifully.
- Berry Garnish: Top with fresh berries, such as raspberries or strawberries, for a burst of refreshing flavor that balances the cake’s sweetness.
- Beverage Pairing: Pair your slice with a cup of hot coffee or tea for a comforting afternoon dessert. The warmth of the beverage enhances the cake’s flavors and provides a cozy experience.
Additional Thoughts:
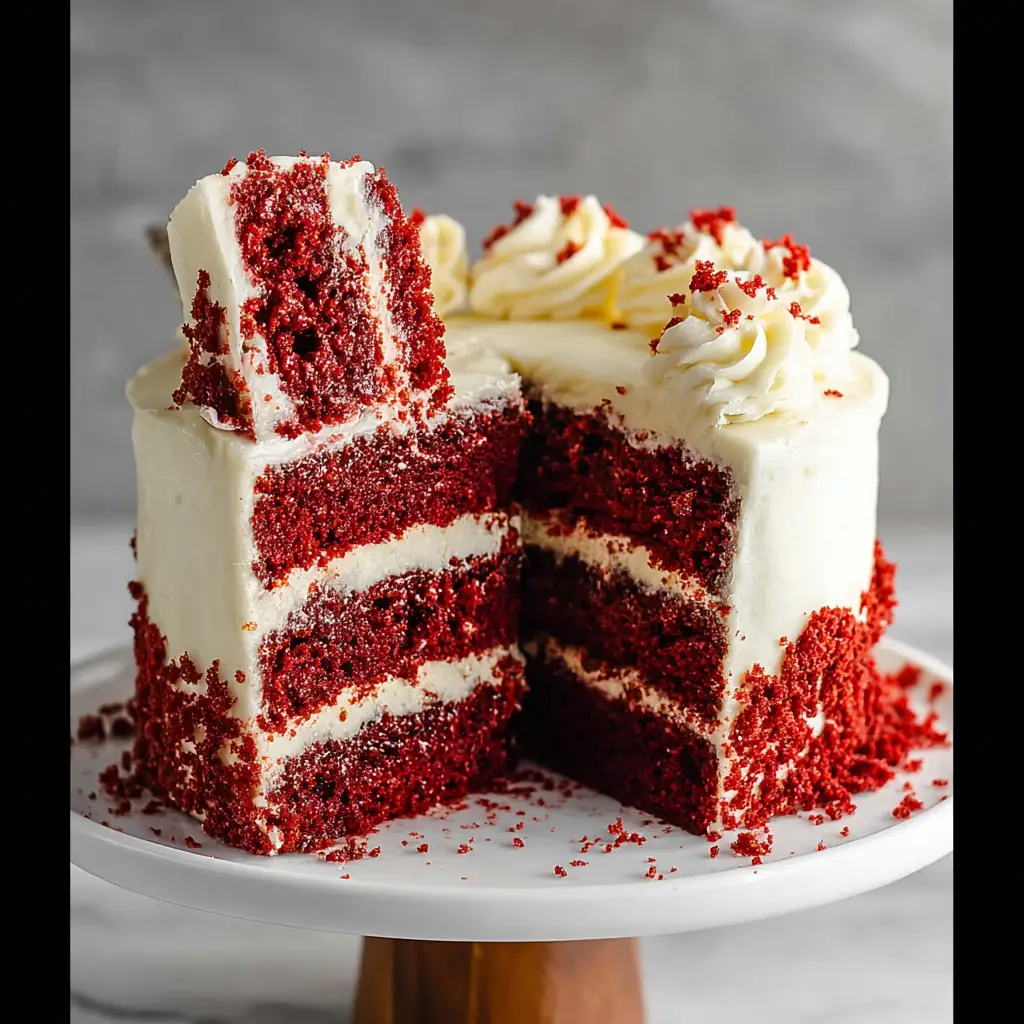
Baking this Red Velvet Cake is more than just preparing a dessert; it’s an invitation to create memories and savor moments. Whether you’re celebrating a special occasion or simply embracing a cozy weekend at home, this cake brings a touch of elegance and warmth to any gathering. The vibrant red hue and creamy frosting make it a stunning centerpiece, while the tender crumb and balanced sweetness delight the palate. Embrace the joy of baking and sharing with those you love.
Join the Conversation:
I’d love to hear about your experiences with this Red Velvet Cake recipe. Have you tried any variations or serving suggestions that were a hit in your home? Share your stories and tips in the comments below, and let’s inspire each other to explore the delicious world of baking together. Your feedback not only enriches our community but also helps us refine our culinary endeavors.
Conclusion:
This Red Velvet Cake recipe encapsulates the essence of comfort and celebration, offering a delightful escape into the world of baking. With its rich flavors, moist texture, and creamy frosting, it’s sure to become a cherished favorite in your home. Whether you’re a seasoned baker or just starting your culinary journey, this cake invites you to savor the simple pleasures of creating and sharing something truly special.
By following the steps outlined in this guide, you’ll be able to create a masterpiece that not only looks stunning but also tastes divine. So gather your ingredients, preheat your oven, and get ready to delight your taste buds and those of your loved ones with this iconic dessert.
Frequently Asked Questions:
Q: Can I make this cake without food coloring?
A: Yes, you can use beet powder for a natural red hue or omit the coloring for a subtle cocoa cake. The absence of food coloring will not affect the flavor.
Q: Can I freeze the cake layers?
A: Absolutely! Wrap each layer tightly in plastic wrap and store in the freezer for up to 3 months. Thaw them in the refrigerator overnight before frosting.
Q: How can I make the frosting less sweet?
A: Reduce the powdered sugar by 1 cup and increase the cream cheese for a tangier frosting. You can also add a pinch of salt to balance the sweetness.
Q: Can I use a hand mixer instead of a stand mixer?
A: Yes, a hand mixer works well; just ensure to mix thoroughly for a smooth batter and frosting. Be patient, as it might take a little longer to achieve the desired consistency.
Q: What’s the best way to store leftover cake?
A: Store in an airtight container in the refrigerator for up to 3 days or freeze for up to 3 months. This helps maintain the cake’s moisture and freshness.
Q: How do I prevent the cake from sticking to the pan?
A: Grease the pans well and line the bottoms with parchment paper for easy removal. This step is crucial for preserving the cake’s shape and texture.
Q: Can I use a different size of cake pan?
A: Yes, adjust the baking time as needed for different pan sizes, ensuring a toothpick comes out clean when the cake is done. Always keep an eye on the cake to prevent overbaking.
Red Velvet Cake
Ingredients
Equipment
Method
- Preheat oven to 350°F. Grease three 9-inch round cake pans. Set aside.
- Add the flour, cocoa powder, baking soda, and salt to a large bowl and whisk until combined.
- In the bowl of a stand mixer fitted with the paddle attachment, beat the butter, vegetable oil, and sugar together until smooth.
- Add in the sour cream, milk, eggs, and vanilla extract and beat until smooth. Add in the red food coloring and beat until fully incorporated.
- Add the dry ingredients to the wet ingredients and mix until just combined.
- Divide the batter evenly among the 3 cake pans (about 634 grams per pan).
- Bake for 25-30 minutes, or until a toothpick inserted in the center of the cake comes out clean. Let the cake cool for at least 10 minutes.
- In the bowl of a stand mixer fitted with the whisk attachment, beat the cream cheese until smooth.
- Add in the butter and beat until incorporated.
- Sift in the powdered sugar through a fine-mesh sieve. Mix until well incorporated.
- Add in the vanilla extract and salt and mix again until the frosting reaches a smooth and creamy consistency with stiff peaks.
- Using a bread knife, shave off the rounded top of each cake to create a flat top. Save the cake scraps for decoration.
- Place 1 cake layer on a cake stand cut side down. Spread a generous layer of frosting on top.
- Add on the 2nd cake layer and spread a layer of frosting on top.
- Add on the 3rd cake layer.
- Frost the entire exterior of the cake with the remaining frosting.
- If desired, crumble the leftover cake scraps and decorate the sides or top of the cake with them. Additionally, pipe decorations on the top of the cake with leftover frosting.