Pressure Cooker Apple Cider
Introduction
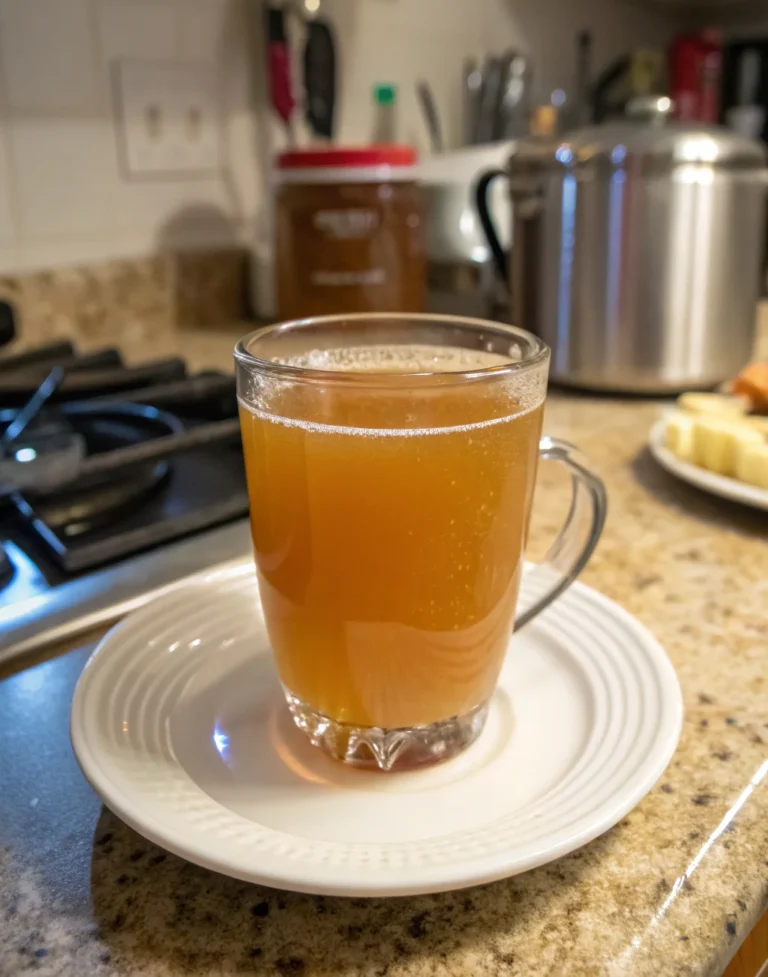
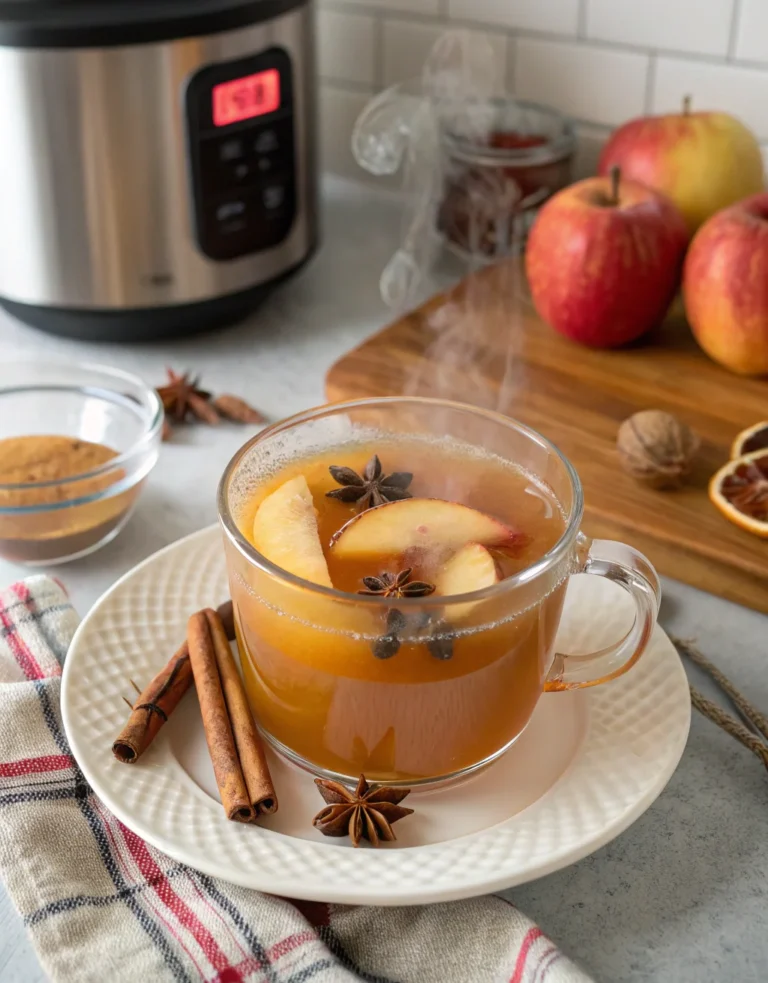
There’s something undeniably comforting about a warm mug of apple cider, especially when the leaves start to turn and there’s a crispness in the air. My love for apple cider traces back to cozy weekends spent in my grandmother’s kitchen, where the air was always spiced with cinnamon and nostalgia. Inspired by her traditional methods, I’ve adapted the process to the modern convenience of a pressure cooker. This Pressure Cooker Apple Cider is not only a celebration of those cherished memories but also a testament to how technology can simplify and enhance our culinary adventures. Whether you’re a seasoned home cook or just starting your kitchen journey, this recipe offers a delightful blend of ease, flavor, and warmth, perfect for sharing with friends and family.
Why This Recipe Works
• Efficiency: Using a pressure cooker significantly reduces the time it takes to extract flavors compared to traditional stovetop methods.
• Flavor Concentration: The high-pressure environment intensifies the apple and spice flavors, creating a robust, aromatic cider.
• Consistency: The pressure cooker ensures even cooking, eliminating the guesswork and delivering reliable results every time.
• Simplicity: With just a handful of ingredients and straightforward steps, this recipe is accessible to cooks of all skill levels.
• Versatility: The cider can be enjoyed hot or cold, making it a year-round favorite.
• Nostalgia: It captures the essence of traditional apple cider while embracing modern convenience.
Ingredients
• 8 apples, quartered: Use a mix of sweet and tart apples for a balanced flavor profile.
• 1 cup brown sugar: Adds sweetness and depth; adjust to taste if you prefer less sweet cider.
• 3 cinnamon sticks: Infuse the cider with warm spice; can be reused in the recipe.
• 1 teaspoon ground nutmeg: Provides a subtle, earthy undertone.
• 1 teaspoon ground cloves: Adds a hint of warmth and complexity.
• Water as needed: Ensure enough to cover the apples and reach the maximum fill line of your pressure cooker.
Step-by-Step Instructions
- Prepare the Apples: Start by quartering 8 apples. There’s no need to peel them, as the skins add flavor and color to the cider. Place the quarters into your pressure cooker.
- Add Sweetness and Spice: Sprinkle 1 cup of brown sugar over the apples, followed by 3 cinnamon sticks, 1 teaspoon of ground nutmeg, and 1 teaspoon of ground cloves. These ingredients will create a symphony of flavors that define this cider.
- Fill with Water: Pour in water until it reaches the maximum fill line of your pressure cooker. This ensures there’s enough liquid to extract the full flavor from the apples and spices.
- Initial Cooking: Secure the lid and set your pressure cooker to high pressure for 60 minutes. This first cooking phase will soften the apples and start melding the ingredients.
- Pressure Build: Allow the pressure to build inside the cooker, which should take about 10 to 15 minutes.
- Quick Release: After the initial 60 minutes, perform a quick-release of the pressure carefully to avoid burns, then remove the lid.
- Mash and Reheat: Remove the cinnamon sticks temporarily. Use a potato masher or spoon to mash the apples, releasing even more flavor. Return the cinnamon sticks to the pot.
- Second Cooking Phase: Close the lid again and cook on high pressure for another 60 minutes, allowing the pressure to build for another 10 to 15 minutes.
- Final Release: Perform another quick-release of the pressure and remove the lid.
- Strain the Cider: Use a strainer or cheesecloth to remove the solids, leaving you with a smooth, flavorful apple cider.
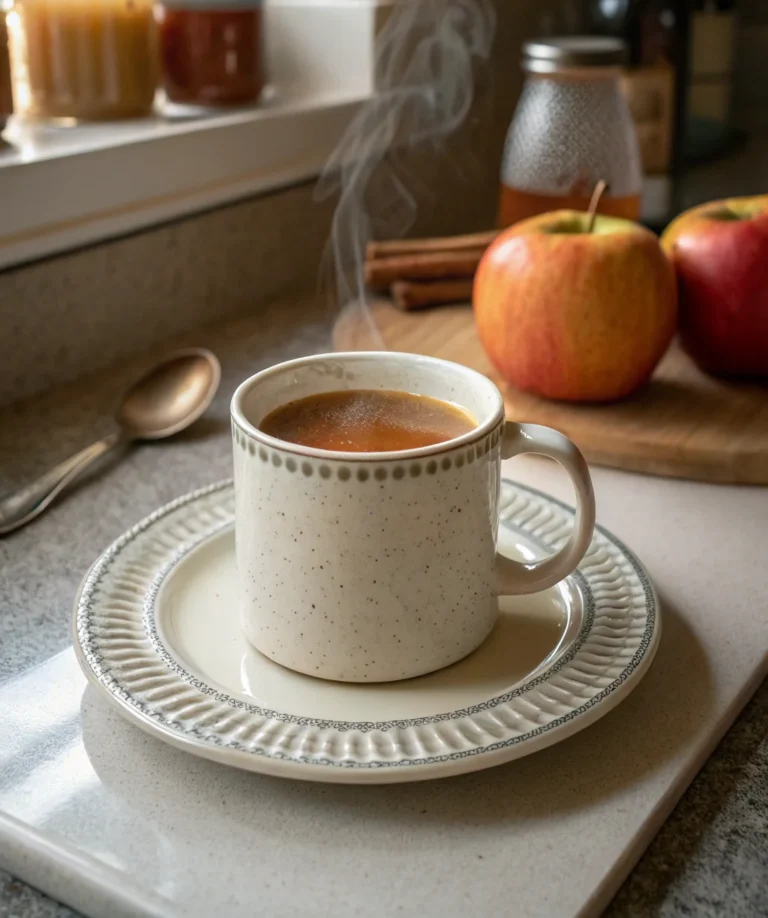
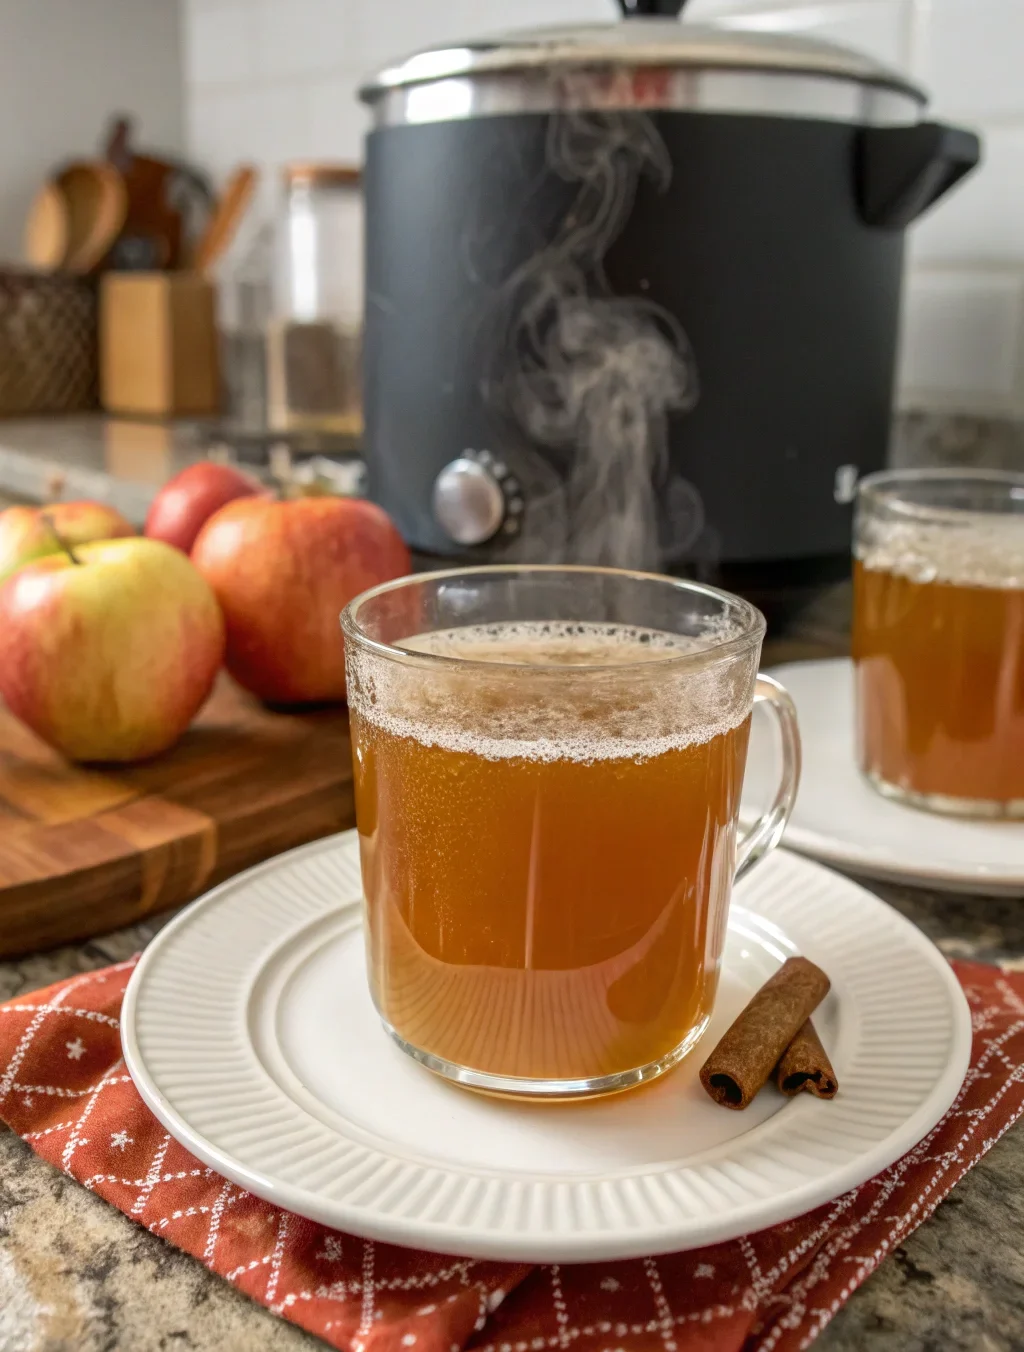
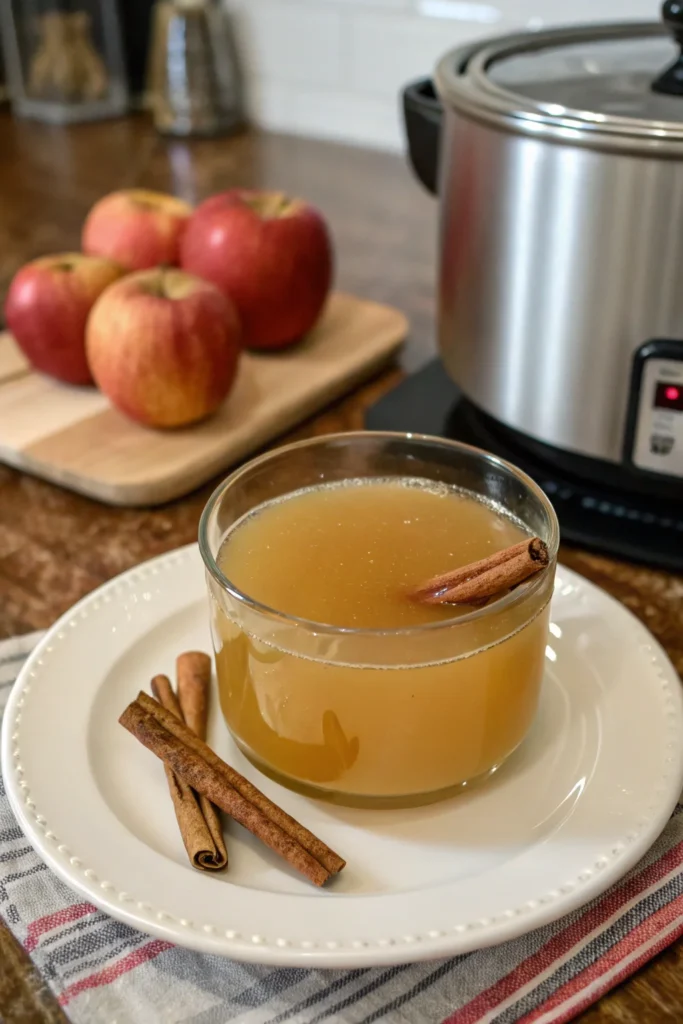
- Serve: Enjoy your cider hot to warm up on a chilly day, or chill it for a refreshing drink.
Prep Time: 10 minutes
Cooking Time: 120 minutes
Total Time: 160 minutes
Yield: 10 Servings
Table: Calorie Breakdown for a Typical Serving
| Component | Amount |
|---|---|
| Calories | 150 |
| Carbs | 38g |
| Protein | 0.5g |
| Fat | 0.3g |
| Sugar | 33g |

Patricia’s Tips for Success
Tip 1: Apple Selection: Choose a mix of apple varieties, such as Granny Smith for tartness and Fuji for sweetness, to create a complex flavor profile.
Tip 2: Spice Adjustments: Feel free to adjust the quantity of cinnamon, nutmeg, and cloves to suit your personal preference.
Tip 3: Sweetness Control: Taste your cider before the final straining and adjust the sweetness by adding more brown sugar if desired.
Tip 4: Straining Method: For a clearer cider, use a cheesecloth instead of a strainer to remove more of the apple pulp.
Tip 5: Storage: Store leftover cider in a sealed container in the refrigerator for up to one week, or freeze it for longer storage.
Tip 6: Enhanced Flavor: Let the cider sit overnight in the fridge to deepen the flavors before reheating and serving.
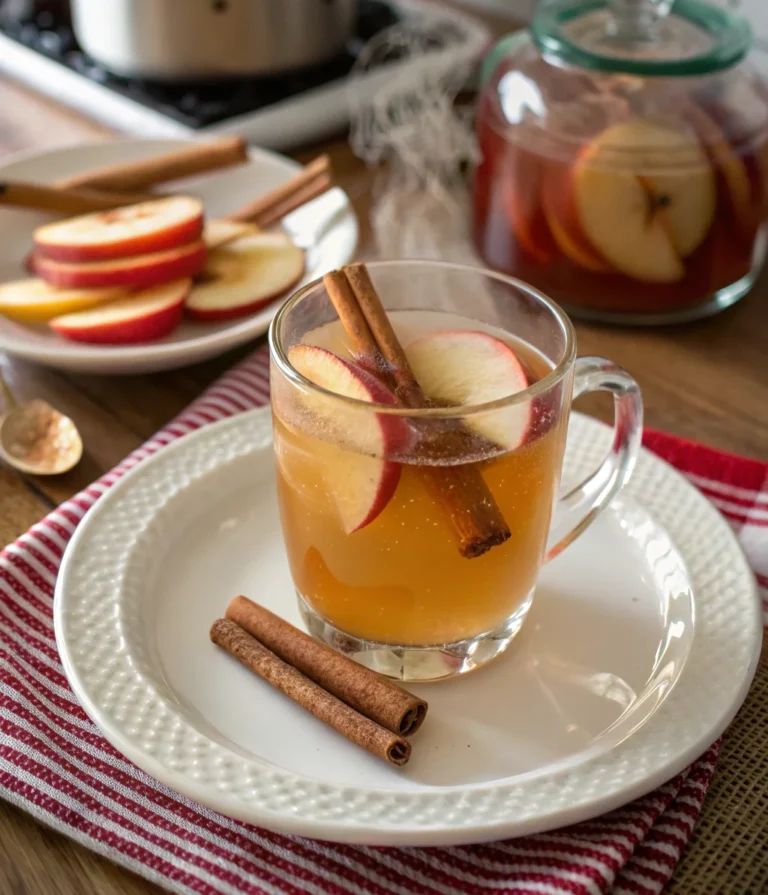
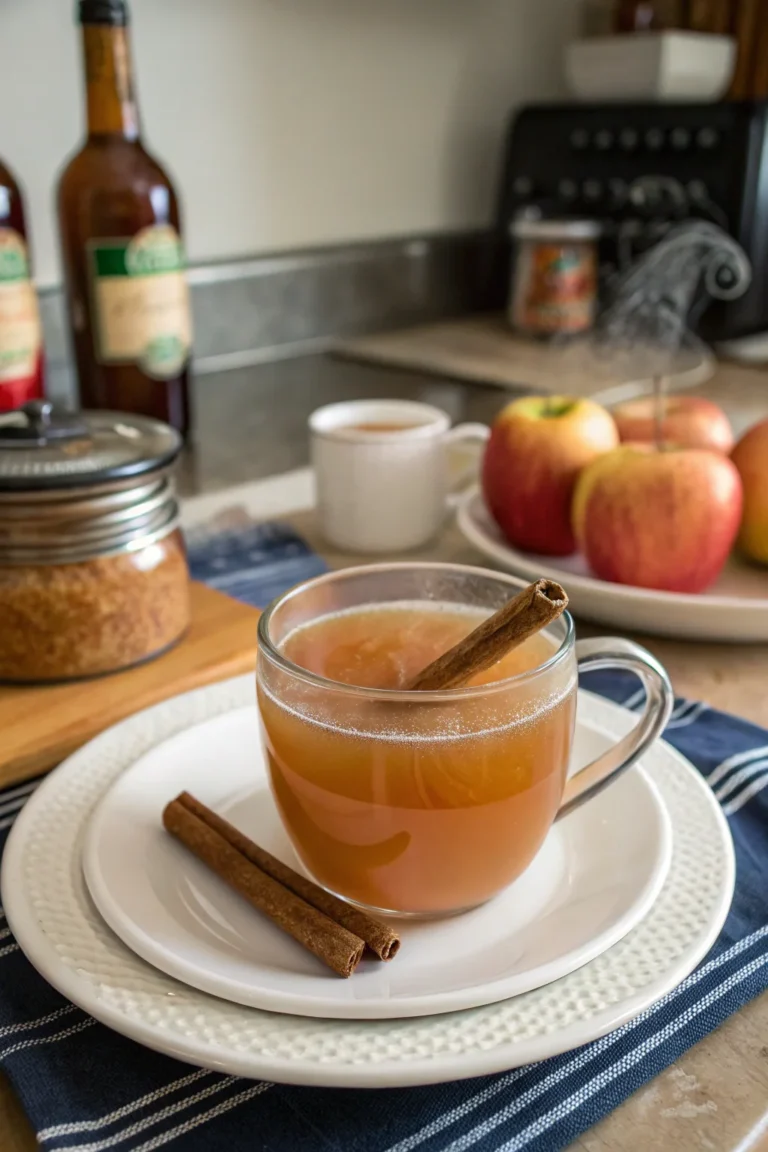
Tip 7: Presentation: Serve with a cinnamon stick for stirring, adding a touch of elegance and extra flavor.
Cooking Variations
Variation 1: Spiced Rum Cider: Add a splash of spiced rum to the finished cider for an adult twist, perfect for holiday parties.
Variation 2: Cranberry-Apple Cider: Add fresh or dried cranberries during the cooking process for a tart, festive variation.
Variation 3: Ginger-Infused Cider: Introduce fresh ginger slices with the spices for a warming, slightly spicy kick.
Variation 4: Cider Tea: Brew a bag of black tea in the finished cider for a unique, robust flavor combination.
Variation 5: Caramel Apple Cider: Stir in caramel sauce before serving for an indulgent, dessert-like drink.
Serving Suggestions
Suggestion 1: With Cinnamon Donuts: Pair a warm mug of cider with freshly baked cinnamon donuts for a classic fall treat.
Suggestion 2: Cheese Pairings: Serve chilled cider with a cheese platter featuring sharp cheddar and brie for a sophisticated snack.
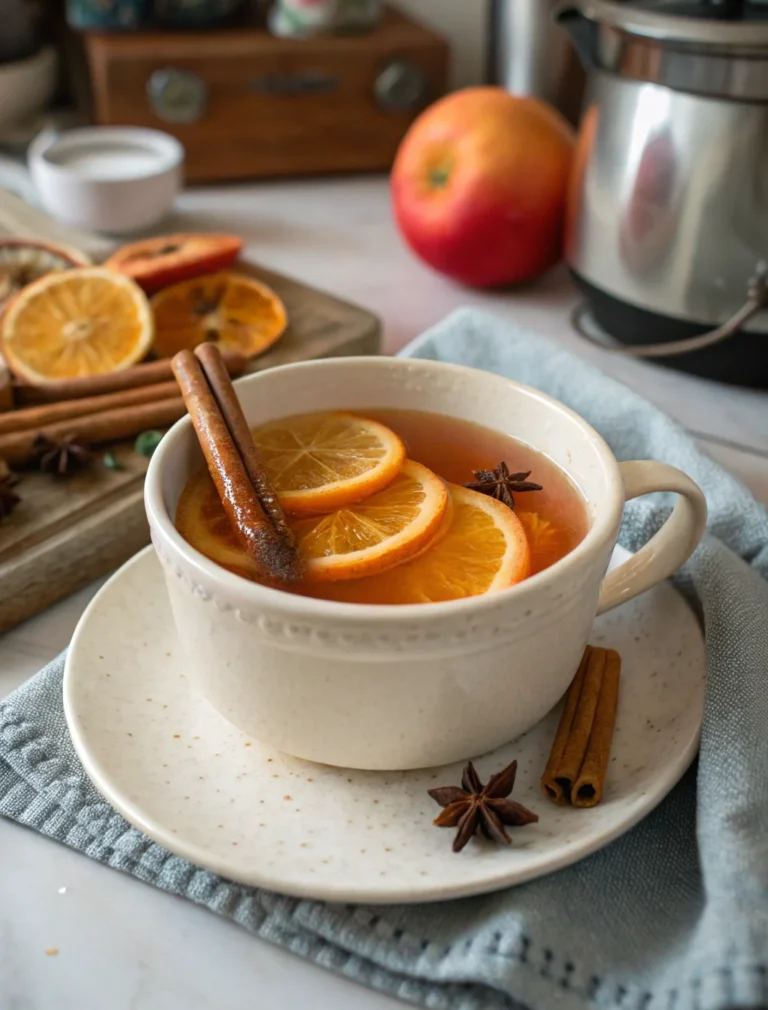
Suggestion 3: Mulled Cider: Reheat the cider with additional spices and orange slices for a festive holiday drink.
Suggestion 4: Cider Floats: Add a scoop of vanilla ice cream to a glass of chilled cider for a refreshing float.
Suggestion 5: Brunch Companion: Serve alongside a hearty brunch spread, complementing dishes like pancakes or French toast.
Additional Thoughts
Exploring the wonders of pressure cooking opens up a world of culinary possibilities, transforming traditional recipes into time-efficient masterpieces. When it comes to crafting the perfect Pressure Cooker Apple Cider, the journey is as enjoyable as the destination. It’s an experience that not only fills your kitchen with enchanting aromas but also invites you to partake in the age-old tradition of savoring the harvest. Creating this cider is akin to a sensory adventure, where the sound of apples gently simmering and the sight of cinnamon swirling in the pot merge into a meditative moment. Each step in the process is an opportunity to connect with the ingredients, paying homage to the farmers who nurture the apples and the spices that carry the warmth of distant lands. As the cider simmers, it becomes a tribute to the resilience and creativity of home cooks everywhere who transform simple ingredients into heartwarming concoctions. This Pressure Cooker Apple Cider, though modern in its preparation, is steeped in the essence of tradition. It invites you to pause and savor not just the drink itself, but the memories and moments that are created around it. Whether you’re sharing it with loved ones on a chilly evening or enjoying a quiet moment of solitude, this cider reminds us of the simple joys found in cooking and the profound connections it fosters. In this fast-paced world, where time often feels like a luxury, the pressure cooker becomes a tool not just for convenience but for crafting those moments of connection and joy. So, as you sip on your mug of Pressure Cooker Apple Cider, remember that you’re partaking in a ritual that transcends time and place, bringing warmth and comfort to wherever you call home.
Join the Conversation
I’d love to hear how your Pressure Cooker Apple Cider experience turned out! Did you try any of the suggested variations, or perhaps create your own twist? Sharing your stories and photos in the comments not only inspires others but also builds a community of like-minded home cooks passionate about creating and sharing delicious meals. Your feedback is invaluable, and I look forward to celebrating your culinary successes together. Let’s create a tapestry of flavors and memories one recipe at a time!
Conclusion
Crafting Pressure Cooker Apple Cider is more than just a recipe; it’s an invitation to embrace the simple pleasures of life. By using a pressure cooker, we blend tradition with modern efficiency, creating a drink that’s both nostalgic and innovative. Whether you’re enjoying a quiet evening alone or hosting a gathering with friends, this cider serves as a warm reminder of the joys found in cooking and sharing. I hope this recipe brings as much warmth and delight to your home as it has to mine.

Frequently Asked Questions
Q: Can I use different types of apples?
A: Absolutely! A mix of sweet and tart apples works best for a balanced flavor.
Q: How can I make the cider less sweet?
A: Reduce the amount of brown sugar or use a sugar substitute to suit your taste.
Q: Is it necessary to strain the cider?
A: While straining is recommended for a smoother texture, you can skip it for a more rustic drink.
Q: Can I make this recipe on the stovetop?
A: Yes, but it will take longer to achieve the same depth of flavor.
Q: How do I store leftovers?
A: Keep in an airtight container in the refrigerator for up to a week or freeze for longer storage.
Q: Can I add other spices?
A: Feel free to experiment with additional spices like ginger or star anise for unique flavor variations.
Q: What if I don’t have a potato masher?
A: Use a large spoon or fork to mash the apples as best as you can.

Pressure Cooker Apple Cider
Course: BeverageCuisine: AmericanDifficulty: EasyIndulge in the cozy flavors of fall with this homemade Pressure Cooker Apple Cider recipe. Filled with fresh apples, brown sugar, and a blend of warming spices, this crowd-pleasing beverage is a must-have for chilly evenings or holiday gatherings.
Ingredients
8 apples, quartered
1 cup brown sugar
3 cinnamon sticks
1 teaspoon ground nutmeg
1 teaspoon ground cloves
Directions
- Place quartered apples in a multi-functional pressure cooker.
- Sprinkle brown sugar, cinnamon sticks, nutmeg, and cloves over the apples.
- Fill the pot with water up to the maximum line.
- Close and lock the lid, then set the pressure cooker to high pressure for 60 minutes.
- Allow the pressure to build for 10 to 15 minutes.
- Carefully release the pressure using the quick-release method after 5 minutes.
- Remove the lid and take out the cinnamon sticks.
- Mash the apples with a potato masher or spoon, then return the cinnamon sticks to the pot.
- Cook on high pressure for another 60 minutes, allowing the pressure to build for 10 to 15 minutes.
- Perform a quick-release after 5 minutes.
- Strain the cider using a strainer or cheesecloth to remove solids.
- Serve the apple cider hot or cold, according to your preference.