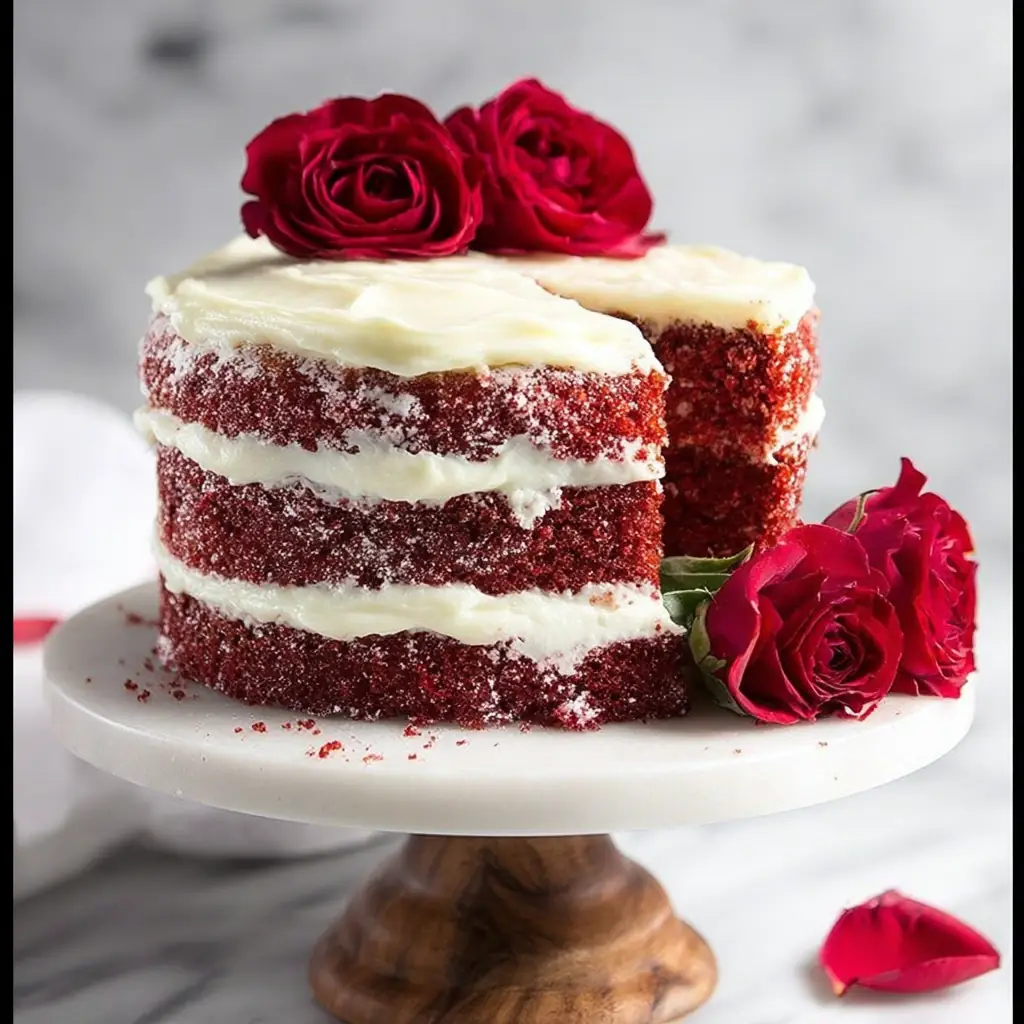
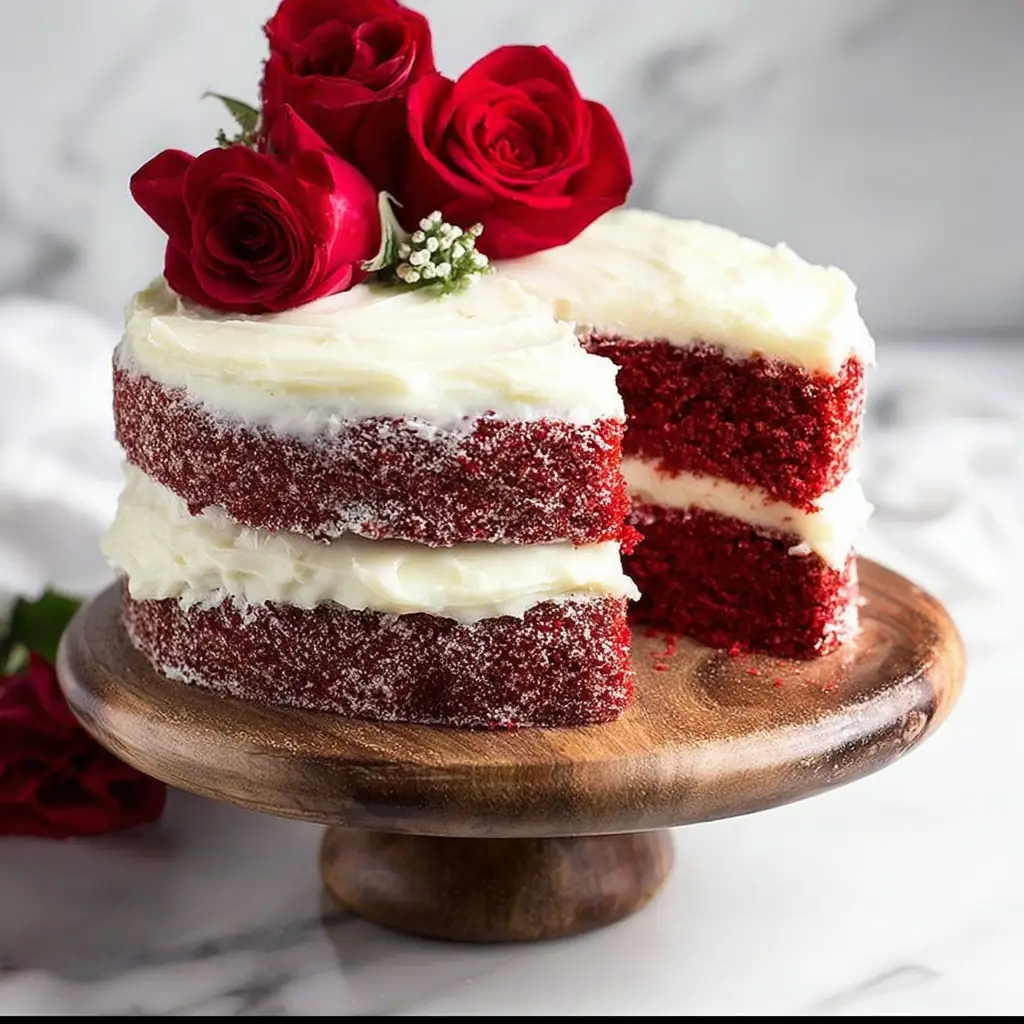
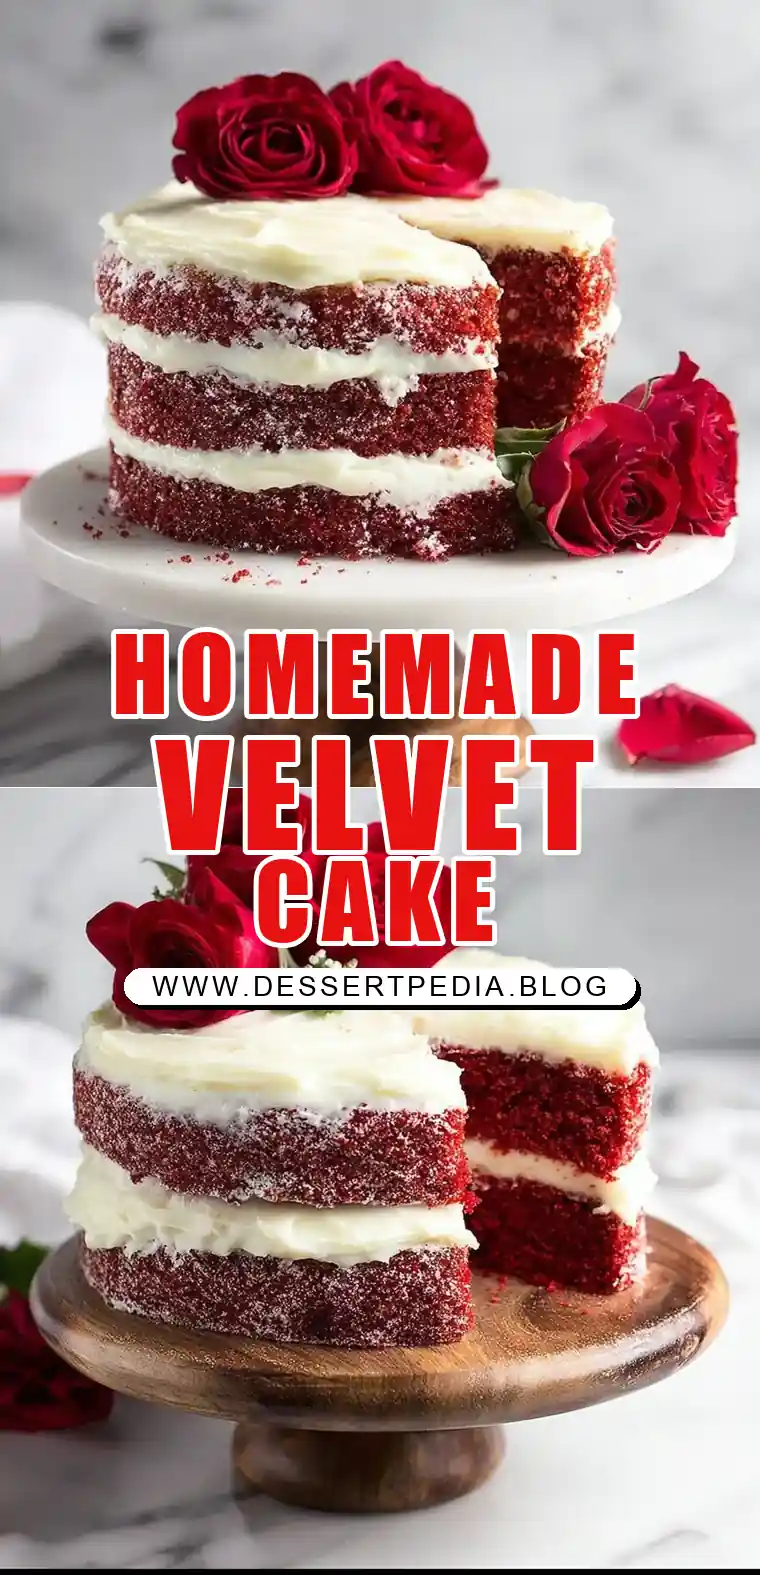
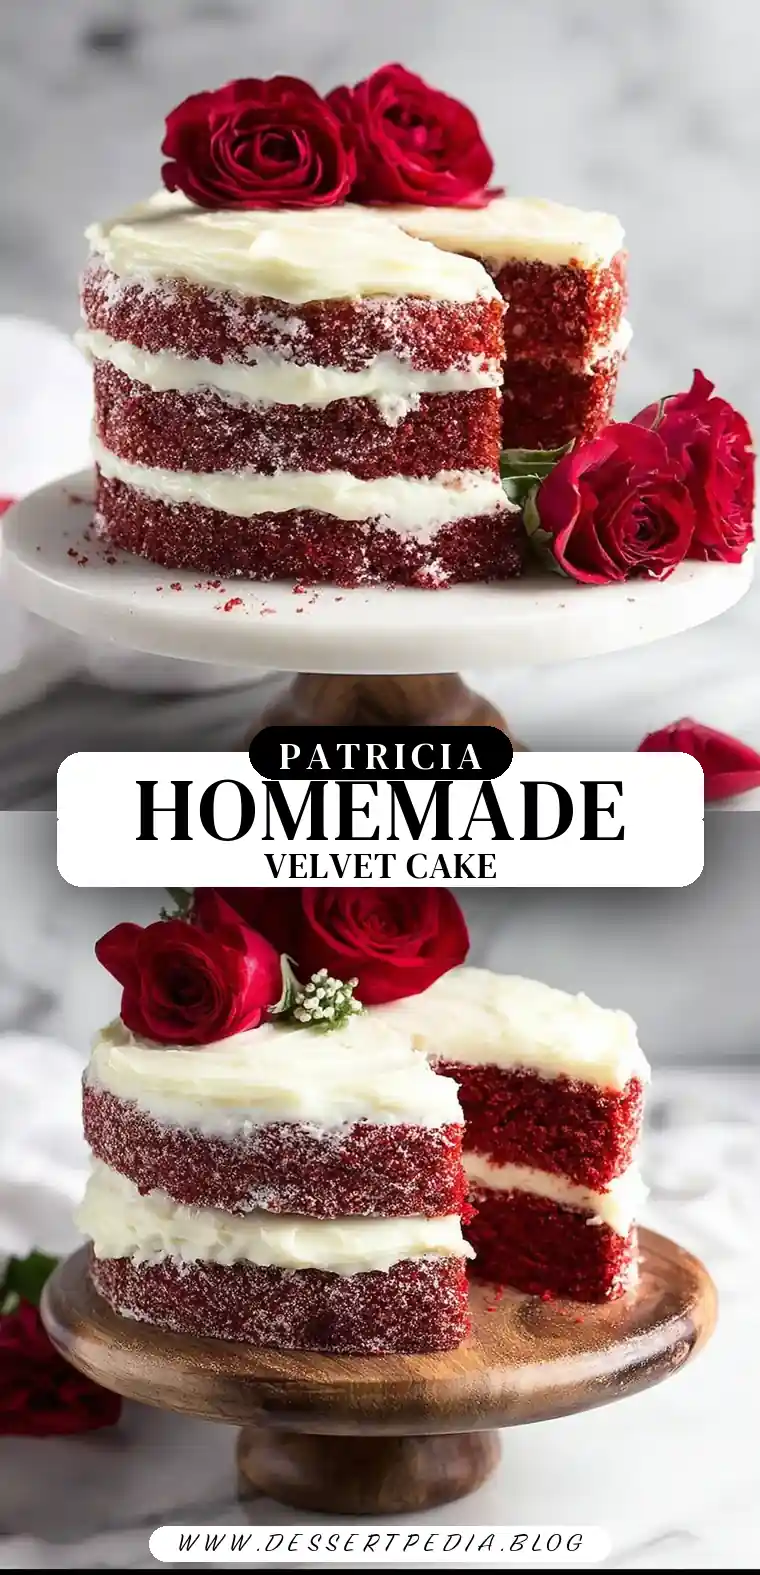
Homemade Red Velvet Cake Recipe
Baking is an art that transcends generations, turning simple ingredients into cherished family traditions. One such tradition in my family is the baking of red velvet cake, a recipe that has been passed down from my grandmother. The aroma of this cake, as it bakes, is nothing short of magical, enveloping the kitchen in warmth and sweetness. With its vibrant color and rich flavor, this homemade red velvet cake is a delightful way to bring that comforting feeling into your own home. Inspired by my grandmother’s cozy weekend bakes, this cake is a testament to her knack for making even the most ordinary days feel special with her simple, yet delicious, creations. It is with great joy that I share this recipe, hoping it brings joy and indulgence to your gatherings, just as it did in hers.
Why This Recipe Works:
The allure of this red velvet cake lies in its perfect harmony of flavors and textures. Here’s why this recipe is a winner every time:
Moist Texture: The blend of canola oil and buttermilk ensures that the cake remains moist, with every bite melting in your mouth. This combination is essential for achieving the cake’s signature soft crumb.
Rich Flavor: Cocoa powder adds a subtle depth of flavor, while the cream cheese frosting provides a tangy contrast to the cake’s sweetness. This balance is what makes red velvet cake stand out from other cakes.
Vibrant Color: Red food coloring is responsible for the iconic red velvet hue that makes this cake visually appealing. The color is vibrant enough to catch the eye, yet subtle enough to be elegant.
Simple Preparation: Using everyday ingredients and straightforward steps, this recipe is perfect for bakers of all skill levels. You don’t need to be a pastry chef to achieve a professional-looking cake.
Perfect Portion Size: Designed for two 6″ round pans, this cake is just right for intimate gatherings or family dinners, making it versatile for various occasions.
The Historical Charm of Red Velvet Cake:
Red velvet cake has a rich history that adds to its charm. Originally thought to have emerged in the early 20th century, the cake gained popularity during the Great Depression. Its red color was initially a result of the reaction between cocoa powder and acidic ingredients like buttermilk and vinegar. Over time, food coloring was added to enhance the color, creating the vibrant red hue we recognize today.
The cake became a staple in Southern U.S. cuisine, often served at celebrations and gatherings. Its popularity surged once again in the 1980s, thanks to its starring role in the film “Steel Magnolias.” Today, red velvet cake remains a beloved dessert, cherished for its unique flavor and striking appearance.
Ingredients:
The ingredients for this red velvet cake are carefully chosen to ensure the perfect balance of flavor and texture:
- Canola Oil: Provides moisture without overpowering the cake’s flavor, contributing to its tender crumb.
- Granulated Sugar: Sweetens the cake while contributing to its tender texture.
- Buttermilk: Adds tanginess and moisture; essential for red velvet’s distinct taste.
- Egg Whites: Ensure a light texture; save the yolks for another recipe.
- Red Food Coloring: Gives the cake its classic red color; feel free to adjust the amount to your preference.
- Vanilla Extract: Enhances the overall flavor profile of the cake.
- White Vinegar: Reacts with baking soda to help the cake rise, contributing to its light, airy texture.
- All-Purpose Flour: Forms the structure of the cake, providing the necessary stability.
- Unsweetened Cocoa Powder: Adds a hint of chocolate flavor, deepening the cake’s taste.
- Baking Soda: Leavens the cake, ensuring it rises properly.
- Salt: Balances the sweetness and enhances flavor, making each ingredient shine.
For the cream cheese frosting: – Cream Cheese: Softened for easy mixing; provides the frosting’s signature tang. – Unsalted Butter: Softened; adds richness and smoothness to the frosting. – Powdered Sugar: Sweetens and thickens the frosting, giving it body and structure. – Vanilla Extract: Adds depth to the frosting’s flavor, complementing the cake perfectly. – Heavy Cream: Adjusts the frosting’s consistency, making it spreadable and smooth.
Step-by-Step Instructions:
Creating this cake is a rewarding experience, with each step building toward a delightful end result:
- Preheat your oven to 350°F and prepare two 6″ round cake pans by lining them with parchment paper and lightly spraying the sides with cooking spray.
- In a medium bowl, use an electric mixer to beat together canola oil, sugar, buttermilk, egg whites, red food coloring, vanilla extract, and vinegar until well combined. This mixture should be smooth and vibrant.
- In another bowl, whisk together flour, baking soda, salt, and cocoa powder. Ensure there are no lumps for a smooth batter.
- Gradually add the dry ingredients to the wet ingredients, mixing until just combined. Avoid over-mixing to ensure a tender crumb.
- Divide the batter evenly between the prepared cake pans. Bake for 25-35 minutes, until a cake tester inserted into the center comes out clean. The cakes should spring back when touched lightly.
- Let the cakes cool completely on a wire rack. Once cool, remove them from the pans and discard the parchment paper.
- For the frosting, ensure all ingredients except the cream are at room temperature. Beat the cream cheese and butter together for about 45 seconds, until smooth and creamy.
- Gradually add powdered sugar, one cup at a time, beating continuously. The frosting should be thick and smooth.
- Add vanilla extract and heavy cream, beating until the frosting is fluffy and spreadable. Add more cream if needed to achieve the desired consistency.
- Place one cake layer on a serving dish, spread a heaping cup of frosting on top, and place the second layer over it.
- Frost the top and sides of the cake, smoothing with an offset spatula and cake scraper for a professional finish.
Prep Time: 15 minutes
Cooking Time: 30 minutes
Total Time: 45 minutes
Yield: 4-6 Servings
Table: Calorie Breakdown for a Typical Serving
| Component | Calories | Carbs | Protein | Fat | Sugar |
|---|---|---|---|---|---|
| Cake | 340 | 40g | 4g | 18g | 28g |
| Frosting | 150 | 30g | 1g | 5g | 27g |
| Total | 490 | 70g | 5g | 23g | 55g |
Patricia’s Tips for Success:
To ensure that your red velvet cake turns out perfectly every time, consider these tips:
Tip 1: Ensure all ingredients are at room temperature to achieve a smooth batter and frosting. This helps the ingredients blend more easily and evenly.
Tip 2: Use gel food coloring for a more vibrant red color without altering the cake’s texture. Gel colors are more concentrated, so you’ll need less to achieve the desired hue.
Tip 3: Invest in a good quality offset spatula and cake scraper for professional-looking frosting. These tools make it easier to achieve a smooth finish.
Tip 4: Don’t over-mix the batter; mix just until the ingredients are combined to avoid a dense cake. Over-mixing can lead to a tough texture.
Tip 5: Allow the cake to cool completely before frosting to prevent the frosting from melting. A cool cake ensures the frosting sets properly and stays in place.
Cooking Variations:
Red velvet cake is versatile, and you can customize it to suit your taste:
Variation 1: Substitute half of the cocoa powder with Dutch-process cocoa for a deeper chocolate flavor. This will enhance the cake’s richness.
Variation 2: Add a teaspoon of espresso powder to the batter to enhance the cocoa notes. Coffee and chocolate are a classic pairing that intensifies the flavor.
Variation 3: Include a tablespoon of orange zest in the frosting for a citrusy twist. The bright citrus flavor pairs beautifully with the cream cheese frosting.
Serving Suggestions:
Enhance the experience of enjoying your red velvet cake with these serving suggestions:
Suggestion 1: Pair with a scoop of vanilla bean ice cream for extra indulgence. The cold, creamy ice cream complements the warm flavors of the cake.
Suggestion 2: Serve with fresh berries to complement the cake’s sweetness. Berries add a pop of color and a refreshing contrast to the cake’s rich flavors.
Suggestion 3: Enjoy with a cup of freshly brewed coffee or espresso for a delightful afternoon treat. The robust flavors of coffee highlight the cake’s cocoa notes.
Additional Thoughts:
There’s something truly special about sharing a homemade red velvet cake with loved ones. The vibrant red color, soft texture, and tangy frosting make it a showstopper at any gathering. Remember, the joy of baking lies not just in the end result, but in the process itself. Whether you’re baking for a special occasion or simply to bring a smile to someone’s face, this cake is sure to make a lasting impression.
Join the Conversation:
I would love to hear about your experiences with this homemade red velvet cake recipe. Did it remind you of a cherished memory or inspire a new tradition in your home? Share your thoughts, tips, or any variations you tried in the comments below. Let’s create a community where we can all learn, share, and celebrate the joy of baking together.
Conclusion:
Baking this homemade red velvet cake is more than just following a recipe; it’s about creating something special and sharing the love with friends and family. With its perfect balance of flavors and textures, this cake is bound to become a favorite in your dessert repertoire. Happy baking!
Frequently Asked Questions:
Q: Can I use a different type of oil?
A: Yes, you can substitute canola oil with vegetable oil or melted coconut oil for a slightly different flavor.
Q: How do I make buttermilk if I don’t have any?
A: Mix 1/2 cup of milk with 1/2 tablespoon of lemon juice or white vinegar. Let it sit for 5 minutes before using.
Q: Can I make this recipe gluten-free?
A: Yes, use a 1-to-1 gluten-free baking flour blend to replace the all-purpose flour.
Q: How should I store leftovers?
A: Keep the cake in an airtight container in the fridge for up to 5 days. Allow it to come to room temperature before serving.
Q: What can I do with leftover egg yolks?
A: Use them for making custards, sauces, or rich scrambled eggs.
Q: Can I freeze this cake?
A: Yes, wrap each cake layer tightly in plastic wrap and foil, and freeze for up to 3 months. Thaw overnight in the fridge before frosting.
Q: Is there an alternative to cream cheese frosting?
A: You can use a classic buttercream or mascarpone frosting as a delicious alternative.
Homemade Red Velvet Cake
Ingredients
Equipment
Method
- Line two 6″ round cake pans with parchment paper on the bottom, and then lightly spray the sides with cooking spray.
- Preheat the oven to 350°F.
- In a medium bowl, beat together the canola oil, sugar, buttermilk, egg white, red food coloring, vanilla, and vinegar using an electric mixer.
- In another bowl, whisk together the flour, baking soda, salt and cocoa powder.
- Slowly add the dry ingredients to the wet ingredients, while mixing.
- Divide the batter between the two cake pans, and bake for 25-35 minutes, until a cake tester comes out clean. Let cool completely on a wire rack. When cool, tip the cakes out of the pan, and remove the parchment liner on the bottom.
- Once the cake is cool, make the frosting. Make sure everything is room temperature (except the cream). Beat the cream cheese and butter for about 45 seconds to break it up.
- Begin adding the powdered sugar one cup at a time while beating.
- Add the vanilla extract and heavy cream, and beat again. Add extra heavy cream if needed to form a fluffy, spreadable frosting.
- Place one cake layer on a serving dish. Add a heaping one cup of cream cheese frosting on top, and spread it almost to the edge of the cake.
- Add the other cake layer on top. Add the remaining frosting to the top of the cake, and using an off-set spatula, move the frosting down the sides of the cake. Use a cake scraper or bench scraper to smooth the sides of the cake.
- Serve immediately, or store in the fridge until serving.