Homemade Apple Cider
Introduction
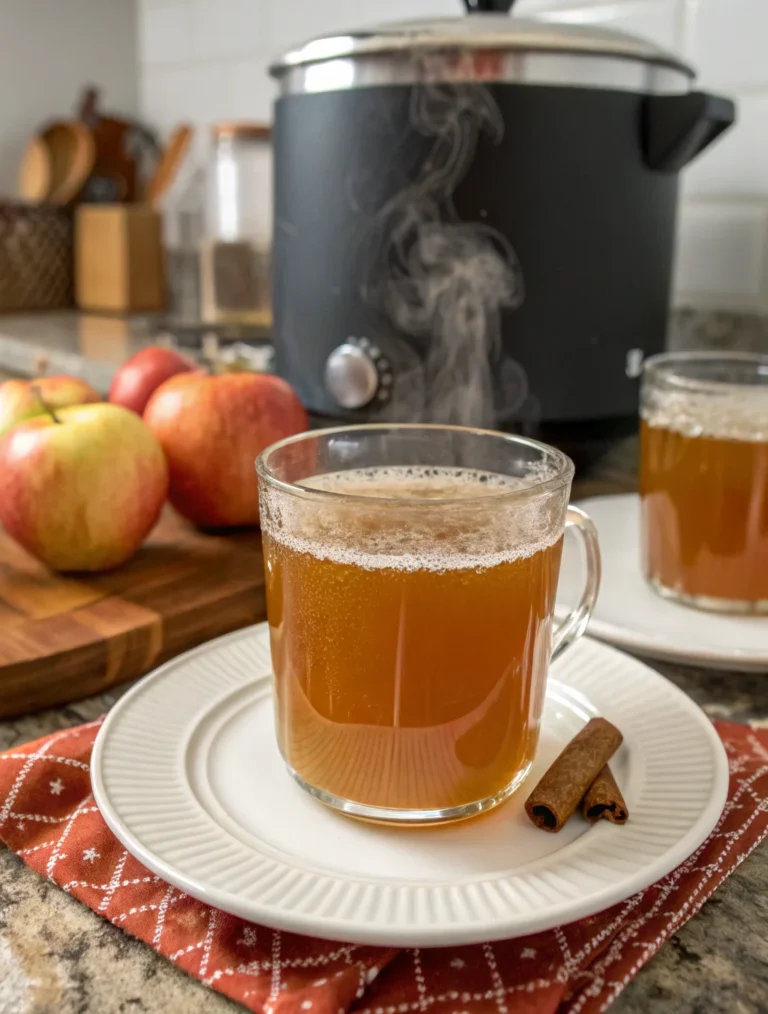
Ah, the smell of apples simmering with spices—there’s nothing quite like it to evoke warm memories of fall. Homemade Apple Cider, a staple in my grandmother’s kitchen, was often the centerpiece of our cozy weekend gatherings. As the leaves turned and the air grew crisp, we’d gather around a steaming pot, the scent of cinnamon and allspice wrapping around us like a comforting embrace. It’s this sense of nostalgia and togetherness that I aim to share with you through this Homemade Apple Cider recipe. Whether you’re new to the world of cider-making or a seasoned pro, this recipe is sure to delight and inspire, bringing a touch of autumnal magic to your home.
Why This Recipe Works
- Simple Ingredients: This recipe uses just five ingredients, making it accessible and straightforward for any home cook.
- Rich Flavor: The combination of cinnamon and allspice infuses the cider with a warm, spicy complexity that elevates the natural sweetness of the apples.
- Customizable Sweetness: By adjusting the amount of sugar, you can tailor the cider to your taste preference—whether you like it more tart or a bit sweeter.
- Versatile Serving Options: Enjoy it warm to chase away the chill or chilled for a refreshing treat any time of year.
- Nostalgic Experience: The process of making cider is as rewarding as the final product, offering a sensory delight that connects us to traditions of the past.
Ingredients
- 10 large apples, quartered: Choose a mix of apple varieties for a balanced flavor profile.
- Water, to cover: Enough to submerge the apples by at least 2 inches ensures even cooking.
- ¾ cup white sugar: Adjust to taste, depending on the sweetness of your apples.
- 1 tablespoon ground cinnamon: Adds warmth and depth; essential for that classic cider aroma.
- 1 tablespoon ground allspice: Complements the cinnamon, adding a hint of complexity.
Step-by-Step Instructions
- Prepare the Apples: Begin by washing the apples thoroughly. Quarter each apple, ensuring that the core and seeds are left intact. This simplifies preparation and allows the natural pectin to help thicken the cider slightly as it cooks.
- Combine Ingredients: Place the apple quarters into a large stockpot. Pour enough water over the apples to cover them by at least 2 inches. This depth is crucial for allowing the apples to cook evenly without drying out.
- Add Sweetness and Spice: Stir in the sugar, ground cinnamon, and ground allspice. This combination is what gives the cider its signature taste, reminiscent of autumn festivities.
- Initial Boil: Set your stockpot over medium-high heat and bring the mixture to a boil. This step is important for breaking down the apples and releasing their juices.
- Hour-Long Boil: Allow the mixture to boil, uncovered, for 1 hour. During this time, stir occasionally to prevent any sticking and ensure even cooking.
- Simmering Stage: After the initial boil, reduce the heat to low and cover the pot. Let the cider simmer for an additional 2 hours. This slow cooking process allows the flavors to meld beautifully.
- Strain the Mixture: After simmering, carefully strain the apple mixture through a fine-mesh sieve to remove the solids. This step is essential for achieving a smooth texture.
- Fine Straining: For an even smoother cider, strain the liquid again through a cheesecloth-lined sieve. This extra step removes any remaining pulp or spice sediments.
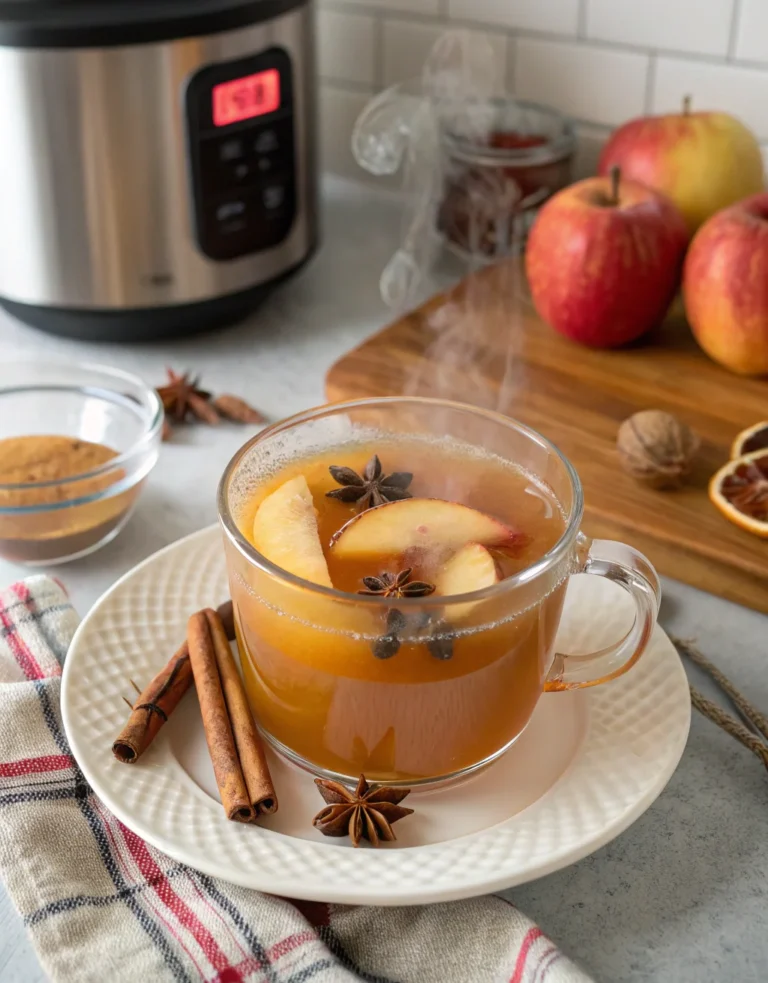
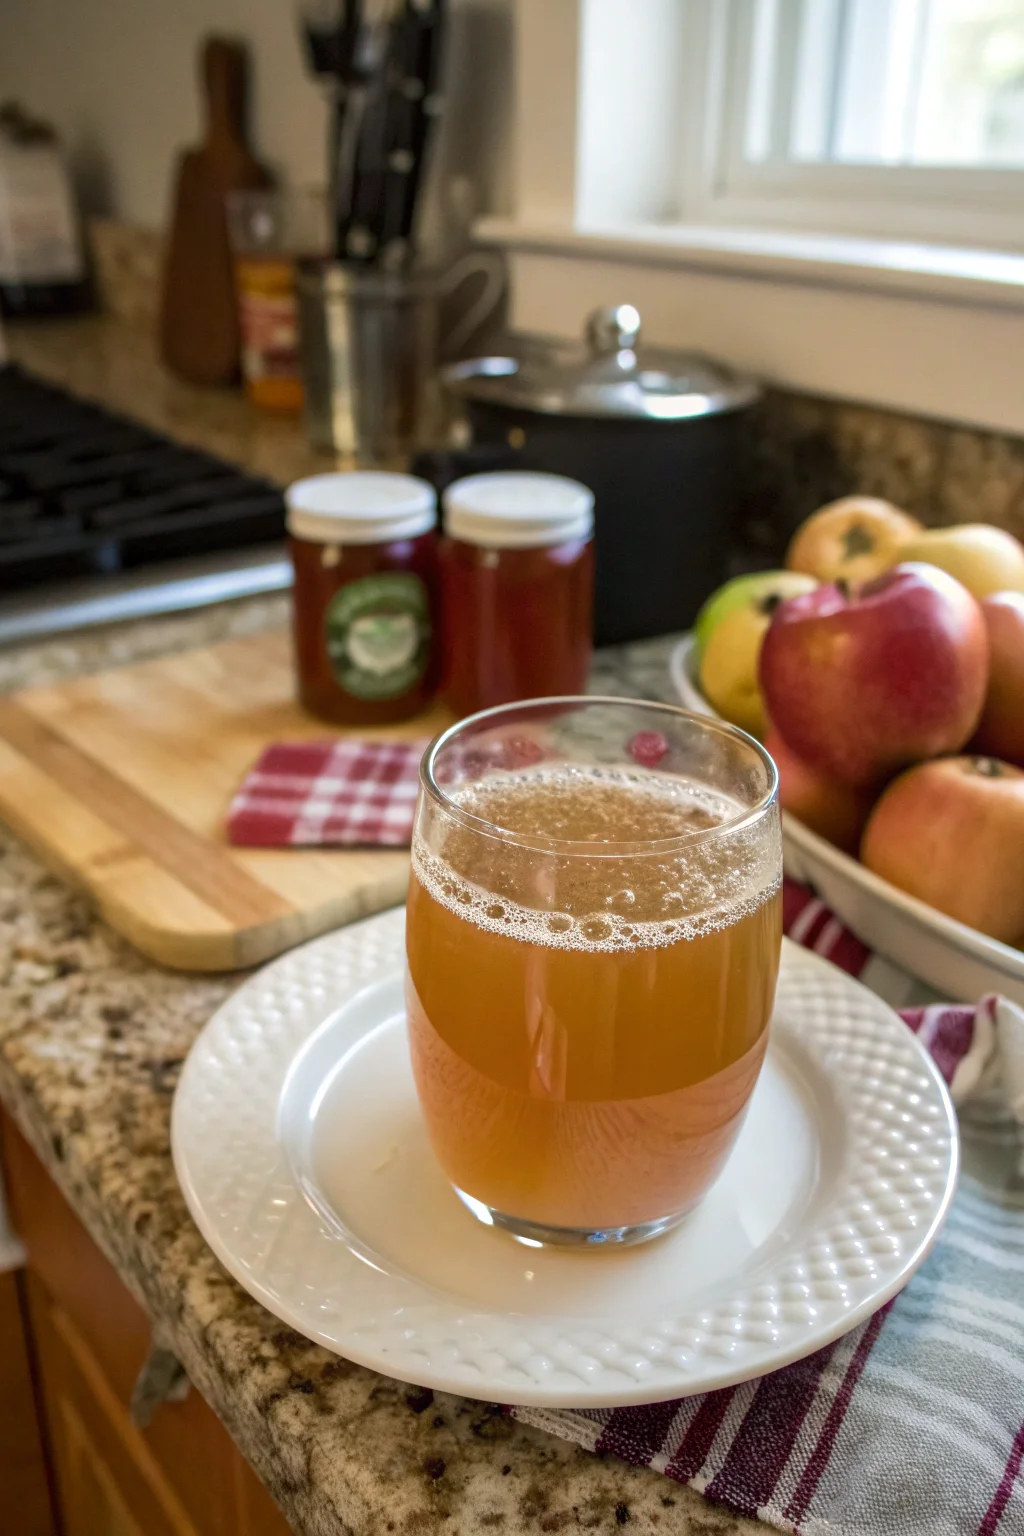
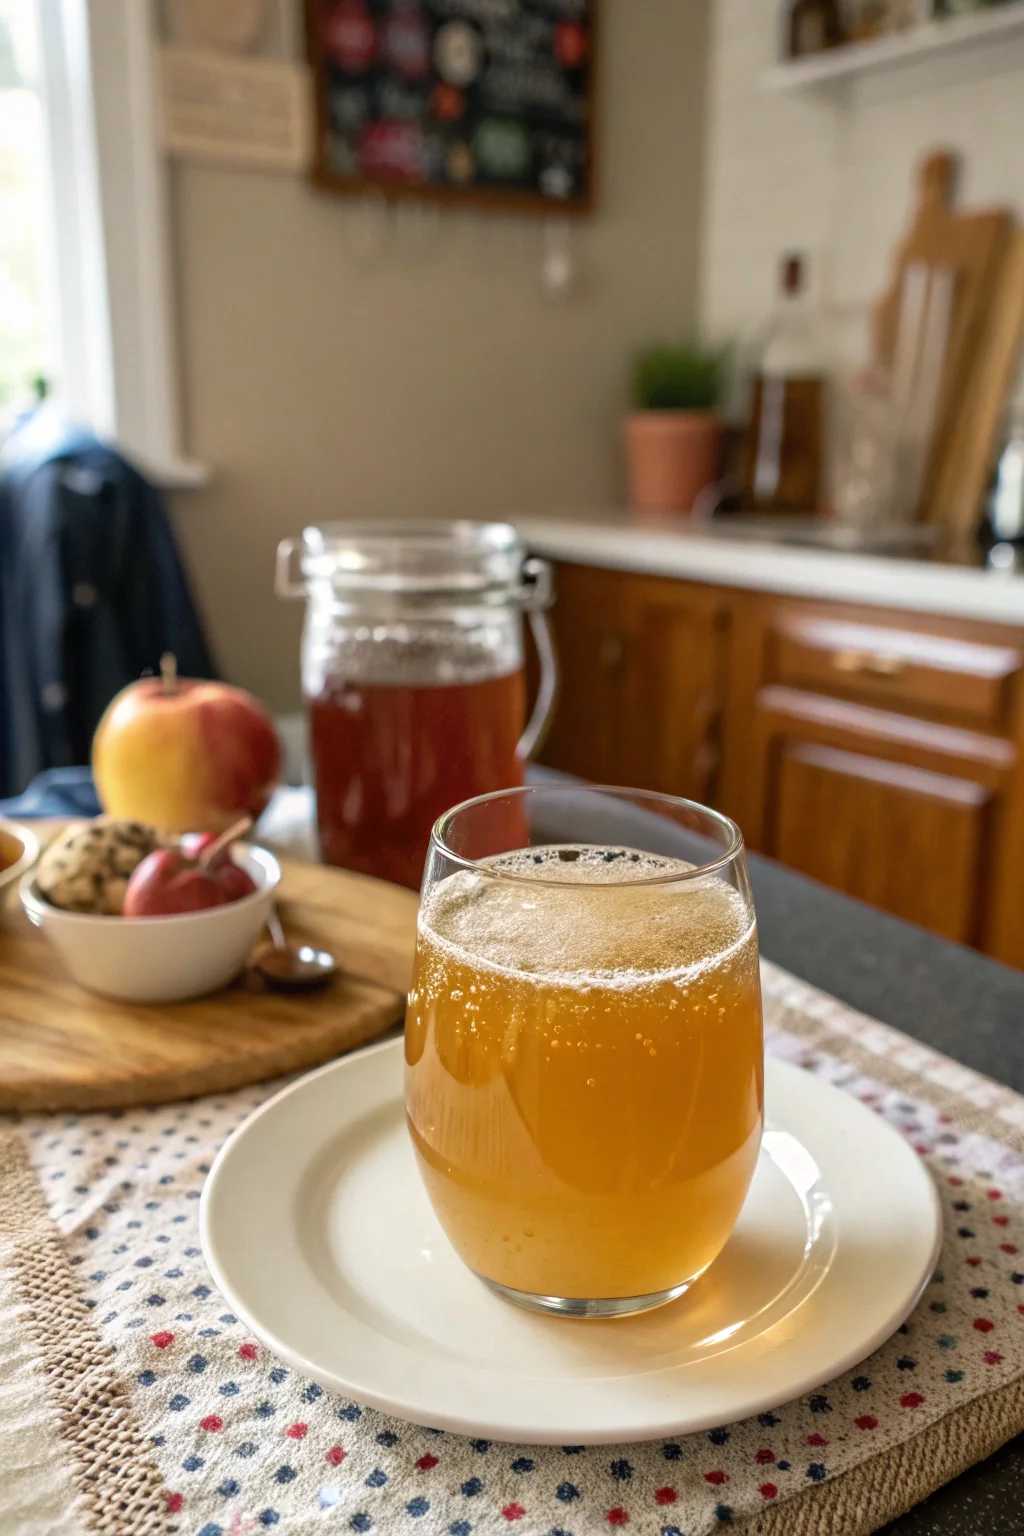
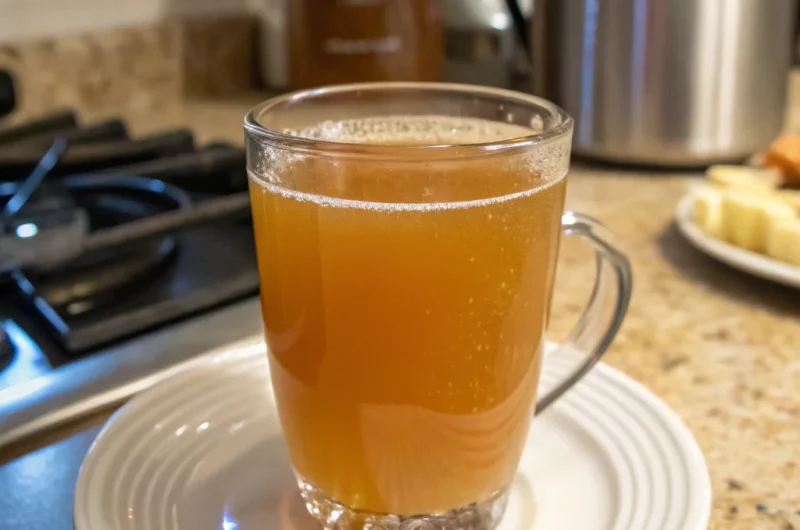
- Serving Options: Serve your homemade apple cider warm to enjoy its full, aromatic bouquet, or refrigerate it until cold for a refreshing alternative.
Prep Time: 15 minutes
Cooking Time: 3 hours
Total Time: 3 hours 15 minutes
Yield: 16 Servings
Table: Calorie Breakdown for a Typical Serving
| Component | Amount |
|---|---|
| Calories | 90 |
| Carbs | 24g |
| Protein | 0g |
| Fat | 0g |
| Sugar | 22g |
Patricia’s Tips for Success
Tip 1: Use a variety of apples for a balanced flavor profile—consider sweet and tart types like Honeycrisp and Granny Smith.
Tip 2: If you prefer a less sweet cider, start with half the sugar and add more to taste after the initial boil.
Tip 3: Stir occasionally while boiling to prevent apples from sticking to the bottom of the pot.
Tip 4: For a spicier kick, consider adding a pinch of ground cloves or nutmeg.
Tip 5: Ensure your cheesecloth is dampened before lining the sieve to prevent it from absorbing too much cider.
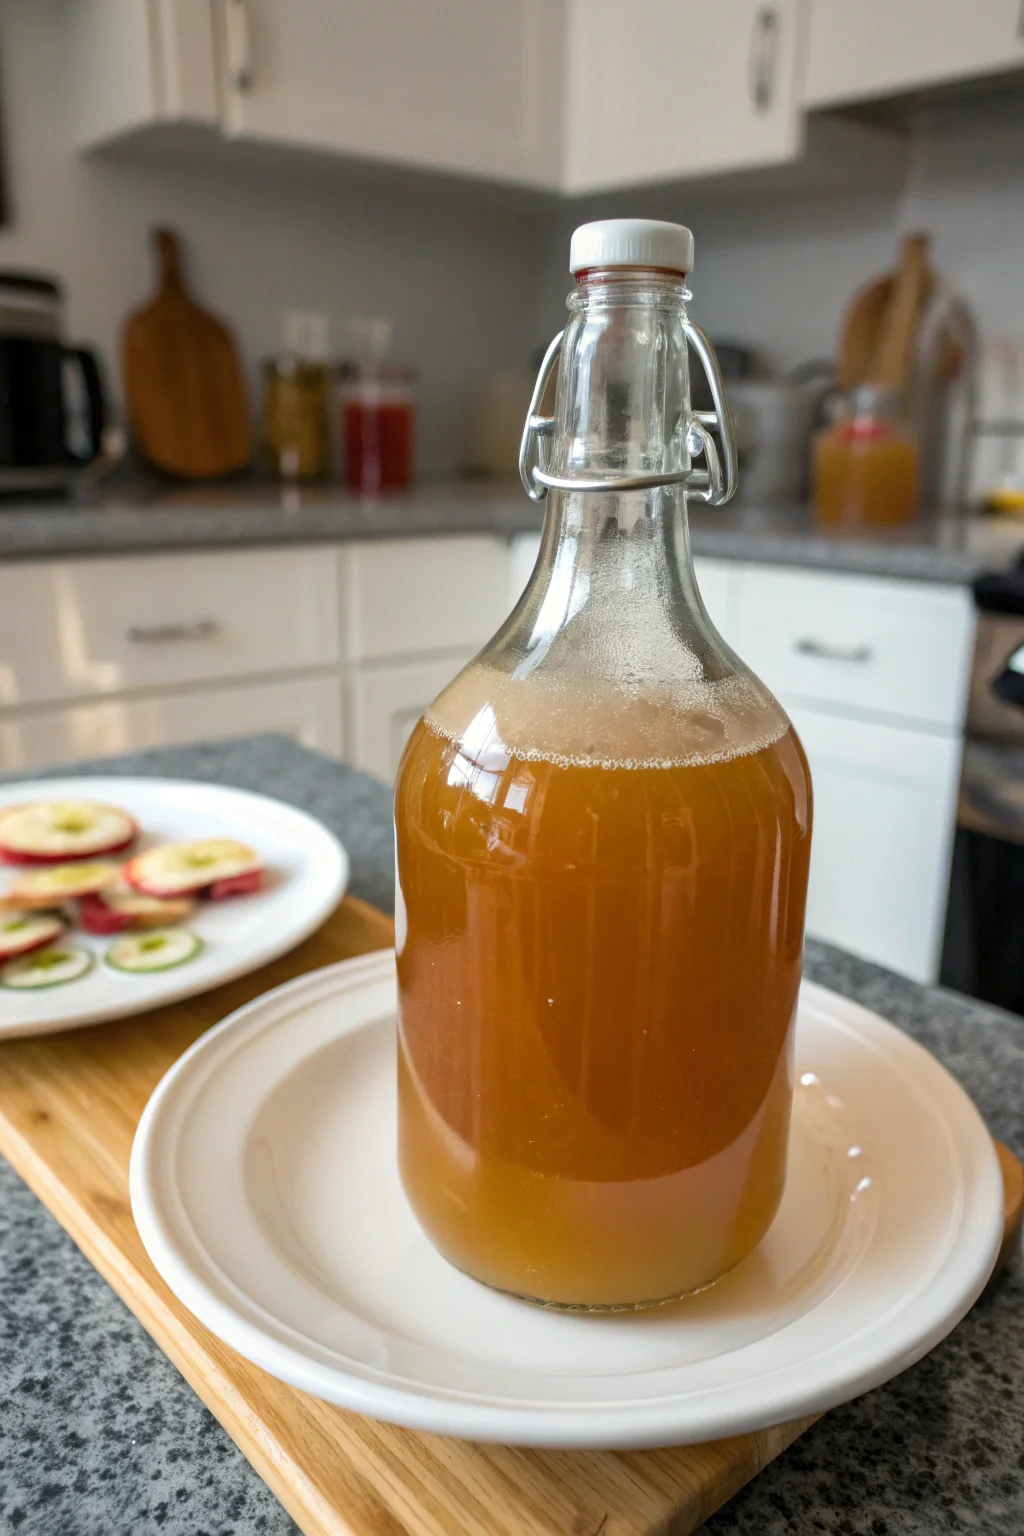
Tip 6: Store leftover cider in an airtight container in the refrigerator to maintain freshness.
Tip 7: Freeze the cider in ice cube trays for a quick addition to cocktails or to chill without diluting.
Cooking Variations
Variation 1: Add some ginger slices for a zingy twist and a hint of warmth.
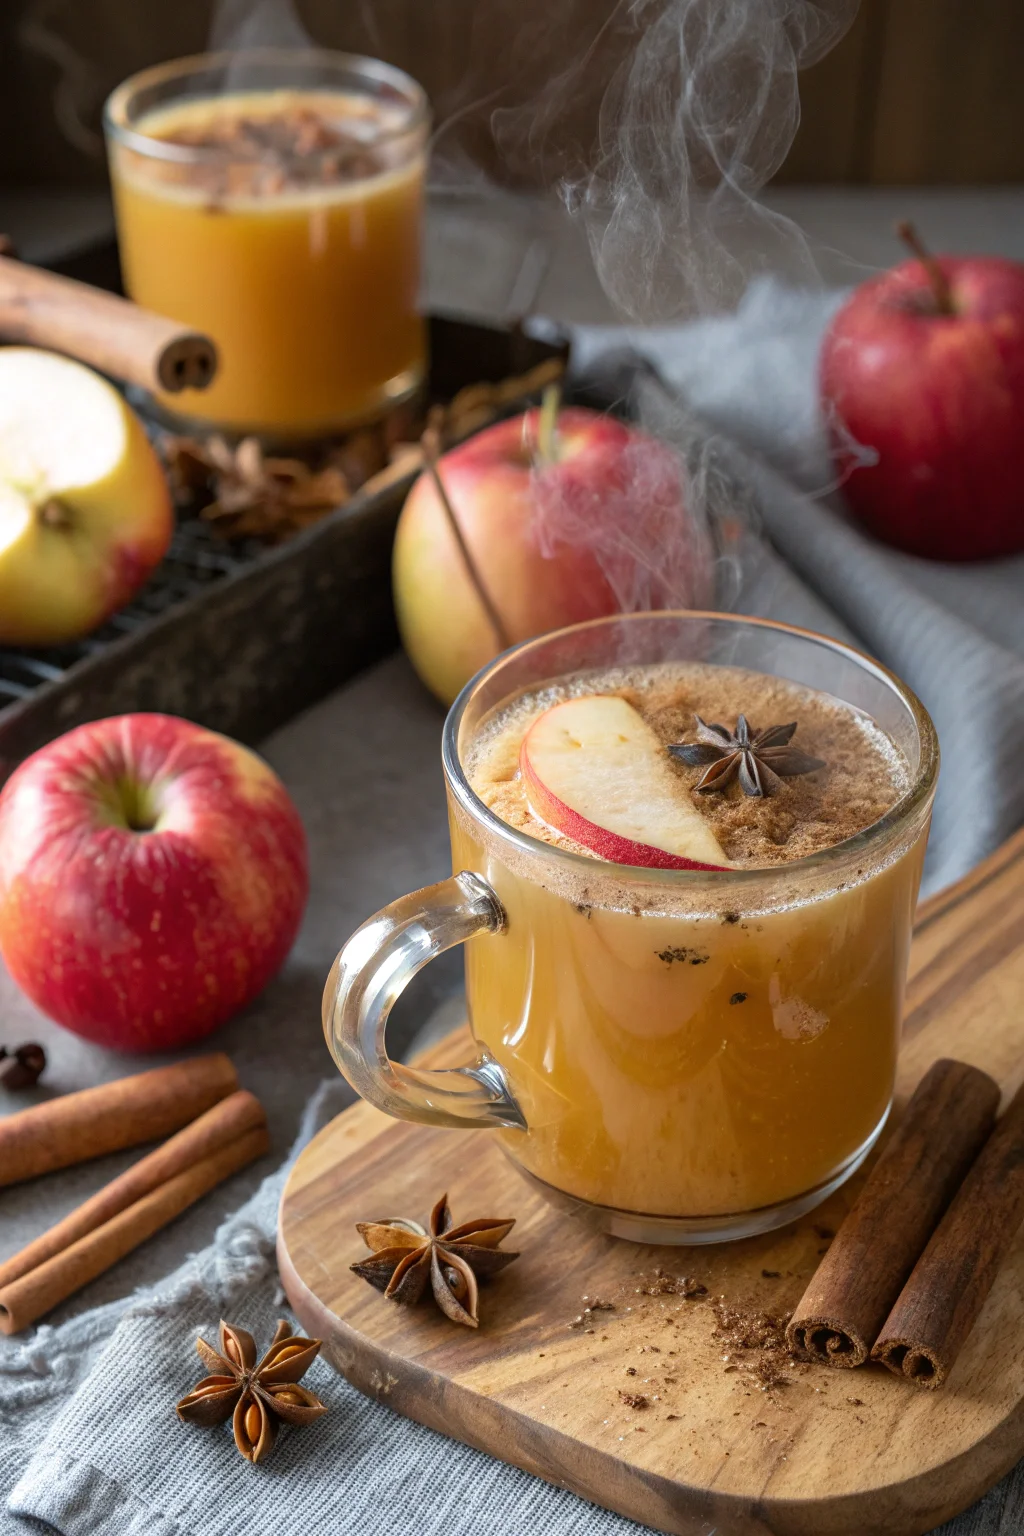
Variation 2: Infuse with a couple of star anise pods for a licorice-like flavor that pairs beautifully with apple.
Variation 3: For an adult version, spike with a splash of bourbon or rum before serving.
Variation 4: Experiment with different sweeteners like honey or maple syrup for a unique flavor profile.
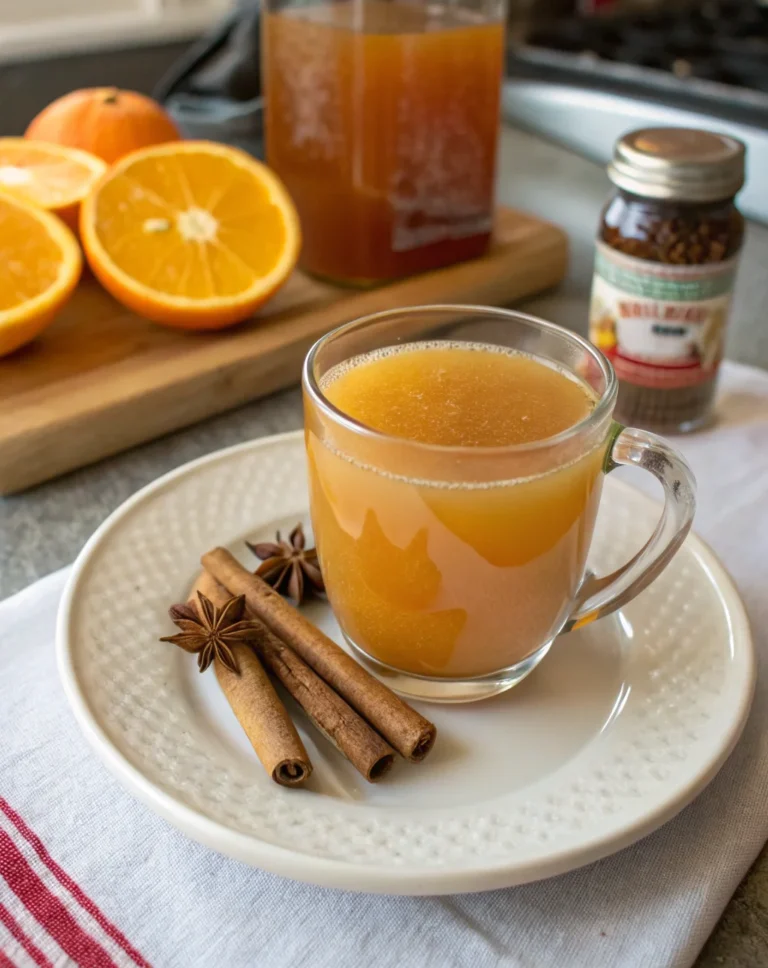
Variation 5: Add a splash of cranberry juice before serving for a festive, tart twist.
Serving Suggestions
Suggestion 1: Pair with homemade gingerbread cookies for a classic holiday treat.
Suggestion 2: Serve with a slice of sharp cheddar cheese for a delightful contrast.
Suggestion 3: Use as a base for mulled cider by heating with additional spices like star anise and cloves.
Suggestion 4: Enjoy with a warm apple pie or crumble for an all-apple experience.
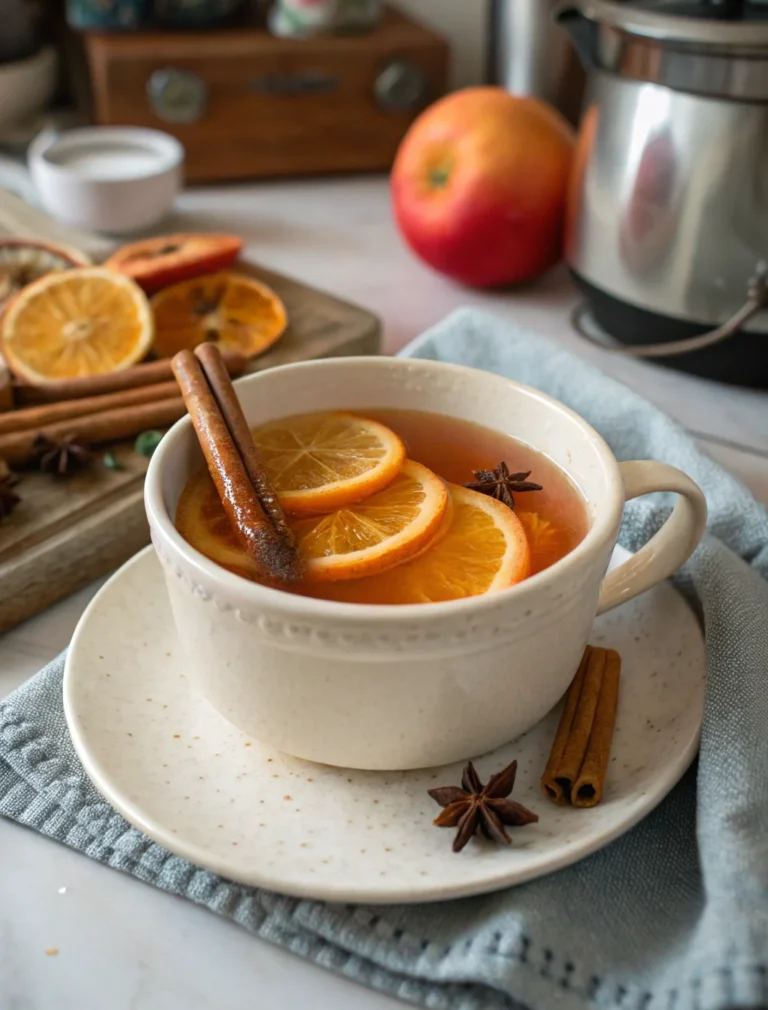
Suggestion 5: Serve chilled in a glass with a cinnamon stick for a refreshing summer beverage.
Additional Thoughts
There’s something profoundly comforting about crafting your own Homemade Apple Cider. Not only is it a celebration of autumn’s bounty, but it’s also a tribute to the art of slow cooking. This recipe harks back to a simpler time, when food was made with love and shared with those closest to us. In my grandmother’s kitchen, the process of making cider was as much about bonding as it was about cooking. The apples, handpicked by us from the local orchard, were the main event of an afternoon spent laughing and storytelling.
The act of stirring the pot, watching the apples break down, and inhaling the intoxicating aroma of cinnamon and allspice was a lesson in patience and anticipation. It taught me that some of the best things in life come from waiting, from allowing flavors to develop naturally and fully. As the cider simmered, we’d often huddle around the table, savoring the moments of togetherness and eagerly awaiting that first warm sip.
In today’s fast-paced world, making Homemade Apple Cider is a way to slow down, to reconnect with the rhythms of nature and the traditions that ground us. It’s an opportunity to create new memories while honoring the old, to share a piece of ourselves with others through the food we make. Whether you’re serving it at a family gathering, a holiday feast, or simply enjoying it by yourself on a quiet evening, this cider is more than just a beverage—it’s an experience, a story, a work of love.
It’s also incredibly versatile. As mentioned, you can tweak the sweetness, spice levels, and even add other flavors to suit your personal taste. The variations are endless, limited only by your imagination. And the best part? It’s incredibly forgiving. Even if you’re new to cooking, this recipe will guide you with ease, ensuring a delightful result every time.
So, as you embark on your cider-making journey, I encourage you to savor each step. Enjoy the process as much as the final product. Invite friends or family to join you, turning it into a shared adventure. After all, the joy of cooking is as much about the connections we forge as it is about the food we create. Here’s to happy cooking, warm sips, and the beautiful memories yet to be made.
Join the Conversation
I’d love to hear how your Homemade Apple Cider journey goes! Did you try any variations? How did it turn out? Share your experiences, tips, or even a photo in the comments below. Let’s create a community of cider lovers, sharing our stories and inspiring each other with our culinary creations. There’s nothing more rewarding than knowing that something I’ve shared has brought joy to your kitchen. So, pour yourself a cup, settle in, and let’s chat!
Conclusion
Crafting Homemade Apple Cider is not just about creating a delicious drink; it’s about embracing tradition, indulging in the simple pleasures, and fostering connections with those around us. This recipe, with its rich flavors and comforting aroma, is a testament to the power of food to bring us together and create lasting memories. So, as the seasons change and the air turns crisp, let this cider be your companion, warming both body and soul. Here’s to the joy of cooking, the magic of fall, and the timeless delight of a well-made cider.
Frequently Asked Questions
Q: Can I use different types of apples?
A: Yes, using a mix of apple varieties can enhance the flavor complexity of your cider.
Q: How long can I store homemade apple cider?
A: Store in the refrigerator for up to a week or freeze for longer storage.
Q: Can I make this cider sugar-free?
A: Absolutely! You can omit the sugar or use a sugar substitute if desired.
Q: What can I do with the leftover apple solids?
A: Use them as compost, or add them to baked goods for extra flavor and moisture.
Q: Can this recipe be doubled or halved?
A: Yes, adjust the ingredients proportionally to fit your desired yield.
Q: Is it necessary to strain the cider twice?
A: For the smoothest texture, double straining is recommended, but you can skip the second strain if you prefer a more rustic cider.
Q: How can I add more spice to my cider?
A: Additional spices like cloves, nutmeg, or ginger can be added during the initial cooking phase.
Homemade Apple Cider
Course: BeverageCuisine: AmericanDifficulty: EasyThis homemade apple cider recipe is a delicious and easy way to make your own cider without the need for an apple press. You can even freeze the cider for longer storage, making it perfect for enjoying throughout the season.
Ingredients
10 large apples, quartered
Water, to cover
¾ cup white sugar
1 tablespoon ground cinnamon
1 tablespoon ground allspice
Directions
- Place the quartered apples in a large stockpot.
- Cover the apples with water by at least 2 inches.
- Stir in the sugar, cinnamon, and allspice.
- Bring the mixture to a boil over medium-high heat.
- Allow the mixture to boil, uncovered, for 1 hour.
- Reduce the heat to low, cover the pot, and let it simmer for an additional 2 hours.
- Strain the apple mixture through a fine-mesh sieve to remove solids.
- Drain the cider again through a cheesecloth-lined sieve for a smoother texture.
- Serve the cider warm or refrigerate it until cold.
- Enjoy your homemade apple cider either warm or chilled!