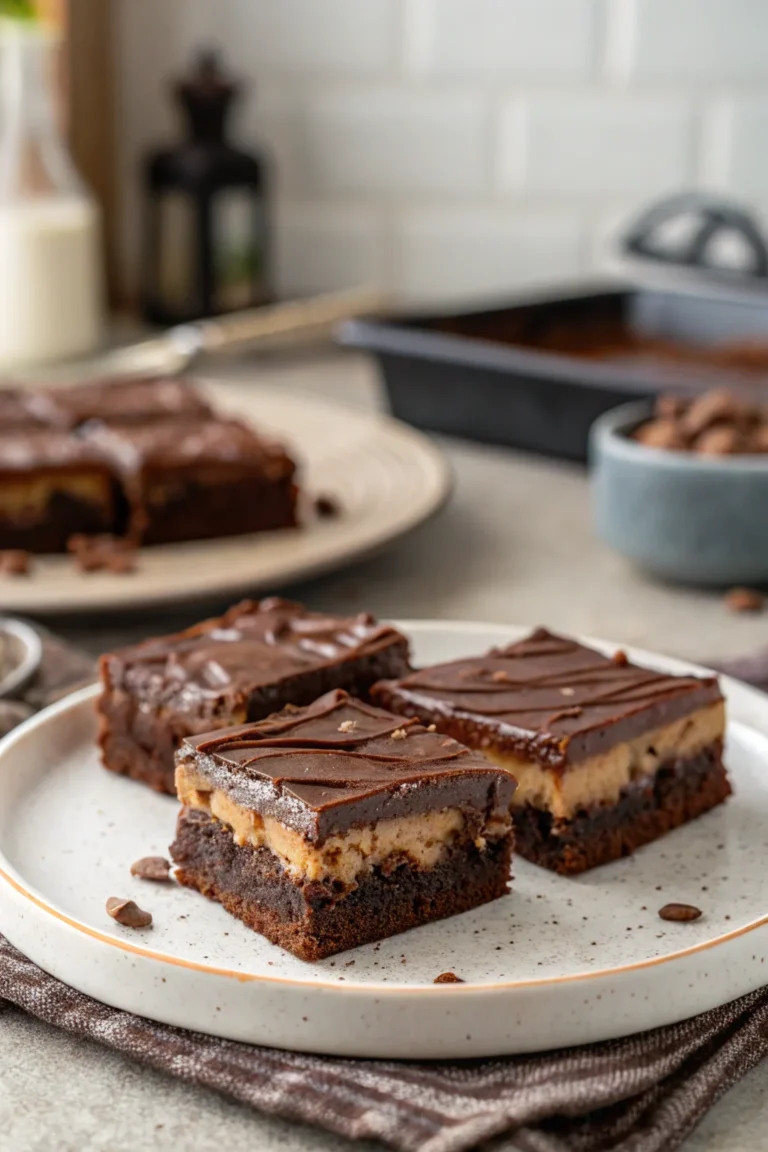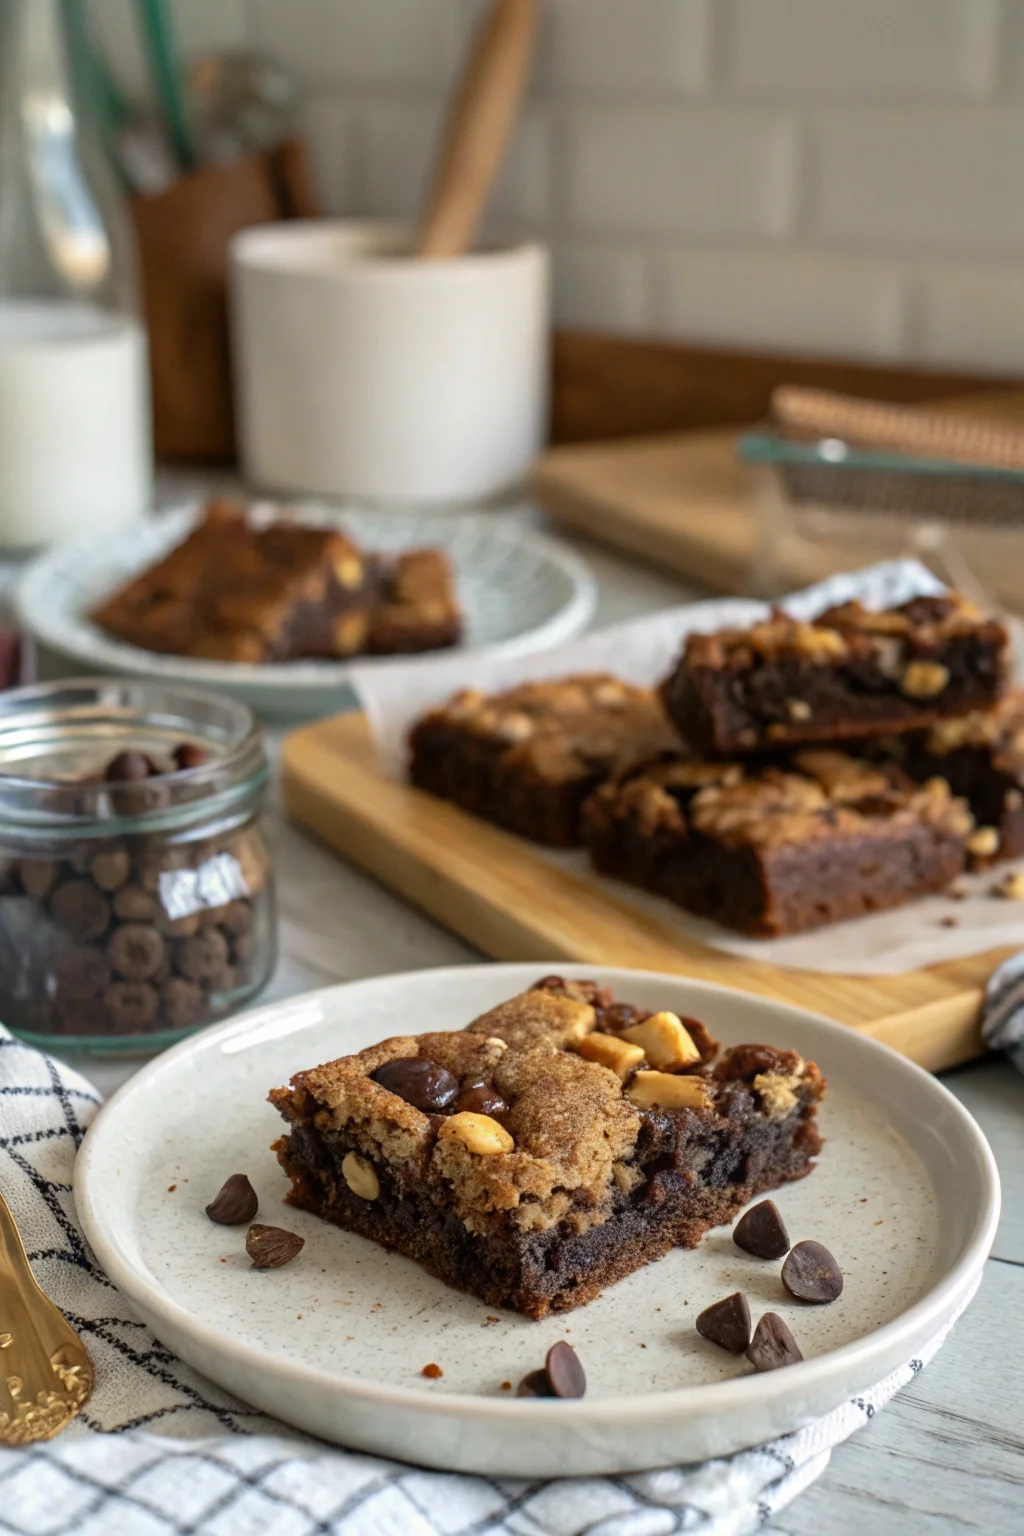
Fudgy Chewy Brookies
Welcome to Taste Buds Approved, where we transform the ordinary into extraordinary! Today, we’re diving into a delightful recipe that bridges the gap between brownies and cookies—Fudgy Chewy Brookies. Imagine the rich, dense indulgence of a brownie combined with the satisfying chew of a cookie. This treat is more than a dessert; it’s a nostalgic trip to my grandmother’s kitchen, where the scent of chocolate hung in the air like a sweet promise. Picture a cozy weekend spent with family, the kitchen warm with laughter and the aroma of baking. These brookies capture that essence perfectly, offering a comforting yet exciting culinary experience. As you embark on this baking journey, you’ll find that these Fudgy Chewy Brookies are not only delicious but also incredibly accessible, making them perfect for home cooks of any skill level. Let’s discover the joy of creating these delectable treats, where each bite is a testament to the simple pleasures of life.
Table of Contents
Why This Recipe Works
- Rich Chocolate Flavor: The combination of dark chocolate and cocoa powder ensures a depth of flavor that is both intense and satisfying.
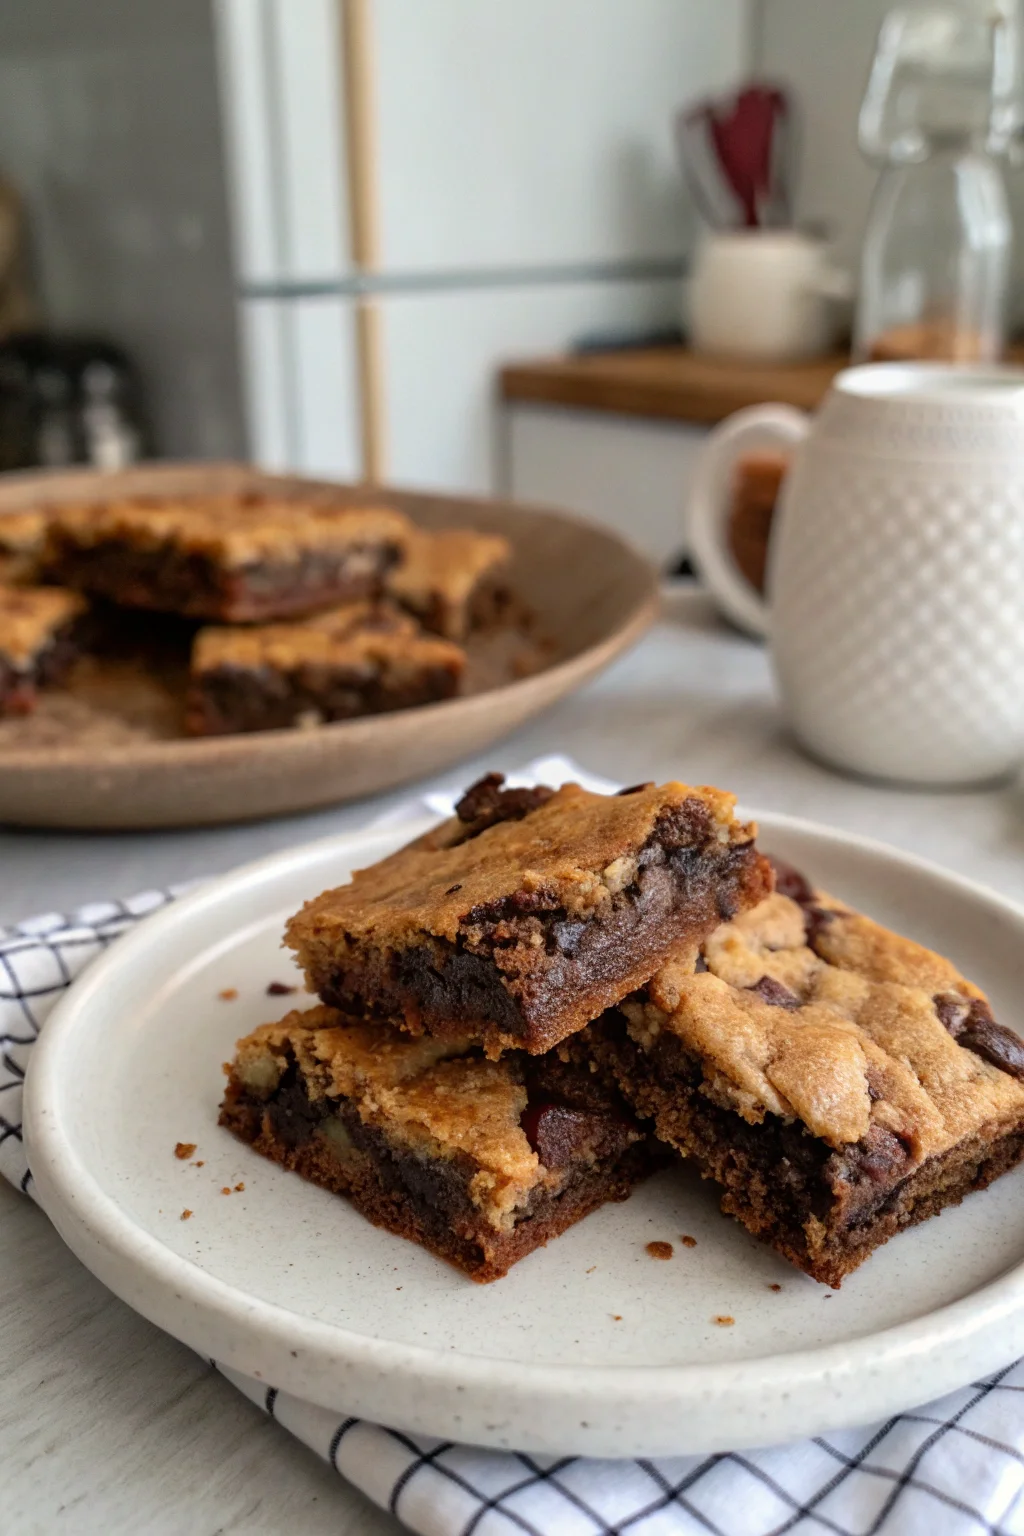
- Perfect Texture: With a fudgy center and a slightly crisp exterior, these brookies hit all the right notes for texture lovers.
- Easy Preparation: The recipe is straightforward, with clear steps that guide you through creating the perfect brookie without any fuss.
- Versatile Ingredients: Using everyday ingredients means you can whip these up whenever the craving strikes.
- Crowd-Pleaser: Perfect for parties or cozy gatherings, these brookies are bound to impress with their unique blend of two classic desserts.
Ingredients
- 95 g (¾ cups) plain (all-purpose) flour: Provides the structure for our brookies.
- 2 tablespoons cocoa powder: Enhances the chocolate flavor beautifully.
- 1 teaspoon baking powder: Helps the brookies rise slightly for the ideal texture.
- ¼ teaspoon salt: Balances the sweetness and enhances the chocolate notes.
- 225 g (1 ¼ cups) dark chocolate, chopped: Forms the rich, fudgy base.
- 56 g (¼ cups) butter, salted or unsalted: Adds richness and moisture.
- 2 eggs, room temperature: Provides binding and contributes to the chewy texture.
- 100 g (¾ cups) caster or granulated sugar: Sweetens and contributes to the crackly top.
- 90 g (½ cups) Demerara or raw sugar: Adds depth and a slight caramel flavor.
- 1 teaspoon vanilla: Enhances the overall flavor complexity.
- 85 g (½ cups) dark or milk chocolate chips: Adds bursts of chocolatey goodness throughout.
Step-by-Step Instructions
- Preheat Your Oven: Start by preheating your oven to 160ºC (320ºF) with a fan or 170ºC (338ºF) for conventional heating. Line a baking tray with parchment paper to prevent sticking and ensure even baking.
- Melt Chocolate and Butter: In a heatproof bowl, combine the chopped dark chocolate and butter. Place the bowl over simmering water, stirring occasionally until the mixture is smooth and fully melted. Stir in the vanilla extract, which will infuse the chocolate with a subtle, aromatic sweetness.
- Whip Eggs and Sugars: Using an electric hand whisk, beat the caster sugar, demerara sugar, and eggs in a separate bowl until the mixture is light, thick, and fluffy. This step is crucial for achieving the brookie’s signature texture.
- Prepare Dry Ingredients: Sift together the flour, cocoa powder, baking powder, and salt in another bowl. Add the chocolate chips to this dry mixture to ensure they are evenly distributed.
- Combine Wet Ingredients: Gradually fold the melted chocolate and butter mixture into the whipped eggs and sugars. Take your time to blend these two components, ensuring a homogenous mixture that is rich and glossy.
- Incorporate Dry Ingredients: Carefully fold the dry ingredients into the wet mixture using a spatula. Be gentle during this process to keep the batter light and airy, which will result in a perfect texture.
- Portion the Batter: Scoop tablespoons of the batter onto the prepared baking tray, spacing them apart to allow room for spreading during baking.
- Bake to Perfection: Place the tray in the preheated oven and bake for 12-14 minutes. Look for a set and crackly top, indicating the brookies are ready.
- Finish with a Sprinkle: Once baked, you can sprinkle the brookies with sea salt if desired. This adds a delightful contrast to the sweetness.
- Cool and Enjoy: Let the brookies cool on the tray for about 10 minutes before transferring them to a cooling rack to cool completely. This allows them to set properly and develop the ideal texture.
Prep Time: 15 minutes
Cooking Time: 14 minutes
Total Time: 29 minutes
Yield: 15 Servings
Table: Calorie Breakdown for a Typical Serving
| Nutrient | Amount per Serving |
|---|---|
| Calories | 180 |
| Carbohydrates | 23g |
| Protein | 2g |
| Fat | 9g |
| Sugar | 15g |
Patricia’s Tips for Success
Tip 1: Use high-quality chocolate for the best flavor. The chocolate is the star of this recipe, so opt for a good brand.
Tip 2: Ensure the eggs are at room temperature. This helps them whip up to their full volume, creating a light and airy batter.
Tip 3: Avoid overmixing the batter. Gentle folding ensures the brookies remain tender and fudgy.
Tip 4: Use a cookie scoop for uniform portions. This ensures even baking and a consistent size for each brookie.
Tip 5: Don’t skip the cooling step. Allowing the brookies to cool on the tray helps them set and develop their characteristic chewiness.
Tip 6: Experiment with the chocolate chips. Mix dark and milk chocolate chips for a varied flavor profile.
Tip 7: Store in an airtight container to maintain freshness and prevent them from drying out.
Cooking Variations
Variation 1: Add a handful of chopped nuts, such as walnuts or pecans, for added texture and a nutty flavor.
Variation 2: Incorporate a teaspoon of instant espresso powder in the melted chocolate mixture for a mocha twist.
Variation 3: Substitute half the chocolate chips with white chocolate for a sweet contrast.
Variation 4: Add a pinch of cinnamon to the dry ingredients for a warm, spiced undertone.
Variation 5: For a fruity note, mix in dried cranberries or cherries with the chocolate chips.
Serving Suggestions
Suggestion 1: Serve warm with a scoop of vanilla ice cream on top for a decadent dessert.
Suggestion 2: Pair with a glass of cold milk for a classic and comforting combination.
Suggestion 3: Enjoy alongside a cup of coffee or espresso for a delightful afternoon treat.
Suggestion 4: Dust with powdered sugar before serving for an elegant presentation.
Suggestion 5: Add to a dessert platter with other cookies for a festive occasion or party.
Additional Thoughts
Baking these Fudgy Chewy Brookies is about more than just creating a delicious treat; it’s an experience that brings people together, reminiscent of cherished moments in the kitchen. There’s something magical about the way chocolate can transform a simple bake into an indulgent experience, and brookies are a perfect example of this. As you bake, consider the origin of these delicious treats. The hybrid of a brownie and a cookie, brookies are the best of both worlds, offering the chewy, fudgy interior of a brownie with the crisp edges of a cookie. They are a testament to the creativity in baking, showing how two beloved desserts can come together to create something new and exciting. The process of making brookies is a joy in itself. It’s about the rhythm of whisking, the gentle folding of ingredients, and the anticipation as they bake. The smell of chocolate wafting through the kitchen is a comfort, a reminder of the warmth and joy that home baking brings. Moreover, these brookies are an excellent choice for those looking to branch out in their baking repertoire without straying too far from familiar territory. They offer an opportunity to experiment with flavors and textures, encouraging creativity and exploration. Whether you’re baking for a special occasion or simply to enjoy at home, these brookies are a delightful way to share love and sweetness with those around you. The simplicity of the ingredients and the ease of preparation make them accessible to all, ensuring that anyone can achieve baking success. In a world where we often seek the next big thing, sometimes the best experiences come from revisiting the classics with a twist. So, gather your ingredients, preheat your oven, and prepare to create something truly delightful. These Fudgy Chewy Brookies are more than just a recipe; they are a celebration of the joy of baking and the simple pleasures of life.
Join the Conversation
I’d love to hear how your Fudgy Chewy Brookies turned out! Did you add your twist, or perhaps discover a new serving suggestion? Share your experiences, tips, and photos in the comments below or connect with me on social media. Your feedback and creativity inspire me and others in our baking adventures. Let’s create a community where we can exchange ideas and celebrate our love for baking. Don’t forget to tag your creations with #TasteBudsApproved so I can see and share your wonderful results. Happy baking!
Conclusion
Creating Fudgy Chewy Brookies is a delightful experience that combines the best of both worlds, offering a rich, chocolatey indulgence that is both comforting and exciting. This recipe is not only easy to follow but also allows for creativity and personalization. Whether you’re a seasoned baker or new to the kitchen, these brookies provide a fantastic opportunity to explore new flavors and textures. They are perfect for any occasion, bringing joy and satisfaction with every bite. So, roll up your sleeves and dive into the world of brookies—where every bake is a chance to create something truly special.
Frequently Asked Questions
Q: Can I use milk chocolate instead of dark chocolate?
A: Yes, but it will result in a sweeter brookie. Adjust the sugar if desired.
Q: How should I store the brookies?
A: Store them in an airtight container at room temperature for up to a week.
Q: Can I freeze the brookie dough?
A: Absolutely! Freeze scoops of dough on a tray, then transfer to a bag. Bake from frozen, adding a few extra minutes.
Q: What can I use instead of Demerara sugar?
A: Brown sugar is a good substitute and will provide a similar depth of flavor.
Q: Are there gluten-free options?
A: You can try using a gluten-free flour blend, but results may vary.
Q: Can I add other flavors to the brookies?
A: Definitely! Extracts like almond or peppermint can add a new dimension.
Q: What if I don’t have a hand whisk?
A: A stand mixer or manual whisk can be used, though it may take longer to achieve the desired consistency.
Fudgy Chewy Brookies
Course: DessertCuisine: AmericanDifficulty: EasyIndulge in the best of both worlds with these Fudgy Chewy Brookies! A delightful combination of a rich brownie and a chewy cookie, this recipe from Savvy Bites is a must-try for any chocolate lover.
Ingredients
95 g (¾ cups) plain (all-purpose) flour
2 tablespoons cocoa powder
1 teaspoon baking powder
¼ teaspoon salt
225 g (1 ¼ cups) dark chocolate, chopped
56 g (¼ cups) butter, salted or unsalted
2 eggs *room temperature
100 g (¾ cups) caster or granulated sugar
90 g (½ cups) Demerara or raw sugar
1 teaspoon vanilla
85 g (½ cups) dark or milk chocolate chips
Directions
- Preheat your oven to 160ºC (320ºF) with a fan or 170ºC (338ºF) for conventional heating. Line a baking tray with parchment paper.
- In a heatproof bowl, melt the chopped dark chocolate and butter over simmering water. Stir in the vanilla extract once fully melted.
- Using an electric hand whisk, beat the caster sugar, demerara sugar, and eggs in a separate bowl until light, thick, and fluffy.
- Sift together the flour, cocoa powder, baking powder, and salt in another bowl, then add the chocolate chips.
- Gradually fold the melted chocolate and butter mixture into the whipped eggs and sugars.
- Carefully fold the dry ingredients into the wet mixture using a spatula, being gentle to keep the batter light.
- Scoop tablespoons of batter onto the prepared baking tray, ensuring they are spaced apart.
- Bake for 12-14 minutes until set and crackly on top.
- Once baked, sprinkle with sea salt if desired, and let cool on the tray for 10 minutes before transferring to a cooling rack to cool completely.