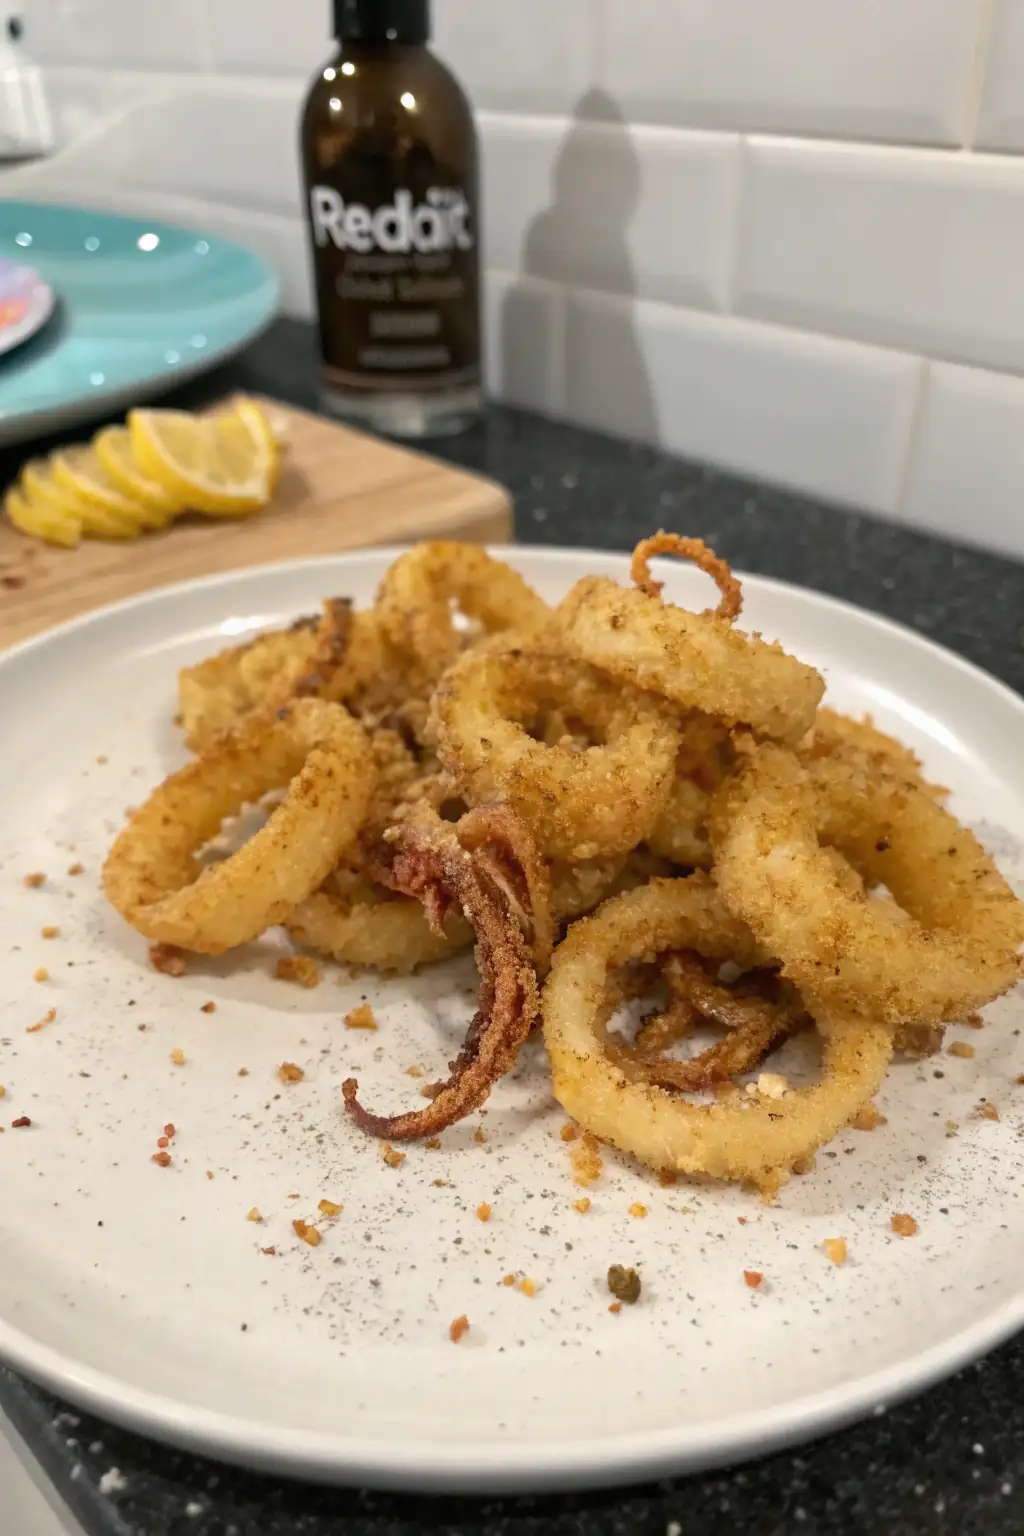
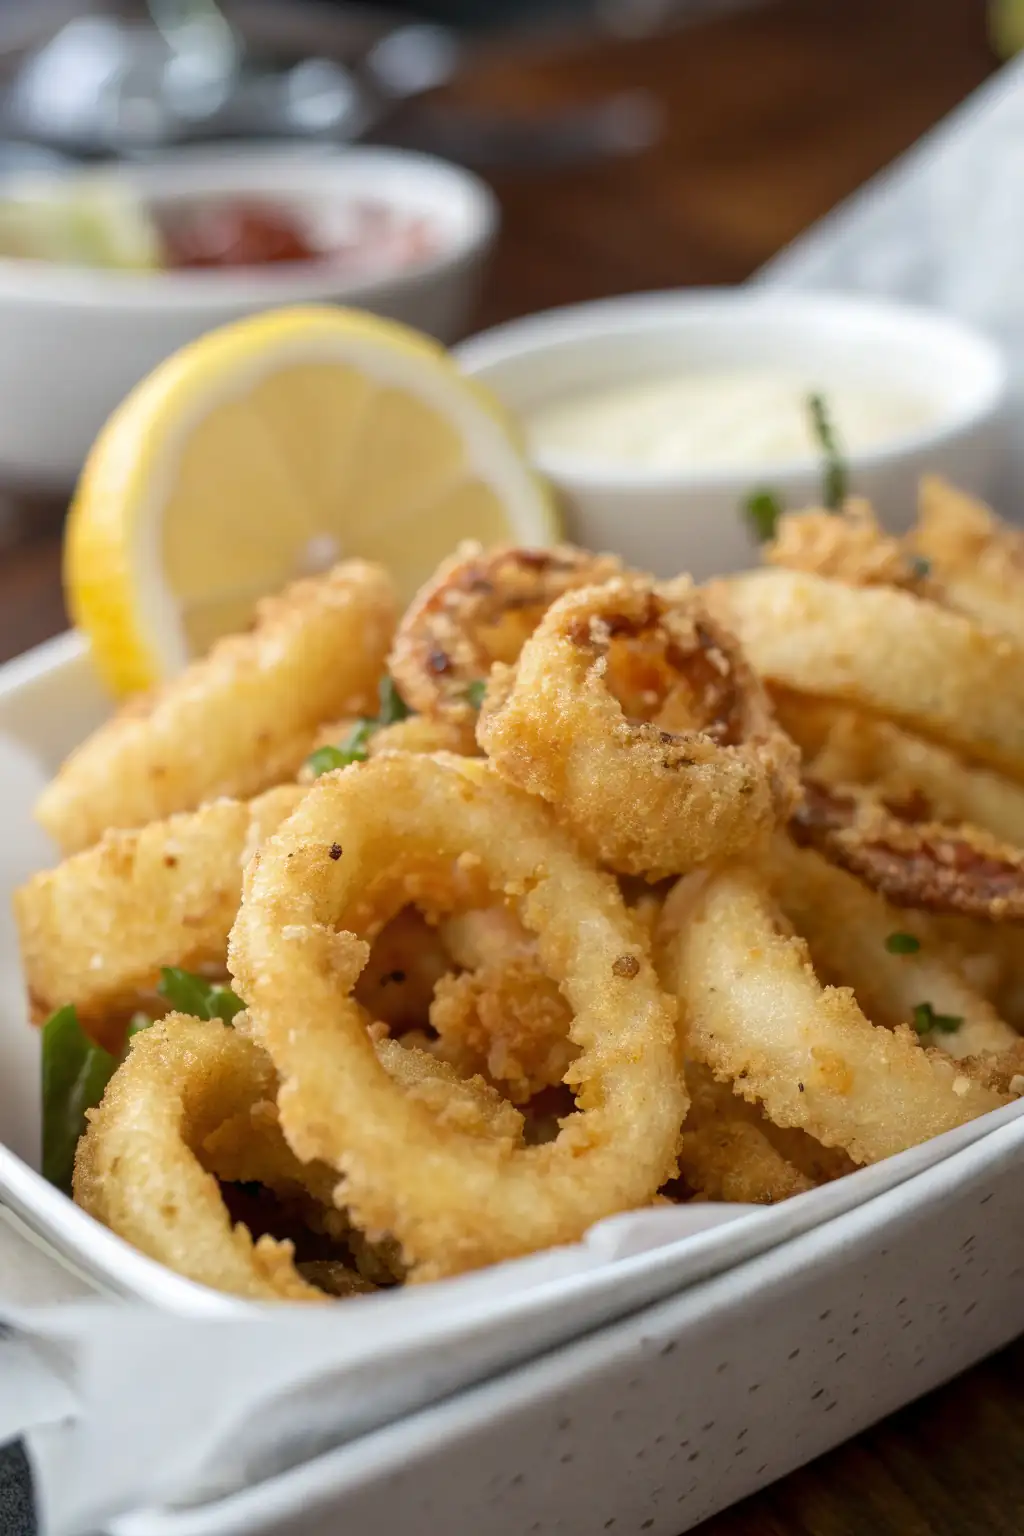
Air Fryer Squid
For me, seafood has always been a nostalgic journey back to my grandmother’s kitchen, where the aroma of freshly caught fish and the comforting sound of sizzling oil would fill the air. One of my fondest memories is of her perfectly fried calamari, a dish we would enjoy on lazy Sunday afternoons. As I’ve grown more conscious of healthier cooking alternatives, I’ve found the air fryer to be a fantastic tool for recreating those crispy, golden bites without the excess oil. Today, I’m thrilled to share with you a modern twist on a classic favorite: Air Fryer Squid. This recipe is not only a homage to my grandmother’s culinary legacy but also a deliciously light and crispy treat that you can easily prepare at home.
Why This Recipe Works:
- Healthier Alternative: Using an air fryer reduces the amount of oil needed, making this a lighter option than traditional frying. This means you can enjoy the same crispy texture and delightful taste without the guilt of consuming excessive calories and fats. Air frying uses rapid air circulation to cook food, ensuring a crispy exterior without the need to submerge the squid in oil.
- Quick & Easy: With just 15 minutes of prep time and 10 minutes of cooking, you can have a restaurant-quality dish in under 30 minutes. This makes it an excellent option for busy weeknights or when you have unexpected guests and need to whip up something impressive yet simple.
- Flavorful Coating: The combination of flour, paprika, and panko breadcrumbs creates a perfectly seasoned and crunchy exterior. The panko breadcrumbs, in particular, are key to achieving a light texture that does not overpower the natural flavor of the squid.
- Versatile: This recipe is adaptable to various seasonings and marinades, allowing for a personalized touch. Whether you prefer a hint of spice, a touch of herbs, or a burst of citrus, you can easily adjust the ingredients to match your taste preferences.
- Minimal Mess: The air fryer not only cooks the squid to perfection but also minimizes the greasy cleanup associated with deep frying. This convenience means you spend less time cleaning up and more time enjoying your delicious creation.
Ingredients:
- 1 pound squid, cleaned and cut into rings: Ensures even cooking and perfect bite-sized pieces. When purchasing squid, look for firm, shiny flesh with a fresh smell. If you’re not familiar with cleaning squid, your local fishmonger can often help with this task.
- 1/2 cup all-purpose flour: Provides a base for the seasoning to stick to the squid. You can also experiment with other types of flour, such as chickpea or rice flour, for different flavor profiles and dietary needs.
- 1/2 teaspoon salt: Enhances the natural flavor of the squid. Adjust the amount of salt based on your dietary preferences or health considerations.
- 1/4 teaspoon black pepper: Adds a mild heat and depth to the seasoning. Freshly ground black pepper can add more aroma and intensity.
- 1/2 teaspoon paprika: Offers a subtle smokiness and color. You can choose between sweet or hot paprika depending on your spice tolerance.
- 1 large egg, beaten: Acts as a binding agent for the breadcrumbs. For those with egg allergies, a mixture of water and flour can serve as an alternative binding agent.
- 1 cup panko breadcrumbs: Delivers a light and crispy texture. Panko, a Japanese-style breadcrumb, is lighter and flakier than regular breadcrumbs, which helps achieve that perfect crunch.
- Cooking spray or olive oil spray: Helps achieve a golden-brown crust. Using a spray ensures an even coating, which is crucial for achieving the perfect texture.
Step-by-Step Instructions:
- In a bowl, mix the flour, salt, pepper, and paprika. This mixture will serve as the initial coating for the squid and help the egg and breadcrumbs adhere better.
- Dip each squid ring into the flour mixture, shaking off excess. This step is crucial to ensure the squid is dry enough for the egg to stick properly.
- Next, dip the floured squid into the beaten egg, ensuring it is fully coated. This creates a sticky surface for the breadcrumbs to adhere to.
- Finally, coat each squid ring with panko breadcrumbs, pressing gently to adhere. Make sure the squid is evenly coated for the best texture.
- Preheat the air fryer to 400°F for 5 minutes. Preheating ensures even cooking from the start, giving the squid a crispy finish.
- Arrange the squid rings in a single layer in the air fryer basket. Spray lightly with cooking spray. A single layer is important to avoid overcrowding, which can lead to uneven cooking.
- Cook for 8-10 minutes, shaking the basket halfway through, until golden brown and crispy. Shaking the basket helps the squid cook evenly and prevents sticking.
- Remove from the air fryer and serve immediately with your choice of dipping sauce. Serving immediately ensures you enjoy the squid at its peak crispiness.
Prep Time: 15 minutes
Cooking Time: 10 minutes
Total Time: 25 minutes
Yield: 2 Servings
Table: Calorie Breakdown for a Typical Serving
| Nutrient | Amount |
|---|---|
| Calories | 300 |
| Carbs | 24g |
| Protein | 20g |
| Fat | 10g |
| Sugar | 2g |
Patricia’s Tips for Success:
Tip 1: To ensure even cooking, do not overcrowd the air fryer basket. Overcrowding can lead to uneven cooking and soggy squid, so it’s better to cook in batches if necessary.
Tip 2: For extra flavor, marinate the squid in lemon juice, garlic, and herbs for 30 minutes before breading. This adds an extra layer of flavor that can elevate the dish to gourmet levels.
Tip 3: Use cold squid to help the breading adhere better. Keeping the squid cold helps maintain its firmness and ensures the coating sticks well.
Tip 4: If you prefer a spicier kick, add a pinch of cayenne pepper to the flour mixture. This will give your squid a delightful heat without overpowering the other flavors.
Tip 5: For a gluten-free version, substitute flour and panko with gluten-free alternatives. Many stores offer gluten-free panko and flour that work just as well.
Tip 6: Lightly oil the air fryer basket to prevent sticking. Even with non-stick surfaces, a light mist of oil can make a difference in achieving the perfect texture.
Tip 7: Serve immediately to enjoy the squid at its crispiest. Like many fried foods, squid is best enjoyed fresh out of the fryer, ensuring the coating is at its most crispy and delicious.
Cooking Variations:
Variation 1: Use Italian seasoning in the breadcrumb mixture for a Mediterranean twist. A mix of oregano, basil, and thyme can transport your taste buds to the sunny coasts of Italy.
Variation 2: Add grated Parmesan cheese to the breadcrumbs for a cheesy crust. This adds a savory depth that pairs beautifully with the mild taste of squid.
Variation 3: Replace paprika with smoked paprika for a deeper, smokier flavor. Smoked paprika brings a rich, barbecue-like aroma that enhances the overall flavor profile.
Variation 4: Try a coconut flour and shredded coconut mix for a tropical flavor. This variation pairs wonderfully with a pineapple salsa or a sweet chili sauce.
Variation 5: Experiment with different herbs like dill or oregano in the flour mix. Herbs can add a fresh, aromatic touch that complements the seafood flavors.
Serving Suggestions:
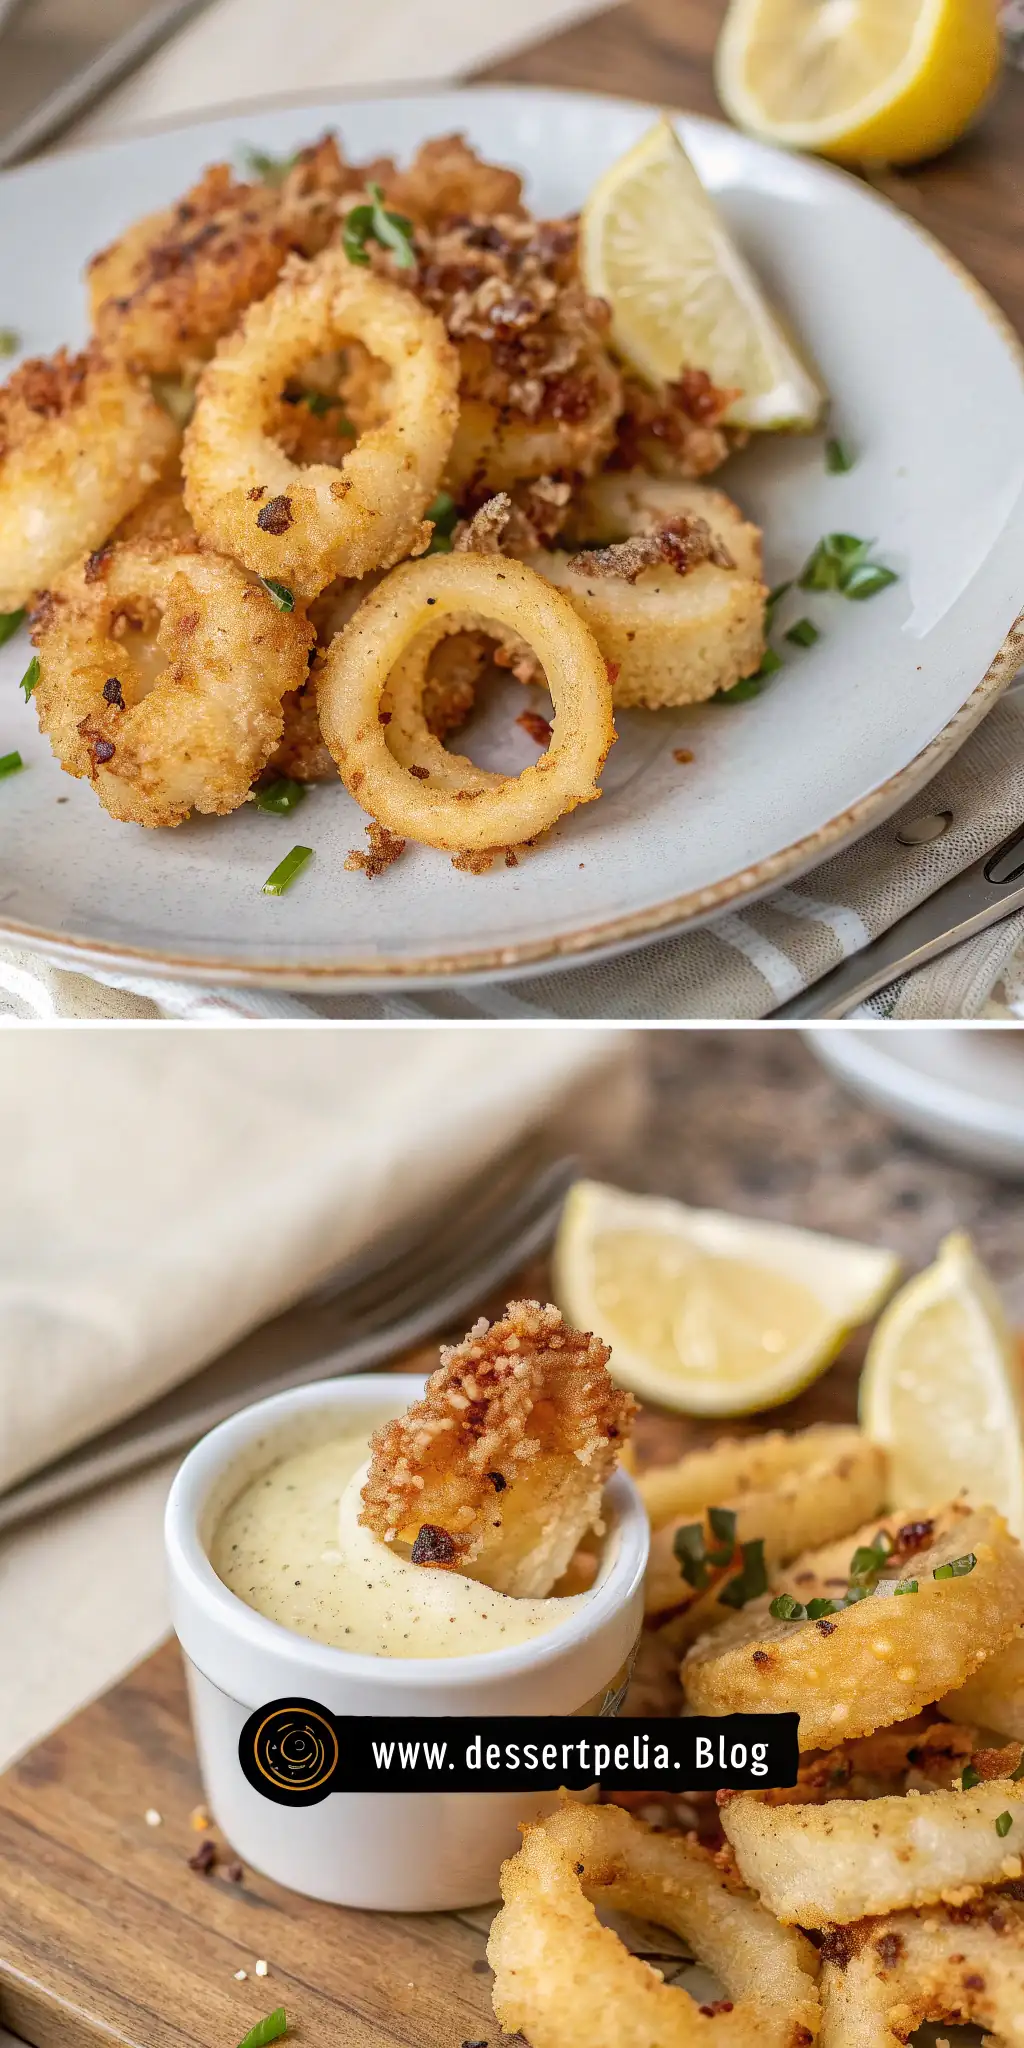
Suggestion 1: Pair with a zesty lemon aioli for dipping. The citrusy zing of lemon aioli cuts through the richness of the squid, balancing the flavors perfectly.
Suggestion 2: Serve alongside a fresh arugula salad with cherry tomatoes. The peppery arugula and sweet tomatoes provide a refreshing contrast to the crispy squid.
Suggestion 3: Enjoy as a topping on a seafood pasta dish. The crispy squid adds texture and flavor to pasta, creating a satisfying meal.
Suggestion 4: Add a squeeze of fresh lemon juice just before serving. A touch of lemon juice brightens up the dish and enhances the seafood flavors.
Suggestion 5: Serve with a side of sweet potato fries for a hearty meal. The natural sweetness of sweet potato fries complements the savory squid, creating a balanced and filling dish.
Additional Thoughts:
Exploring new cooking techniques like using an air fryer can be both exciting and rewarding. Not only does it offer a healthier alternative to traditional frying, but it also opens up endless possibilities for creative culinary adventures. This Air Fryer Squid recipe is a testament to how modern technology can enhance traditional recipes, preserving their essence while offering a fresh take. The result is a dish that is delightfully crisp, full of flavor, and incredibly satisfying to make and share. With its quick preparation and cooking time, this dish is perfect for any occasion, from casual family dinners to sophisticated dinner parties. By embracing the air fryer, we can enjoy our favorite fried foods more often, without the added guilt.
Join the Conversation:
I’d love to hear your thoughts on this Air Fryer Squid recipe! Have you tried it yet, or do you have any favorite variations? Perhaps you’ve paired it with a unique dipping sauce or served it at a memorable gathering? Share your experiences, tips, or questions in the comments below. Let’s inspire each other to keep exploring the wonderful world of cooking! Your feedback and ideas not only help us grow as a community but also encourage others to experiment and find joy in cooking.
Conclusion:
Air Fryer Squid is a delightful blend of tradition and innovation, offering a crispy, flavorful experience with every bite. Whether you’re a seasoned chef or new to the kitchen, this recipe is designed to be accessible and enjoyable, bringing the joy of cooking and sharing right to your table. Dive into this culinary adventure and savor the delicious rewards! With its perfect balance of taste, texture, and ease, this dish is sure to become a favorite in your household, just as it has in mine.
Frequently Asked Questions:
Q: Can I use frozen squid for this recipe?
A: Yes, just make sure to thaw and pat dry the squid before using. Properly drying the squid ensures the coating sticks well and crisps up nicely.
Q: What if I don’t have an air fryer?
A: You can bake the squid in a preheated oven at 425°F for about 15-20 minutes. While it may not achieve the exact same crispiness, the oven-baked version is still delicious and a healthy alternative.
Q: How do I clean the squid properly?
A: Remove the head, innards, and skin, then rinse well under cold water. If you’re unfamiliar with cleaning squid, consider asking your fishmonger for assistance or looking up a detailed guide online.
Q: Can I prepare the squid in advance?
A: Yes, you can bread the squid and refrigerate it a few hours before cooking. This makes it a convenient option for parties or gatherings where you want to minimize last-minute preparations.
Q: What dipping sauces work well with air fryer squid?
A: Tartar sauce, marinara sauce, or a simple garlic aioli are great options. Each sauce offers a different flavor profile, allowing you to customize the dish to your liking.
Q: Is there a way to make it spicier?
A: Add cayenne pepper to the flour mixture for an extra kick. Adjust the amount of cayenne pepper according to your taste preferences.
Q: How do I store leftovers?
A: Store in an airtight container in the fridge for up to 2 days, and reheat in the air fryer for best results. Reheating in the air fryer helps restore the crispiness that may be lost in the refrigerator.

Air Fryer Squid
Ingredients
Equipment
Method
- In a bowl, mix the flour, salt, pepper, and paprika.
- Dip each squid ring into the flour mixture, shaking off excess.
- Next, dip the floured squid into the beaten egg, ensuring it is fully coated.
- Finally, coat each squid ring with panko breadcrumbs, pressing gently to adhere.
- Preheat the air fryer to 400°F for 5 minutes.
- Arrange the squid rings in a single layer in the air fryer basket. Spray lightly with cooking spray.
- Cook for 8-10 minutes, shaking the basket halfway through, until golden brown and crispy.
- Remove from the air fryer and serve immediately with your choice of dipping sauce.