Air Fryer Chicken Pierogi
Introduction:
Imagine stepping into a kitchen filled with the warmth and aroma of a dish that’s both comforting and intriguing. The “Air Fryer Chicken Pierogi” offers just that—a delightful blend of tradition and modern convenience. Inspired by weekends spent in my grandmother’s bustling kitchen, where the art of making pierogi was a cherished ritual, this recipe brings a contemporary twist to a beloved classic. The air fryer, a staple in my kitchen, transforms frozen chicken pierogi into a crisp, golden delight, making it an accessible yet satisfying meal for any home cook. Whether you’re new to using an air fryer or a seasoned pro, this recipe invites you to embrace the joy of cooking with ease and flavor.
Why This Recipe Works:
• Quick and Easy: With only 15 minutes of prep time, it’s perfect for busy weeknights. Whether you’re coming home after a long day or hosting an impromptu gathering, this dish allows you to serve up a delicious meal without the hassle. The streamlined process of using frozen pierogi saves time and effort while maintaining taste.
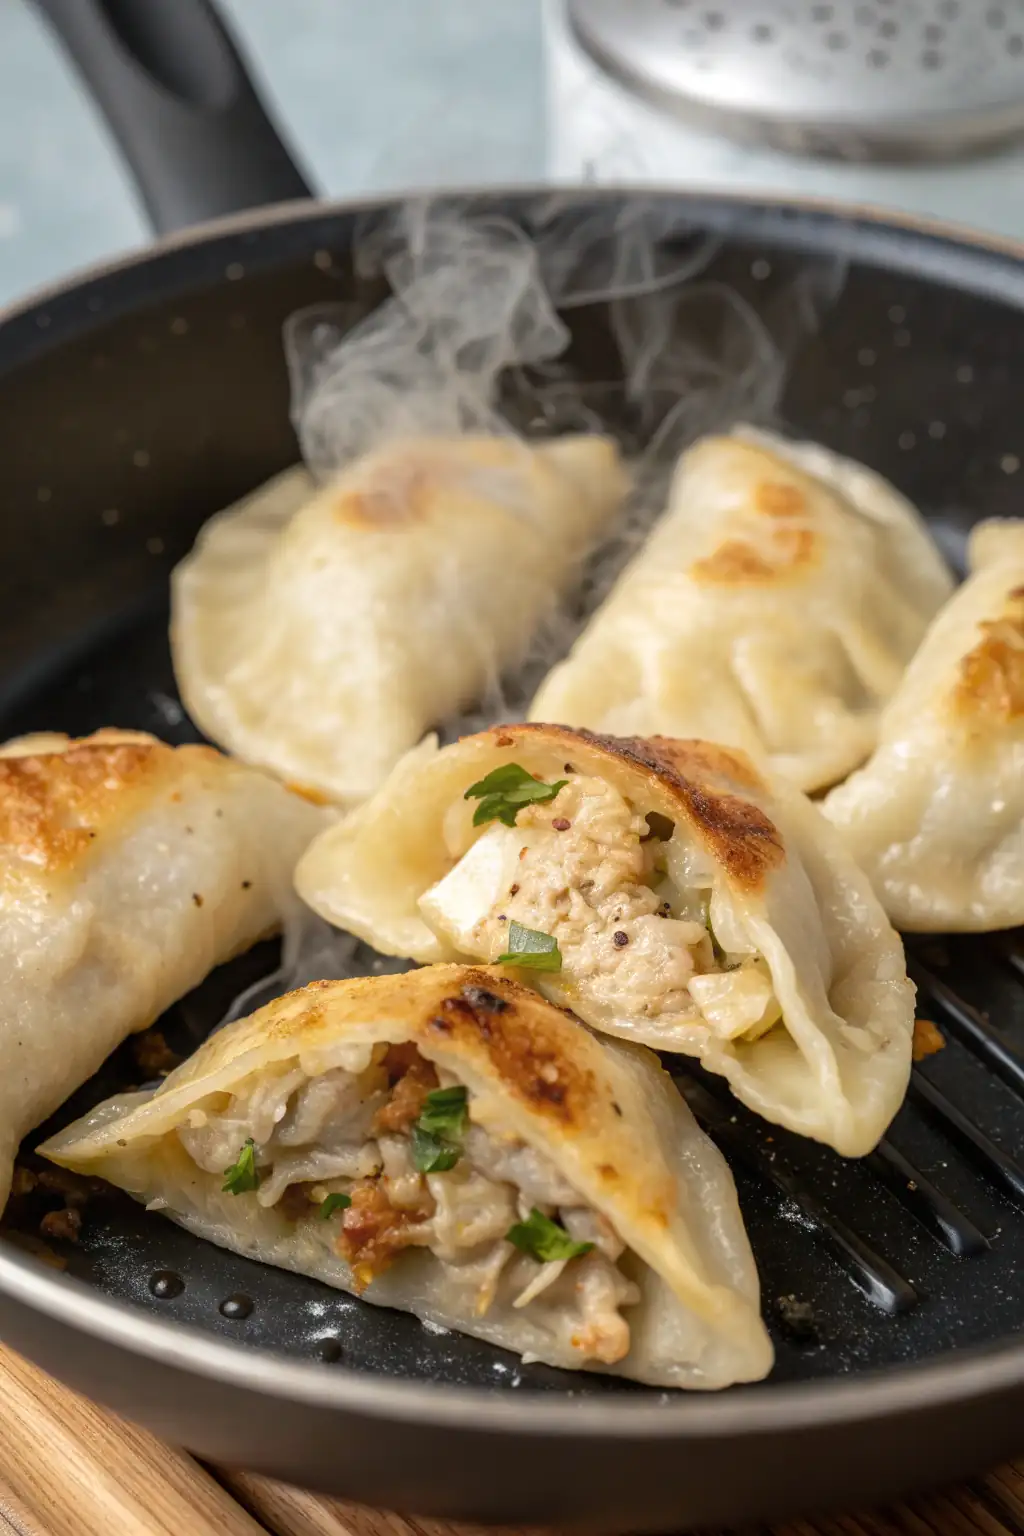
• Crispy Texture: The air fryer delivers a satisfying crunch, enhancing the pierogi experience. Unlike traditional frying, which can sometimes leave pierogi greasy, the air fryer ensures a perfect crunch without the added oil. This method highlights the pierogi’s texture, making each bite a delightful contrast between crispy exterior and tender filling.
• Healthy Alternative: Uses less oil compared to traditional frying, making it a lighter option. By utilizing the air fryer, you significantly cut down on the oil content, which not only makes the dish healthier but also allows the flavors of the pierogi to shine through without being overshadowed by excess grease.
• Versatile Serving: Pairs well with various sides and dips, adapting to your taste. Whether you’re craving something savory or have a sweet tooth, these pierogi can be paired with a multitude of sides, making them a versatile component of any meal.
• Minimal Ingredients: Simple pantry staples make this a budget-friendly choice. With just a few ingredients, this recipe is not only easy on your schedule but also on your wallet. It doesn’t require any exotic ingredients, making it accessible to everyone.
• Foolproof Method: The air fryer ensures consistent results every time. You can achieve perfectly cooked pierogi consistently, thanks to the even heat distribution of the air fryer. This reliability means you can focus more on enjoying the cooking process and less on monitoring each step.
Ingredients:
• Frozen chicken pierogi: Look for quality brands in the frozen section. A good quality brand often means better filling and dough, resulting in a more flavorful dish. Some brands incorporate unique spices and herbs into the chicken filling, adding an extra layer of depth.
• Olive oil: Adds flavor and aids in crisping. Extra virgin olive oil can impart a richer flavor, but if you prefer a milder taste, regular olive oil works just as well.
• Salt: Enhances the natural flavors of the pierogi. Consider using sea salt or kosher salt for a more nuanced taste.
• Black pepper: Adds a touch of heat and depth. Freshly ground pepper offers a more vibrant flavor compared to pre-ground varieties.
• Optional parsley: For a fresh, vibrant garnish. Parsley not only adds color but also a hint of freshness that can balance the savory flavors of the pierogi.
Step-by-Step Instructions:
-
Preheat your air fryer to 375°F (190°C) for 5 minutes to ensure even cooking. Preheating is crucial for achieving that initial blast of heat, which helps in forming a crispy crust.
-
In a mixing bowl, combine the frozen pierogi with olive oil, salt, and black pepper, tossing until they are well coated. This step ensures that each pierogi has an even layer of seasoning and oil, crucial for crispiness.
-
Arrange the pierogi in a single layer in the air fryer basket; avoid overcrowding to allow air circulation. Overcrowding can lead to uneven cooking, resulting in some pierogi being undercooked while others are overdone.
-
Cook at 375°F for 10 minutes, ensuring they become golden brown. The initial cooking time sets the stage for the crisp texture.
-
Shake the basket or turn the pierogi after 10 minutes for even cooking; continue for an additional 2 minutes. Shaking or turning helps in achieving even browning on all sides.
-
Carefully remove the pierogi from the air fryer and let them cool slightly. Allowing them to rest helps in setting the texture and makes them easier to handle.
-
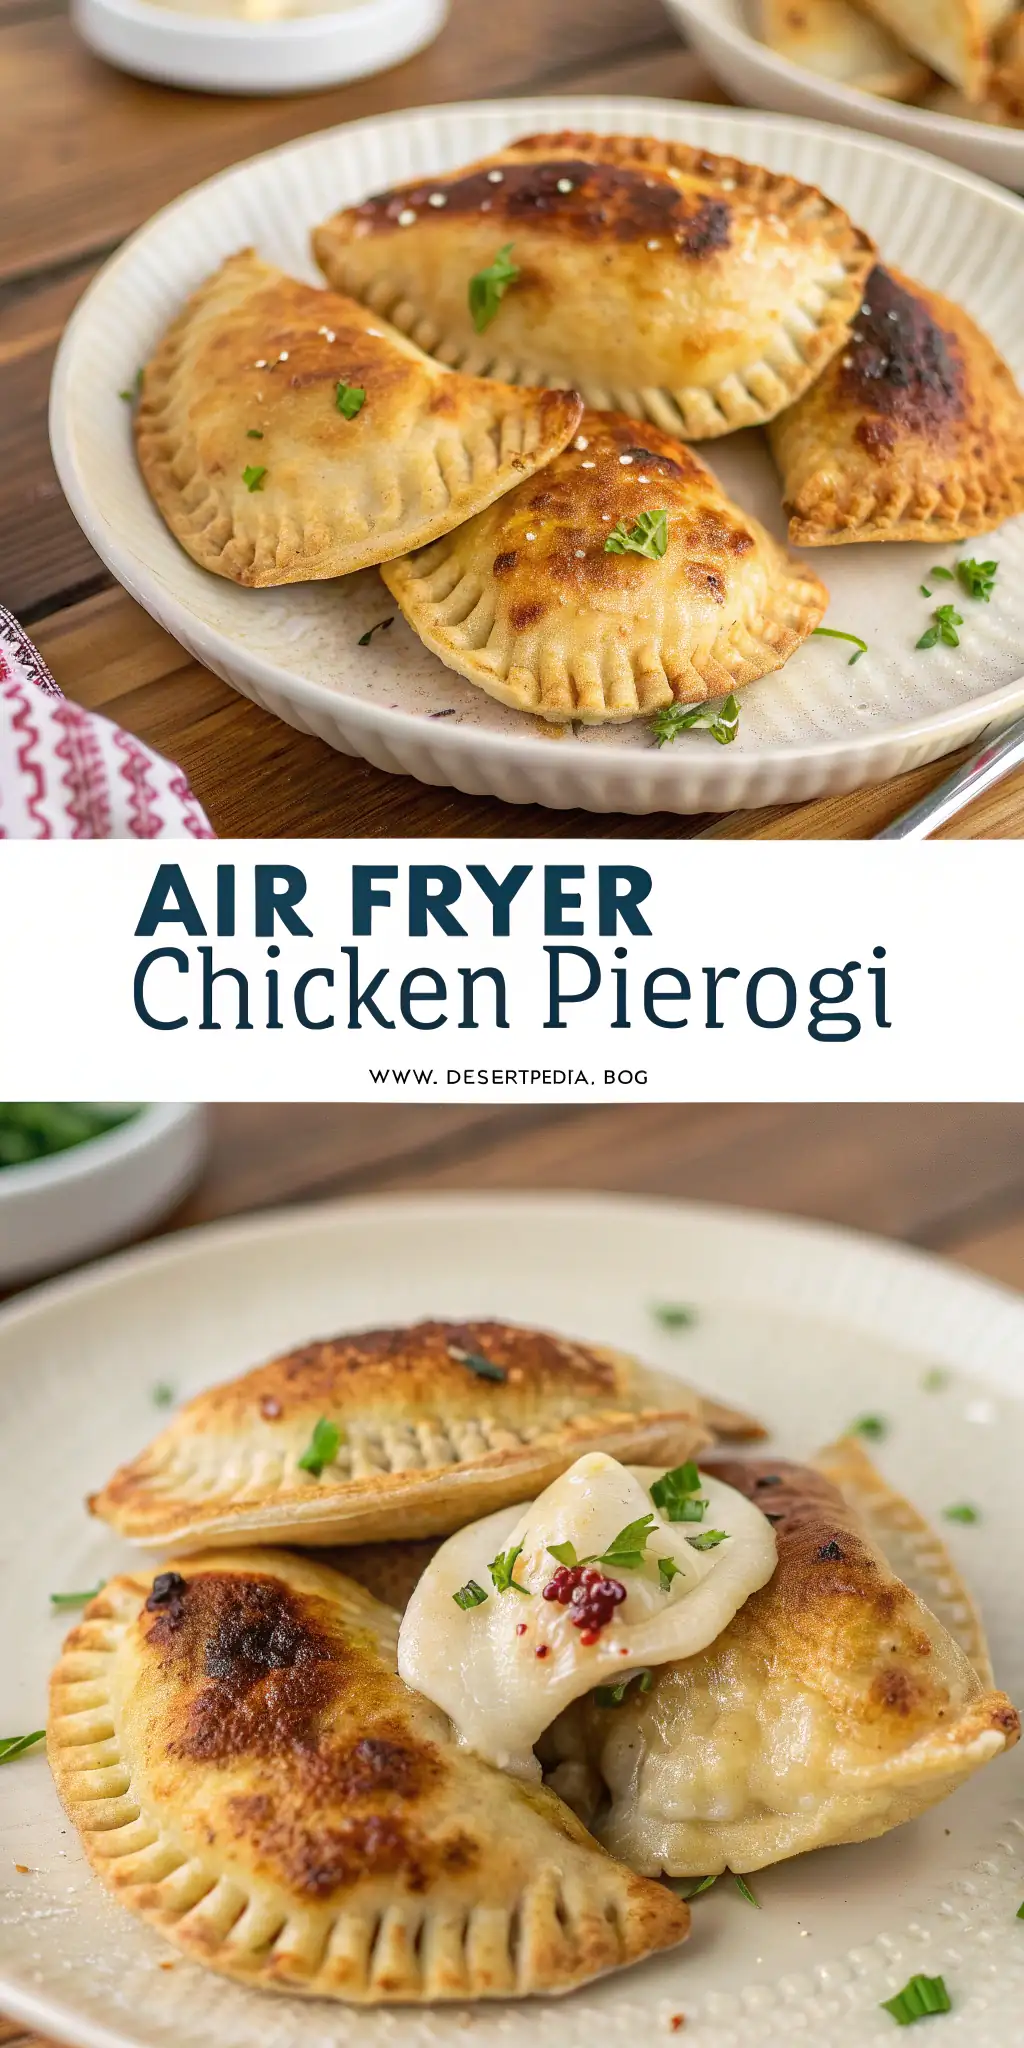
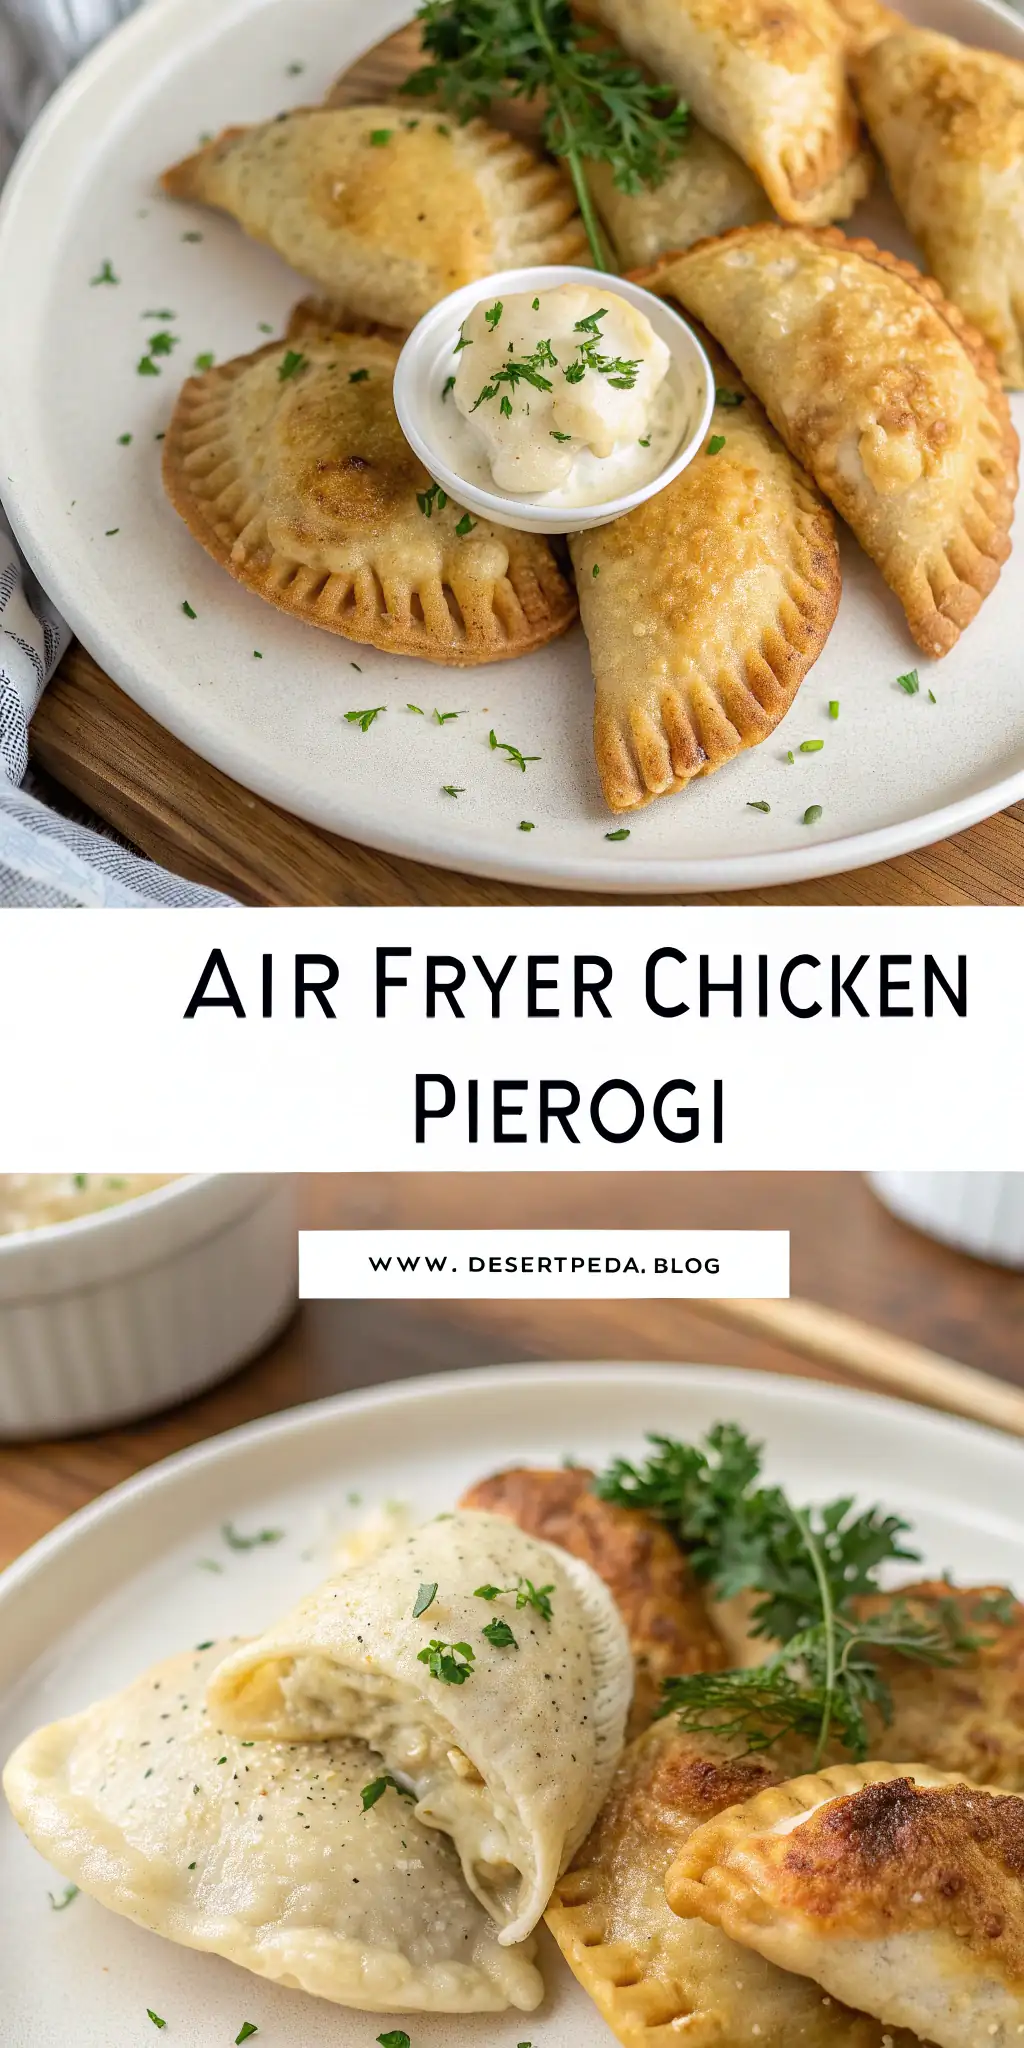
Optionally, garnish with chopped parsley before serving for a pop of color. A simple garnish can elevate the presentation of the dish, making it more appealing.
Prep Time: 15 minutes
Cooking Time: 12 minutes
Total Time: 27 minutes
Yield: 4 servings
Table: Calorie Breakdown for a Typical Serving
| Component | Amount (g) | Calories | Carbs (g) | Protein (g) | Fat (g) | Sugar (g) |
|---|---|---|---|---|---|---|
| Chicken Pierogi | 200 | 320 | 40 | 12 | 10 | 2 |
| Olive Oil | 10 | 80 | 0 | 0 | 9 | 0 |
| Total | 400 | 40 | 12 | 19 | 2 |
Patricia’s Tips for Success:
Tip 1: Ensure even coating with oil for a uniform crisp texture. The oil not only aids in crisping but also helps the seasonings stick better to the pierogi.
Tip 2: Do not overcrowd the air fryer; cook in batches if necessary. Cooking in batches might seem time-consuming, but it results in better texture and flavor.
Tip 3: Use a spatula to gently turn pierogi to avoid tearing. A silicone spatula is ideal as it’s gentle on the pierogi’s delicate dough.
Tip 4: Experiment with spices like paprika or garlic powder for variety. Adding a pinch of spice can transform the flavor profile and make the dish exciting.
Tip 5: Let cooked pierogi rest briefly to enhance flavor before serving. Resting allows the flavors to meld and the texture to stabilize.
Tip 6: Check your air fryer manual for specific cooking times. Different air fryers have varying power levels, so adjustments might be necessary.
Tip 7: Pair with homemade dips for a personalized touch. Creating your own dips can complement the flavors of the pierogi and add a unique twist.
Cooking Variations:
Variation 1: Add cheese to the filling for a gooey center. A blend of cheddar or mozzarella can make the pierogi even more indulgent.
Variation 2: Use vegetarian pierogi for a meat-free option. Mushroom or potato-filled pierogi offer a delicious alternative for vegetarians.
Variation 3: Sprinkle grated Parmesan for an Italian twist. Parmesan adds a nutty flavor that complements the chicken filling well.
Variation 4: Add a sprinkle of chili flakes for a spicy kick. For those who enjoy heat, chili flakes can add a nice punch without overpowering the dish.
Variation 5: Try different herbs like thyme or rosemary for a herbal note. Herbs can infuse the dish with aromatic flavors, enhancing the overall taste.
Serving Suggestions:
Suggestion 1: Serve with a side of sautéed onions and mushrooms. The earthiness of mushrooms and sweetness of onions add complexity to the dish.
Suggestion 2: Offer with a dollop of sour cream or Greek yogurt. The creaminess of these sides balances the crispiness of the pierogi, creating a harmonious bite.
Suggestion 3: Pair with a fresh green salad for a balanced meal. A simple salad can add freshness and a nutritional boost, making it a more wholesome meal.
Suggestion 4: Add a side of apple sauce for a sweet contrast. The sweetness of applesauce complements the savory pierogi, offering a pleasant contrast.
Suggestion 5: Serve as an appetizer with a variety of dipping sauces. A selection of dips can cater to different preferences and make the dish more interactive.
Additional Thoughts:
The “Air Fryer Chicken Pierogi” combines the nostalgia of homemade pierogi with modern cooking technology, offering a dish that’s both quick and delicious. This recipe perfectly illustrates how traditional flavors can be adapted with contemporary methods to suit today’s fast-paced lifestyle. Whether you’re making these pierogi for a family dinner or a casual gathering, they are sure to impress with their crispy exterior and savory filling. The simplicity of the ingredients and the ease of preparation make it an excellent choice for cooks of all skill levels, inviting everyone to enjoy a taste of comfort and innovation.
Join the Conversation:
I would love to hear about your experiences with the “Air Fryer Chicken Pierogi.” Did you try any variations or serving suggestions that stood out? Share your tips, tweaks, and stories in the comments below. Let’s create a community of flavor enthusiasts who celebrate the joy of cooking together!
Conclusion:
With its blend of convenience and tradition, the “Air Fryer Chicken Pierogi” is a recipe that brings people together over delicious food. It’s a testament to how simple ingredients and modern techniques can create something extraordinary. Embrace the ease and enjoy the delightful crunch and flavor of these pierogi, knowing they’re Taste Buds Approved!
Frequently Asked Questions:
Q: Can I use homemade pierogi instead of frozen?
A: Absolutely! Just adjust the cooking time based on the thickness and freshness. Homemade pierogi may require a longer cooking time, so keep an eye on them to prevent overcooking.
Q: Can I prepare these pierogi in advance?
A: Yes, toss them in olive oil and seasonings, then refrigerate until ready to air fry. This makes meal prep a breeze and allows you to have a quick meal ready to go.
Q: What other oils can I use instead of olive oil?
A: Try vegetable or canola oil for a neutral flavor. These oils have a high smoke point, making them suitable for air frying without altering the taste.
Q: How do I prevent the pierogi from sticking to the air fryer basket?
A: Lightly spray the basket with cooking spray before adding the pierogi. This simple step can prevent sticking and make cleanup easier.
Q: Can I add extra fillings to the pierogi?
A: If using store-bought, you cannot add fillings, but homemade variations can be customized. You can experiment with different fillings when making pierogi from scratch.
Q: Are there any gluten-free options available?
A: Look for gluten-free pierogi in specialty stores or make your own with gluten-free flour. This allows those with dietary restrictions to enjoy this delicious dish.
Q: How can I make the pierogi spicier?
A: Add chili flakes or hot sauce to the seasoning mix before air frying. Adjust the amount according to your heat preference for a spicier kick.
Air Fryer Chicken Pierogi
Ingredients
Equipment
Method
- Preheat the air fryer to 375°F (190°C) for 5 minutes.
- In a mixing bowl, toss the frozen pierogi with olive oil, salt, and black pepper until evenly coated.
- Place the pierogi in a single layer in the air fryer basket, ensuring they are not overcrowded (you may need to cook in batches).
- Air fry the pierogi at 375°F for 10 minutes.
- After 10 minutes, shake the basket or gently turn the pierogi for even cooking, then cook for an additional 2 minutes.
- Remove the pierogi from the air fryer and let them cool slightly before serving.
- Optional: Garnish with chopped fresh parsley before serving.