How to Tell If Bread Dough Has Risen Enough
Baking bread at home can be a rewarding experience, but knowing when your dough has risen enough is crucial for achieving the perfect loaf. Whether you’re a beginner baker or have some experience, understanding this key step can make a big difference in your baking results. In this guide, we’ll explore different ways to determine if your bread dough has risen enough, ensuring you get the best texture and flavor every time.
Table of Contents
What Are the Signs That Bread Dough Has Risen Enough?
To determine if your bread dough has risen adequately, look for the following signs:
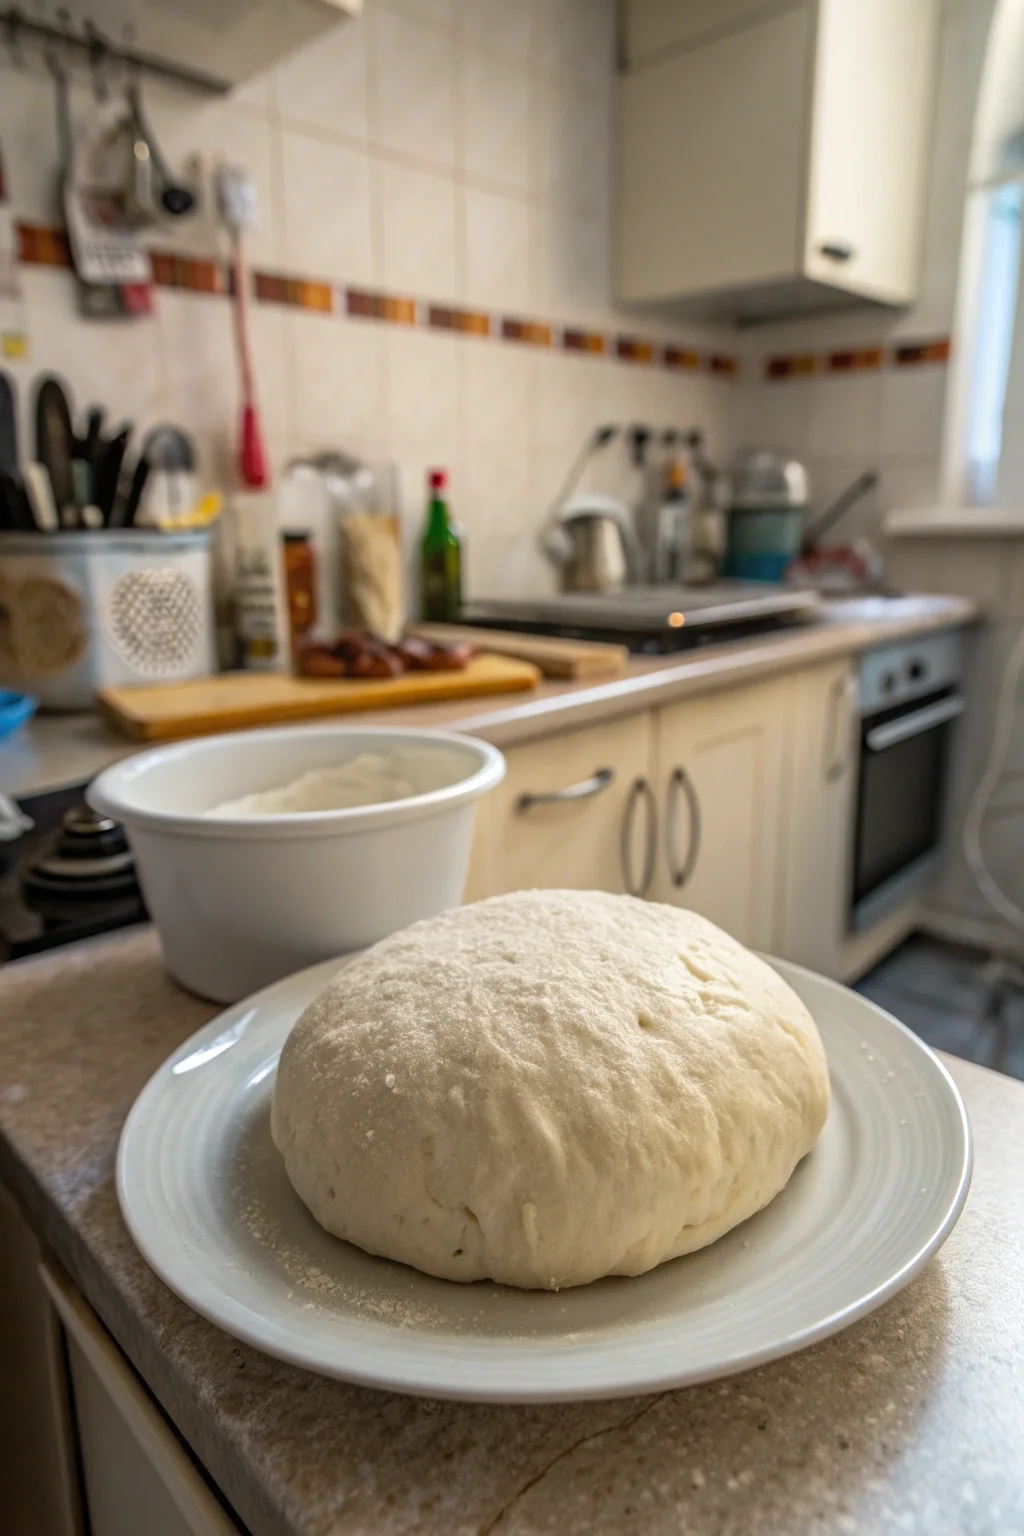
Size Doubling: The dough should roughly double in size from when you first set it to rise. This increase in volume is a clear indicator that the yeast has been active, producing carbon dioxide and causing the dough to expand. Use a clear container or make a mark on the bowl’s side to track this growth more easily.
Puffy Appearance: It should look airy and puffed up. The surface of the dough should be smooth and slightly shiny, indicating that it is well-hydrated and the gluten network is well-developed.
Indent Test: Gently press a finger into the dough. If the indent remains, it’s ready. If it springs back immediately, it needs more time. Be gentle when performing this test to avoid deflating the dough too much. Practice this technique a few times to get a feel for the right consistency.
These indicators will help you assess if your dough is ready for the next step in your recipe. Remember, knowing your specific recipe and its requirements can also guide you in determining the right level of rise.
How Long Should Bread Dough Rise?
The rising time for bread dough can vary depending on several factors:
Temperature: Warmer environments speed up rising, while cooler ones slow it down. If you’re in a rush, you might place your dough in a slightly warmer spot, such as near a sunny window or on top of a refrigerator. Conversely, if you’re not in a hurry, a cooler rise can develop deeper flavors, which is preferred for artisanal breads.
Yeast Type: Instant yeast works faster than active dry yeast. When using active dry yeast, consider proofing it in warm water before adding it to your dough to kickstart the fermentation process.
Ingredients: Additional ingredients like sugar or fat can affect rising time. Sugar feeds the yeast and can speed up the rise, while fats like butter may slow it down due to their density and moisture content.
Typically, dough should rise for 1 to 2 hours at room temperature. However, this is a guideline; always check for the signs of proper rise rather than relying solely on time. Adjust based on these factors and check the dough periodically for the signs mentioned above.
Can Bread Dough Rise Too Much?
Yes, over-proofing can happen if the dough rises too long. Signs of over-proofing include:
Collapsed Dough: The dough becomes slack and loses its shape. This may happen if the dough is left to rise too long, causing the gluten structure to weaken and the gases to escape.
Overly Sour Smell: Excess fermentation can lead to a sour aroma. This is especially noticeable with sourdough, but any bread can develop an unpleasant tang if over-proofed.
Large Air Bubbles: The dough might have large, irregular holes. While some breads like ciabatta benefit from large air pockets, an uneven crumb in other types of bread can indicate over-proofing.
To avoid this, keep an eye on the dough and perform the indent test regularly. Set a timer as a reminder to check on your dough, especially if you have a busy kitchen schedule.
Is Temperature Important for Dough Rising?
Temperature plays a crucial role in how your dough rises:
Room Temperature: Ideal for most recipes, usually around 70°F (21°C). This provides a balance between speed and flavor development.
Warm Spots: Near a stove or in a slightly warmed oven can speed up the process. To use the oven, preheat it to the lowest setting for a few minutes, then turn it off before placing the dough inside with the door slightly ajar.
Cold Environments: Slow down rising, useful for developing flavors over time. This method, known as cold fermentation, is excellent for enhancing the taste and texture of breads like baguettes.
Maintaining the right temperature ensures your dough rises properly without over-proofing. Consider using a thermometer to check your kitchen’s ambient temperature, adjusting heating or cooling as necessary.
What If My Dough Isn’t Rising?
If your dough isn’t rising, consider these potential issues:
Old Yeast: Check the expiration date on your yeast. Fresh yeast is critical for a good rise. If your yeast is close to or past its expiration date, it may be less effective.
Water Temperature: Water that’s too hot can kill yeast, while cold water slows activation. Aim for water between 95°F and 110°F (35°C to 43°C) to activate the yeast without harming it.
Environment: Ensure your environment is warm enough for the dough to rise. If your kitchen is too cold, find a warmer spot or create a proofing environment by placing the bowl in a larger bowl of warm water.
Try adjusting these factors to encourage proper fermentation. If adjustments don’t help, consider starting with a fresh batch of yeast or a different brand.
How Does Humidity Affect Dough Rising?
Humidity can impact dough rising in a few ways:
High Humidity: Can make dough sticky and cause it to rise faster. In humid environments, you might need to reduce the amount of water in your recipe slightly to maintain the correct dough consistency.
Low Humidity: May require extra moisture to achieve the right consistency. In dry climates, consider covering your dough with a damp cloth instead of plastic wrap to prevent a crust from forming.
Consider adjusting the amount of flour or water slightly based on your environment’s humidity levels. Monitoring the texture of your dough and making small adjustments can greatly improve your final bake.
Should I Cover Bread Dough While It Rises?
Yes, covering your dough is important to:
Prevent Drying: Keeps the surface from forming a crust. A crust can inhibit the dough’s ability to rise properly and can lead to a tough texture in the finished product.
Maintain Temperature: Retains warmth for consistent rising. Covering with a damp cloth or plastic wrap helps create a mini greenhouse effect, which is beneficial for yeast activity.
Use a damp cloth or plastic wrap to cover the bowl, ensuring a good environment for yeast activity. If using a cloth, make sure it is clean and lint-free to avoid any contaminants getting into your dough.
Can I Use the Same Rising Techniques for All Bread Types?
Different bread types may require slightly varied rising techniques:
Enriched Doughs: May take longer to rise due to added ingredients like butter and sugar. These ingredients weigh down the dough and inhibit yeast activity, so patience is key.
Sourdough: Often requires longer rising times due to natural fermentation. The natural yeast in sourdough is less aggressive than commercial yeast, resulting in a slower rise that develops more complex flavors.
Follow specific recipe guidelines while applying general rising principles for best results. Each type of bread has its unique characteristics, and understanding these nuances will help you become a more versatile baker.
How Do I Store Bread Dough if I Can’t Bake It Right Away?
If you need to delay baking, store the dough in the refrigerator:
Short-Term Storage: Can slow down yeast activity for up to 24 hours. This is useful for making dough ahead of time for meals.
Long-Term Storage: Freeze the dough for up to a month. To freeze, shape the dough into loaves or rolls, wrap tightly in plastic wrap, and place in a freezer bag.
Make sure to bring the dough back to room temperature before baking to ensure even cooking. Allow frozen dough to thaw slowly in the refrigerator overnight before bringing it to room temperature.
What Tools Can Help in Checking Dough Rising?
Several tools can assist in monitoring dough rising:
Dough Rising Containers: With measurements to track size increase. These containers are often clear with markings, making it easy to see when your dough has doubled.
Thermometers: Ensure the environment is at the right temperature. An instant-read thermometer can also help you measure the temperature of water and dough.
These tools can help you achieve consistent results with every bake. Investing in quality kitchen tools can make the bread-making process much more precise and enjoyable.
Why Is My Bread Dense After Baking?
Dense bread can result from:
Under-Risen Dough: Not enough time to develop proper air pockets. The dough should be light and airy before baking to ensure a fluffy crumb.
Heavy Ingredients: Whole grains and other dense ingredients can weigh down the dough. Balancing these with lighter flours or increasing hydration can improve texture.
Ensure proper rising and consider ingredient adjustments for lighter texture. Experimenting with different flour types, hydration levels, and rising times can help you find the perfect balance.
Are There Visual Cues for Dough Readiness?
Visual cues are helpful in assessing dough readiness:
Surface Texture: Smooth and elastic appearance. This indicates that the gluten network is strong and the dough is well-hydrated.
Color: Slightly lighter in color after rising. The dough will have a pale, slightly yellowish hue due to the yeast activity and fermentation gases.
These cues, alongside the indent test, help confirm dough readiness for baking. Trusting both your eyes and your intuition will develop your skills in recognizing when your dough is perfect for baking.
Wrap-Up
Understanding how to tell if bread dough has risen enough is essential for achieving the perfect loaf. By combining visual cues, the indent test, and environmental considerations, you can master the art of dough rising. For more baking tips, explore our articles on basic bread baking tips and how to store homemade bread. For additional information on yeast and fermentation, King Arthur Baking offers a wealth of resources. Happy baking!