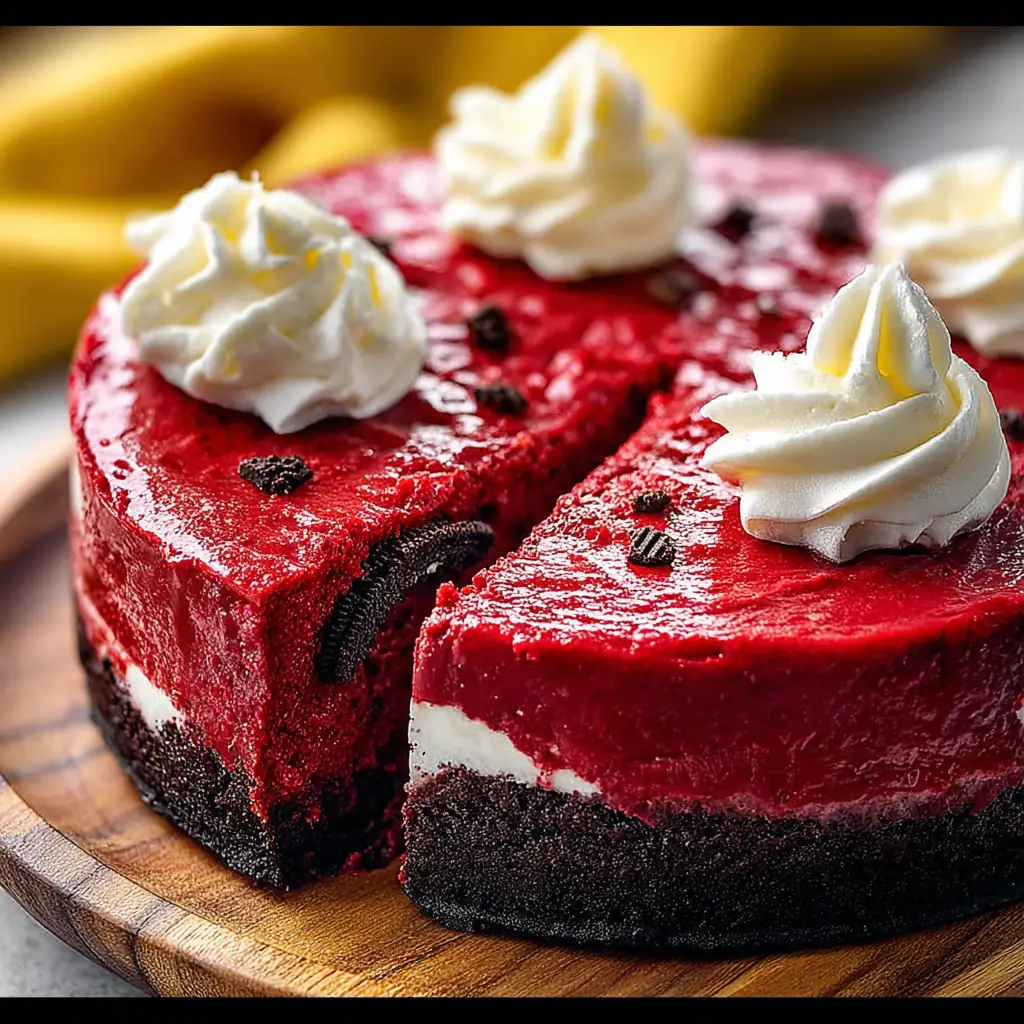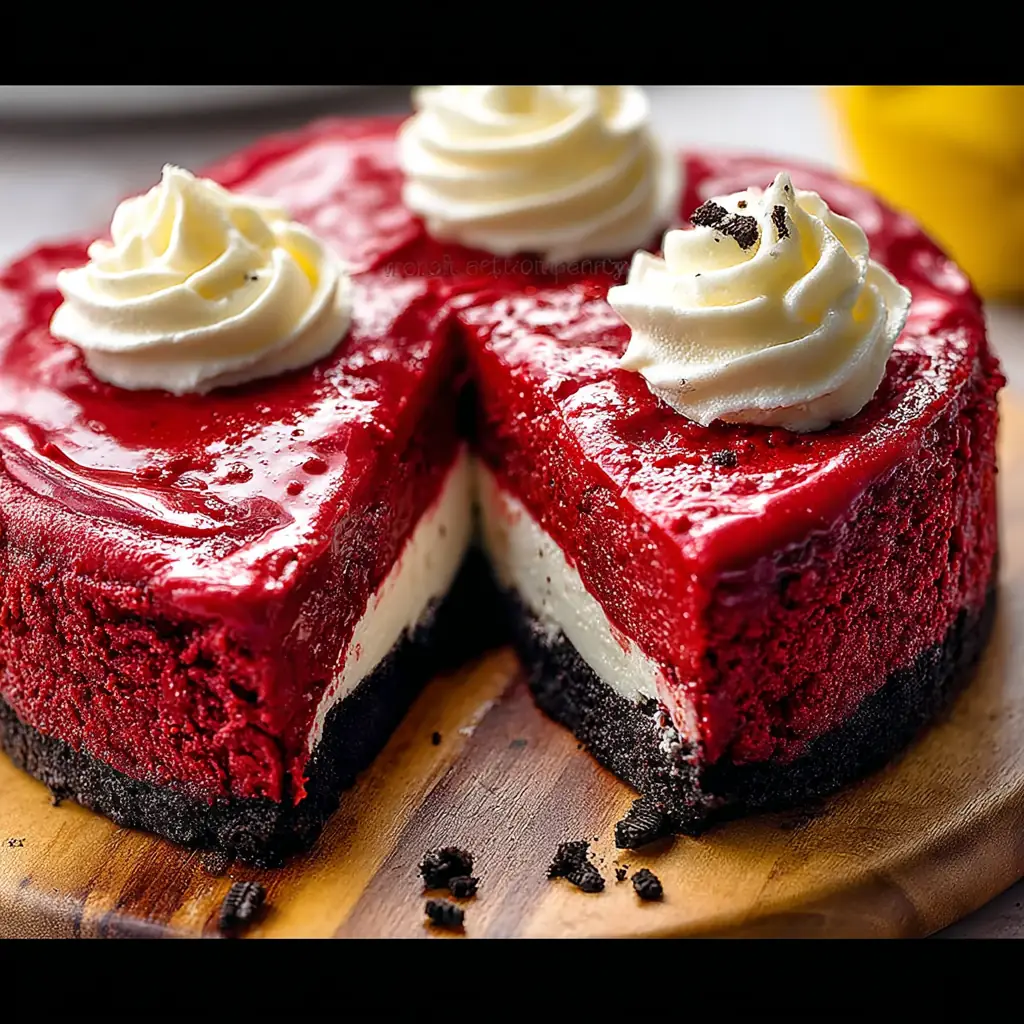
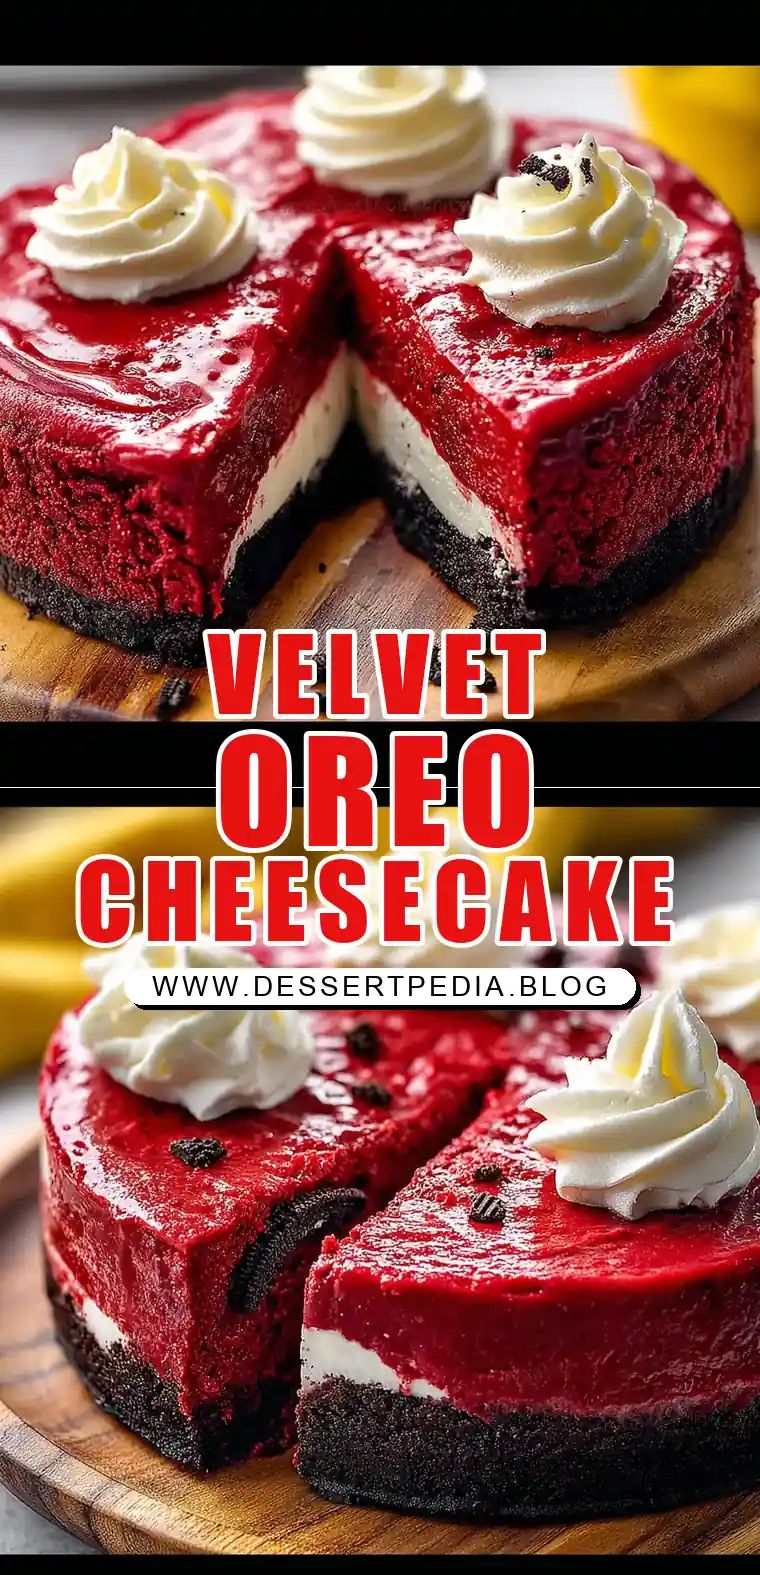
Red Velvet Oreo Cheesecake
The smell of fresh-baked treats is one of life’s simplest pleasures, and nothing quite compares to the nostalgic aroma of desserts that transport you back to cherished family gatherings. In my case, it was my grandmother’s kitchen, where her effortless ability to transform humble ingredients into culinary masterpieces was nothing short of magical. Today’s recipe, Red Velvet Oreo Cheesecake, is a tribute to those fond memories. This dessert is a beautiful fusion of the rich, velvety flavor of red velvet and the irresistible crunch of an Oreo crust, culminating in a feast for both the eyes and the palate. Whether you’re an eager novice or a seasoned baker, this recipe promises to be a delightful and rewarding culinary journey.
Why This Recipe Works:
The Red Velvet Oreo Cheesecake is a true testament to the harmony of flavors and textures. Here’s why it’s a standout:
- Rich & Creamy Texture: The blend of cream cheese and sour cream ensures a smooth, luxurious filling that melts in your mouth.
- Flavor Fusion: The subtle cocoa undertones of red velvet complement the sweet and slightly salty Oreo crust, creating a balanced flavor profile.
- Visually Stunning: The striking contrast between the deep red velvet and dark Oreo crust makes this cheesecake a showstopper.
- Easy Preparation: With straightforward steps and ingredients, this recipe is accessible to bakers of all skill levels.
- Make-Ahead Friendly: This cheesecake can be prepared ahead of time, making it perfect for entertaining.
- Customizable Topping: The cream cheese topping adds a personal touch and can be easily tailored to your taste.
Ingredients:
Oreo Crust:
- 2 cups Oreo cookie crumbs
- 4 tablespoons unsalted butter, melted
Cheesecake Filling:
- 24 ounces cream cheese, softened
- 1 cup granulated sugar
- 3 tablespoons cocoa powder
- ¼ cup milk
- 2 teaspoons white vinegar
- ⅓ cup sour cream
- 2 teaspoons vanilla extract
- 3 large eggs
- 1 egg yolk
- Red food dye
Cream Cheese Topping:
- 4 ounces cream cheese
- ⅓ cup granulated sugar
- ½ teaspoon vanilla extract
- ⅛ teaspoon salt
- 1 cup heavy cream
Step-by-Step Instructions:
Prepare the Crust:
- Preheat your oven to 350°F (175°C).
- Line the bottom of a springform pan with parchment paper.
- In a medium bowl, combine the Oreo crumbs and melted butter, stirring until the mixture resembles wet sand.
- Press the mixture firmly into the bottom of the prepared pan to form an even crust.
- Place the crust in the freezer to set while you prepare the filling.
Make the Filling:
- In a large mixing bowl, beat the softened cream cheese with an electric mixer until smooth and creamy.
- Gradually add the granulated sugar, mixing until well combined.
- Add the milk, white vinegar, vanilla extract, sour cream, and cocoa powder to the cream cheese mixture. Mix until thoroughly combined.
- Add the eggs, one at a time, mixing on low speed until just combined after each addition. Be cautious not to over-mix.
- Finally, add the egg yolk and red food dye, mixing until the color is evenly distributed.
Bake the Cheesecake:
- Pour the cheesecake filling over the prepared Oreo crust in the springform pan.
- Place the cheesecake in the preheated oven and bake for about 60 minutes, or until the edges are set and the center is slightly jiggly.
- Once baked, turn off the oven and let the cheesecake set inside for an additional hour. This helps prevent cracks.
Chill and Prepare the Topping:
- After the hour in the oven, remove the cheesecake and let it cool to room temperature.
- Transfer it to the refrigerator and chill for at least 6 hours, preferably overnight.
- For the topping, beat the cream cheese and sugar together until smooth.
- Add the vanilla extract and salt, mixing until combined.
- In a separate bowl, whip the heavy cream to stiff peaks, then gently fold it into the cream cheese mixture.
- Pipe or spread the topping over the chilled cheesecake.
Table: Calorie Breakdown for a Typical Serving
| Nutrient | Amount |
|---|---|
| Calories | 332 kcal |
| Carbohydrates | 32 g |
| Protein | 5 g |
| Fat | 22 g |
| Sugar | 30 g |
Patricia’s Tips for Success:
- Tip 1: Ensure all ingredients are at room temperature before beginning. This makes blending easier and the filling smoother.
- Tip 2: Use a generous amount of red food dye to achieve that classic vibrant red velvet color.
- Tip 3: Avoid over-mixing the eggs to prevent incorporating too much air, which can cause the cheesecake to crack.
- Tip 4: Allow the cheesecake to set in a cooled oven to achieve a perfectly creamy texture without cracks.
- Tip 5: Chill the cheesecake thoroughly for clean, neat slices.
- Tip 6: Personalize the cream cheese topping with your favorite extracts, such as almond or lemon.
- Tip 7: Use a hot, clean knife for slicing to ensure each piece looks as good as it tastes.
Cooking Variations:
- Variation 1: Swap the Oreo crust for a graham cracker base to give the cheesecake a classic twist.
- Variation 2: Add a swirl of melted chocolate into the cheesecake batter for a visually appealing marbled effect.
- Variation 3: Try different flavored Oreos, such as mint or peanut butter, for a unique flavor profile.
Serving Suggestions:
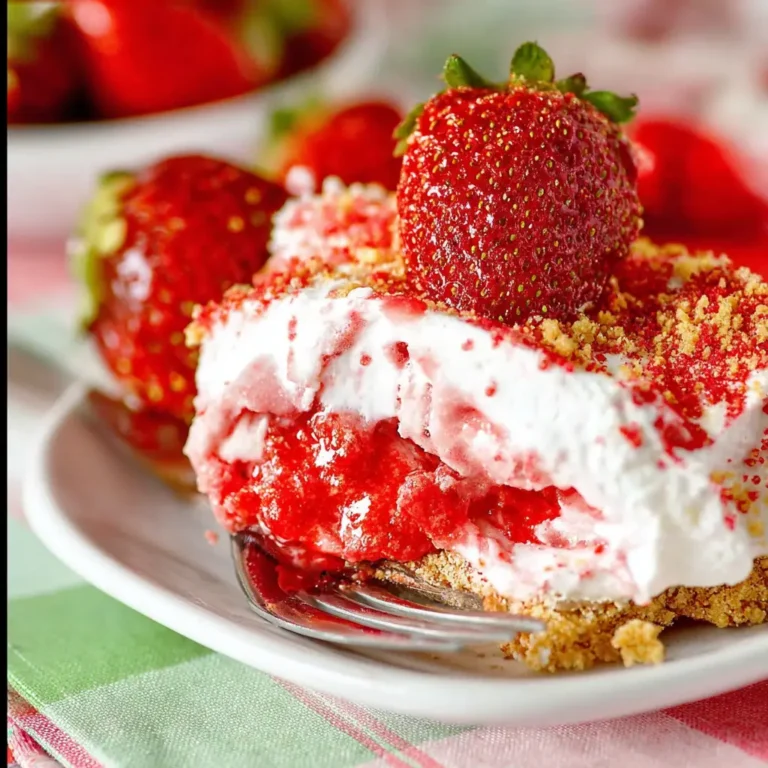
- Suggestion 1: Pair your cheesecake with fresh berries for a refreshing contrast to the rich filling.
- Suggestion 2: A dollop of whipped cream on the side adds extra indulgence to each slice.
- Suggestion 3: Enjoy with a glass of chilled milk or a hot cup of coffee to complement the cheesecake’s flavors.
Additional Thoughts:
Creating a Red Velvet Oreo Cheesecake is more than just following a recipe; it’s about embracing the joy of crafting something beautiful and delicious. Each cheesecake is a canvas, allowing you to express your creativity and share a piece of yourself with those you love. As you embark on this culinary journey, remember that every step is a chance to savor the process and the memories you’re creating along the way.
Join the Conversation:
I would love to hear about your experiences with the Red Velvet Oreo Cheesecake! Did this recipe remind you of a beloved family tradition, or did it inspire a new one of your own? Share your stories and tips in the comments below, and let’s keep the conversation delicious and lively.
Conclusion:
This Red Velvet Oreo Cheesecake is more than just a dessert; it’s a celebration of flavors and memories, a testament to the magic that happens when the heart and hands come together in the kitchen. Whether you’re baking for a special occasion or simply indulging in a sweet moment, I hope this recipe brings as much joy to your home as it has to mine.
Frequently Asked Questions:
Q: Can I make the cheesecake without a springform pan?
A: Yes, you can use a regular cake pan, but ensure it’s well-lined and handle it gently when unmolding.
Q: What can I use instead of red food dye?
A: Beet juice or natural dyes are great alternatives, though the color might be less vibrant.
Q: How long can I store the cheesecake?
A: The cheesecake keeps well in the refrigerator for up to 5 days when stored in an airtight container.
Q: Can I freeze the cheesecake?
A: Absolutely! Wrap it well in plastic wrap and foil, then freeze for up to 2 months. Thaw in the refrigerator before serving.
Q: Is there a non-dairy substitute for cream cheese?
A: Vegan cream cheese alternatives can be used, but you may need to adjust the taste to your preference.
Q: Can I use low-fat ingredients?
A: While full-fat ingredients provide the best texture, low-fat options can be used, though the cheesecake may be slightly less creamy.
Q: What if I don’t have a piping bag?
A: A plastic bag with a small corner cut off works well for simple dollops or designs.

Red Velvet Oreo Cheesecake
Ingredients
Equipment
Method
- Preheat the oven to 350 degrees Fahrenheit.
- Prepare a springform pan with parchment paper on the bottom and around the edges of the pan.
- Combine the Oreo crumbs and melted butter in a medium bowl. Use a fork to blend until combined and the texture is slightly crumbly.
- Transfer the mixture to the prepared springform pan and press into an even layer in the bottom and slightly up the sides of the pan. Place in the freezer while making the cream cheese filling.
- In a large mixing bowl blend the cream cheese until smooth and lump-free.
- Add the sugar and blend again until combined.
- Mix in the milk, vinegar, vanilla extract, sour cream, and cocoa powder until thoroughly combined. Scrap the sides of the bowl if needed.
- Add in each egg, one at a time, blending between each addition. On the last egg yolk, add the food dye, using a generous amount depending on the vibrancy of your food dye of choice.
- Remove the Oreo crust from the freezer and pour the red velvet mixture into the springform pan.
- Slightly shake/jiggle the pan to even out the filling and then bake for 60 minutes.
- The cheesecake will still be slightly jiggly in the center when done. Turn the oven off and let the cheesecake stay in the warm oven for another hour to finish cooking.
- Remove from the oven and transfer to the refrigerator to chill for at least 6 hours or overnight.
- When ready to serve, make the cream cheese topping.
- In a bowl, combine the cream cheese and sugar. Blend until smooth.
- Then add the vanilla and salt. Mix once more until combined.
- In a separate, smaller bowl, whip the heavy cream until stiff peaks form.
- Gently fold the whipped cream into the cream cheese mixture until smooth and no streaks are left.
- Transfer to a piping bag fitted with a large star piping tip.
- Create 6-8 swirls on top of the cheesecake to decorate as desired.
- Cut and serve.