Chocolate Macaron Recipe
A Symphony of Chocolate and Almond: Mastering the Art of Chocolate Macarons
Picture yourself in a cozy kitchen, the kind where every nook and cranny whispers stories of family gatherings and Sunday afternoon bakes. My grandmother’s kitchen was precisely this—a sanctuary of warmth and comfort. One of my fondest memories is of us baking together, her hands deftly moving through the motions of mixing, stirring, and baking, like a conductor leading an orchestra. Inspired by her love for baking, I bring you this delightful Chocolate Macaron Recipe, a sweet symphony of flavors that’s sure to become a staple in your home.
Why This Recipe Works:
Crafting the perfect chocolate macaron requires precision, patience, and a touch of creativity. Here’s why this recipe is a must-try for any baking enthusiast:
- Simple Ingredients: This Chocolate Macaron Recipe uses ingredients you likely have at home, making it an accessible choice for spontaneous baking sessions.
- Approachable Technique: Even if you’ve never made macarons before, the step-by-step instructions ensure success.
- Rich Flavor Profile: Combining the velvety texture of the chocolate ganache with the delicate almond shell creates a harmonious balance of flavors.
- Perfect for Sharing: These macarons are not only a treat for the taste buds but also a visual delight, making them ideal for gifting or sharing at gatherings.
- Customizable: With easy-to-add flavor variations, you can tailor this recipe to suit personal tastes or seasonal themes.
- Consistent Results: Each time you make this recipe, you’re guaranteed the same delightful taste and texture, thanks to tried-and-true baking techniques.
Ingredients:
- 1 ½ cups almond flour: Ensures a smooth, delicate shell
- 1 ½ cups powdered sugar: Provides sweetness and stability
- 3 large egg whites: Whipped to stiff peaks for structure
- ¼ cup granulated sugar: Helps stabilize the whipped egg whites
- 1 tsp pure vanilla extract: Adds a subtle, fragrant flavor
- 2 tbsp cocoa powder: Infuses the macaron shells with chocolate flavor
- ½ cup heavy cream: The base for a rich chocolate ganache
- 4 oz dark chocolate, chopped: For a luscious, smooth filling
Step-by-Step Instructions:
1. Preheat Your Oven: Begin by preheating your oven to 300°F (150°C). This step ensures that your macarons bake evenly. Line two baking sheets with parchment paper to prevent sticking.
2. Sift the Dry Ingredients: In a medium bowl, sift together the almond flour, powdered sugar, and cocoa powder. This step is crucial for a smooth shell, as it removes any clumps that could mar the texture.
3. Whip the Egg Whites: In a stand mixer fitted with the whisk attachment, beat the egg whites on medium speed until foamy. Gradually add the granulated sugar, increasing the speed to high until stiff peaks form. This airy meringue is the backbone of your macarons.
4. Fold the Ingredients: Gently fold the dry ingredients into the meringue using a spatula, being careful not to deflate the mixture. The goal is a glossy, lava-like consistency that ribbons off the spatula.
5. Pipe the Macarons: Transfer the batter to a piping bag fitted with a round tip. Pipe small circles onto the prepared baking sheets, leaving space between each macaron. This ensures they have room to expand without merging.
6. Release Air Bubbles: Tap the baking sheets on the counter to release air bubbles. This step helps prevent cracks during baking.
7. Rest the Macarons: Let the macarons sit at room temperature until they form a skin, about 30 minutes. This crucial step helps achieve the classic macaron “feet.”
8. Bake: Bake for 15-17 minutes, rotating halfway through for even baking. The macarons should have a firm top and not move when gently touched.
9. Prepare the Ganache: While the shells bake, heat the heavy cream in a small saucepan over medium heat until it simmers. Pour over the chopped chocolate, letting it sit for 5 minutes before stirring until smooth. Allow the ganache to cool slightly before transferring it to a piping bag.
10. Assemble: Once the macaron shells have cooled, pipe the ganache onto half of the shells and sandwich with the remaining shells.
Prep Time: 40 minutes
Cooking Time: 17 minutes
Total Time: 57 minutes
Yield: 24 macarons
Table: Calorie Breakdown for a Typical Serving
| Component | Amount |
|---|---|
| Calories | 110 |
| Carbs | 14g |
| Protein | 2g |
| Fat | 5g |
| Sugar | 9g |
Patricia’s Tips for Success:
- Weigh Ingredients for Accuracy: Precision in measurements is key to macaron success.
- Age Your Egg Whites: Aged egg whites work best. Leave them at room temperature for at least 24 hours for optimal results.
- Achieve the Perfect Consistency: When folding the mixture, look for a glossy, lava-like consistency that ribbons off the spatula.
- Cool Baking Sheets: Ensure your baking sheets are completely cool before piping a new batch of macarons.
- Use Gel Food Coloring: For vibrant shades without altering the batter’s consistency.
- Adjust Ganache Consistency: If your ganache is too runny, allow it to cool further. If too thick, gently reheat it over a double boiler.
- Practice Patience: Resting the macarons before baking helps prevent cracking and promotes even baking.
Cooking Variations:
- Cocoa Alternatives: Swap the cocoa powder for matcha or instant coffee for a unique twist on the classic macaron.
- Citrus Infusion: Add a touch of orange zest to the ganache for a citrusy pop.
- Nutty Texture: Incorporate finely chopped nuts into the ganache for added texture.
- Flavorful Meringue: Experiment with flavored extracts like almond or peppermint in the meringue.
- Colorful Creativity: Create a dual-colored shell by swirling two different colored batters.
Serving Suggestions:
- Espresso Pairing: Pair with a hot cup of espresso for a delightful afternoon pick-me-up.
- Elegant Presentation: Arrange on a tiered cake stand for an elegant tea party presentation.
- Gift with Love: Box them in a decorative tin for a heartfelt homemade gift.
- Light Dessert Option: Serve alongside fresh berries and whipped cream for a light dessert.
- Sweet Finale: Enjoy as a sweet ending to a rich, savory meal.
The Art and Science of Baking Macarons:
Baking macarons can be as much an art as it is a science. While the initial attempt might feel daunting, the process becomes more intuitive with practice. The joy of creating these delicate confections extends beyond the kitchen, as each batch becomes a catalyst for connection—whether it’s a shared moment with family or a thoughtful gift for a friend. The Chocolate Macaron Recipe invites you to embrace imperfection and celebrate the small victories that come with home baking.
Join the Conversation:
I’d love to hear about your macaron adventures! Share your experiences, tips, or any questions you have in the comments below. Whether you’re a seasoned baker or a curious novice, your insights and stories make this community vibrant and inspiring. Let’s learn from each other and continue to nurture our passion for delicious, homemade treats.
Conclusion:
The Chocolate Macaron Recipe is an ode to my grandmother’s kitchen—a place where love and food intertwine. It’s a reminder that baking is a gift we give ourselves and others. With each macaron you create, you’re not just crafting a dessert; you’re building memories, one delightful bite at a time.
Frequently Asked Questions:
Q: Can I use liquid food coloring?
A: It’s best to use gel food coloring to avoid altering the consistency of the batter.Q: How do I store the macarons?
A: Store in an airtight container in the fridge for up to 5 days, allowing them to reach room temperature before serving.Q: Why are my macarons cracking?
A: Cracking can result from under-mixing the batter or insufficient resting time before baking.Q: Can these be frozen?
A: Yes, freeze the filled macarons in an airtight container for up to a month. Thaw in the fridge overnight before enjoying.Q: What if my ganache is too runny?
A: Let it cool longer or refrigerate briefly to firm up before piping.Q: How can I tell when the macarons are done baking?
A: They should have a firm top and not move when gently touched.Q: Is there a substitute for almond flour?
A: You can try finely ground blanched almonds, but the texture may differ slightly.
By following this guide, you’ll not only master the art of making chocolate macarons but also bring a piece of my grandmother’s kitchen into your own. Happy baking!
Chocolate Macaron Recipe
Ingredients
Equipment
Method
- Preheat the oven to 350F. Line an 8×8 baking dish with parchment paper and spray it with nonstick baking spray. Set aside.
- In a large bowl, combine the graham cracker crumbs, brown sugar, and melted butter. Stir until the mixture resembles wet sand– about 30 seconds.
- Transfer the crust into the prepared baking dish and pack it firmly into the bottom of the pan.
- Partially bake the crust for 5 minutes, then remove it from the oven to cool slightly while you make the filling.
- Add the cream cheese and granulated sugar to the bowl of a stand mixer fitted with the paddle attachment. Cream them together on medium speed until they are smooth and light– about 2 minutes.
- Next, add the sour cream and pure vanilla extract and mix to combine.
- Lastly, add the eggs one at a time. Scrape down the sides of the bowl to ensure that everything is fully incorporated.
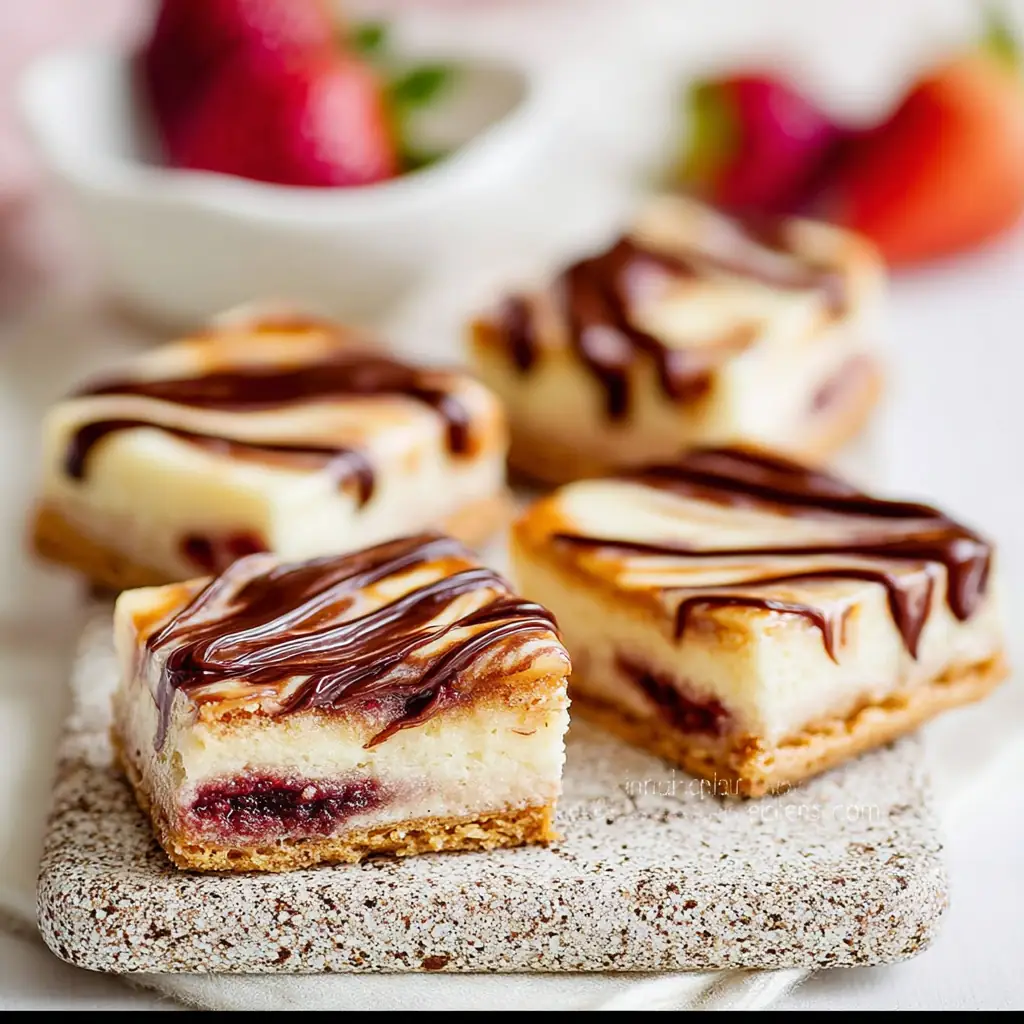
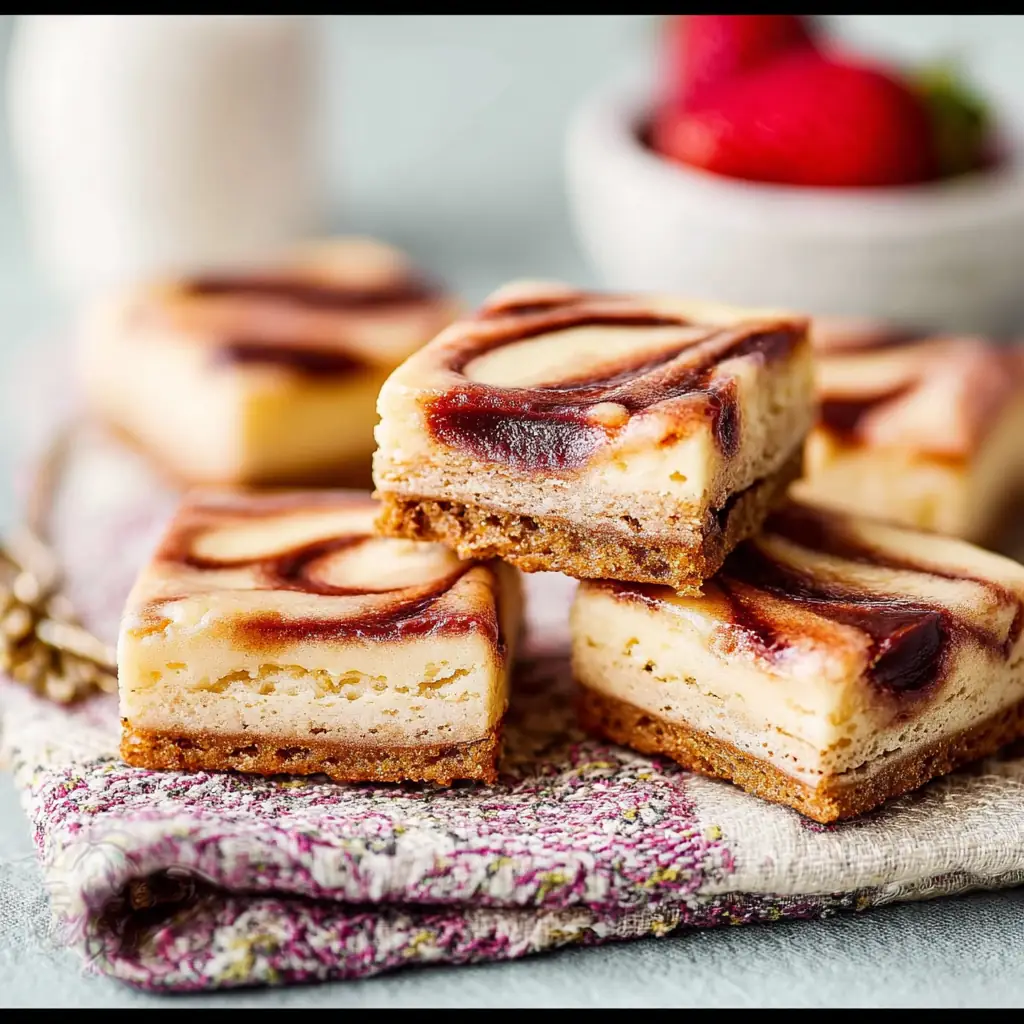
- Pour the cheesecake layer on top of the par-baked crust. Add spoonfuls of strawberry jam to the top of the cheesecake layer and swirl them into the cheesecake.
- Bake for 30-35 minutes, or until the center is fully set and doesn’t jiggle when the pan is lightly shaken.
- Allow the cheesecake to cool to room temperature (about 1 hour) and then transfer it to the fridge to cool completely (about 2 hours).
- Slice and enjoy. Store any leftover bars in an airtight container in the fridge for up to three days.