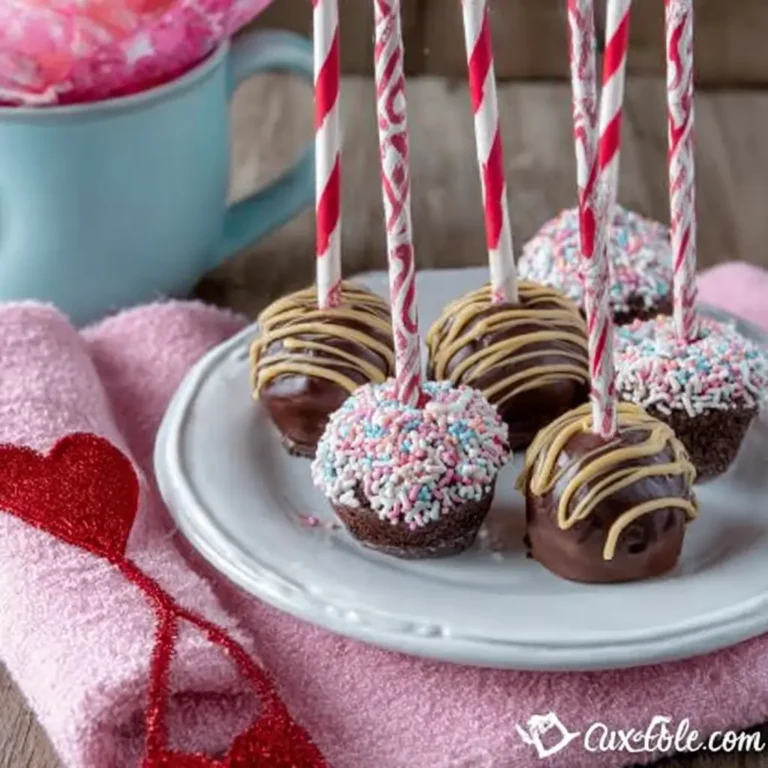
Red Velvet Cake Pops
Introduction: A Journey Through Flavor and Memory
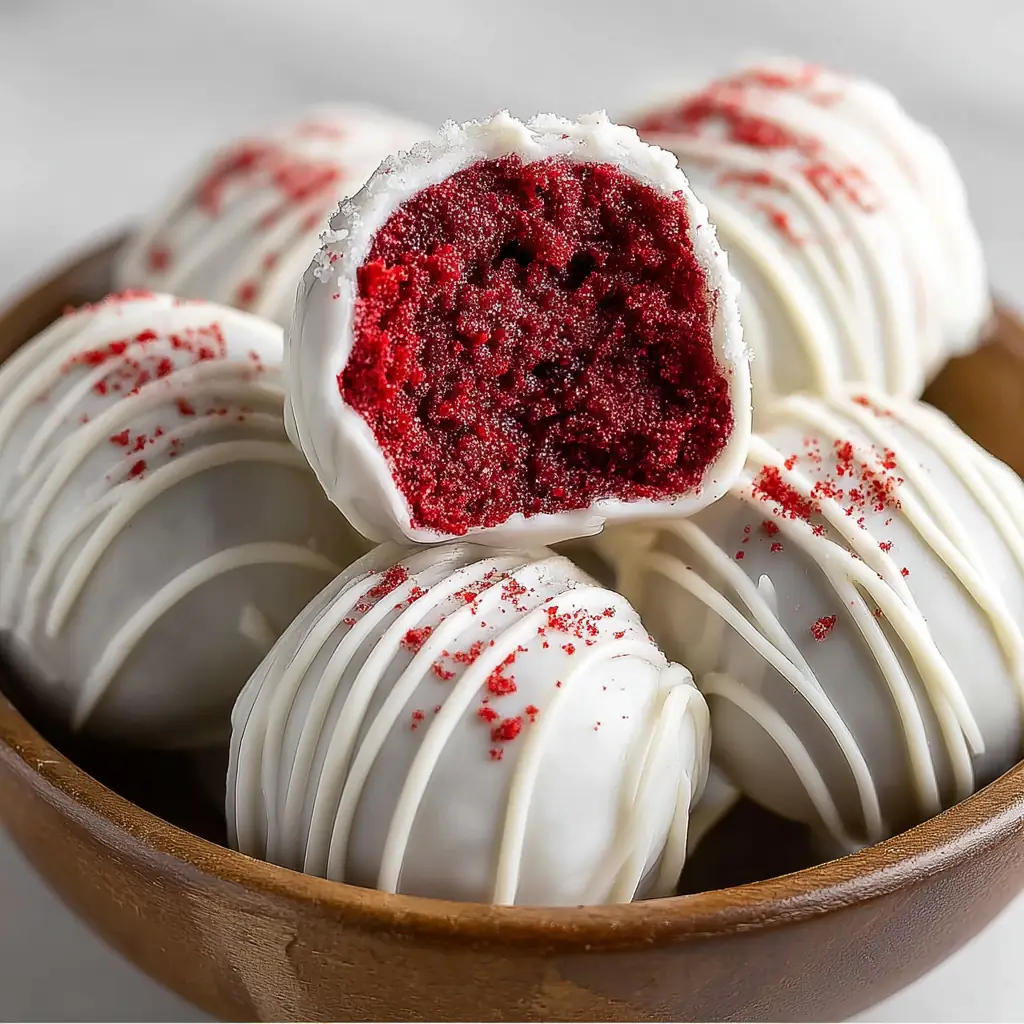
Nestled in the heart of my childhood memories is the aroma of red velvet cake wafting through my grandmother’s cozy kitchen. Each weekend, she would invite me over for a baking session, infusing a sense of warmth and love into every dessert we crafted together. These moments were more than just culinary lessons; they were life lessons in patience, precision, and passion. Inspired by those cherished times, I bring you a delightful twist on the classic red velvet cake with “Red Velvet Cake Pops.” These bite-sized treats encapsulate the essence of red velvet cake while adding a fun, playful spin perfect for any occasion. Whether you’re a seasoned baker or a curious novice, these Red Velvet Cake Pops are a testament to the joy of baking and sharing.
The Magic of Red Velvet: A Classic Reimagined
Red velvet cake is a dessert that has captivated taste buds for generations, with its vibrant color and unique flavor profile balancing cocoa’s richness with the tang of buttermilk. Its origins are as rich as its taste, with roots tracing back to the Victorian era when “velvet” cakes were a luxurious treat. The red color, initially a byproduct of natural cocoa, gained prominence with the advent of food coloring, turning this cake into an iconic celebration of color and flavor.
Transforming this classic cake into cake pops is a nod to both tradition and innovation. It allows us to experience the nostalgia of red velvet in a modern, convenient format. These cake pops are not just desserts; they are an experience, a reflection of joy and creativity that can be shared with loved ones.
Why This Recipe Works
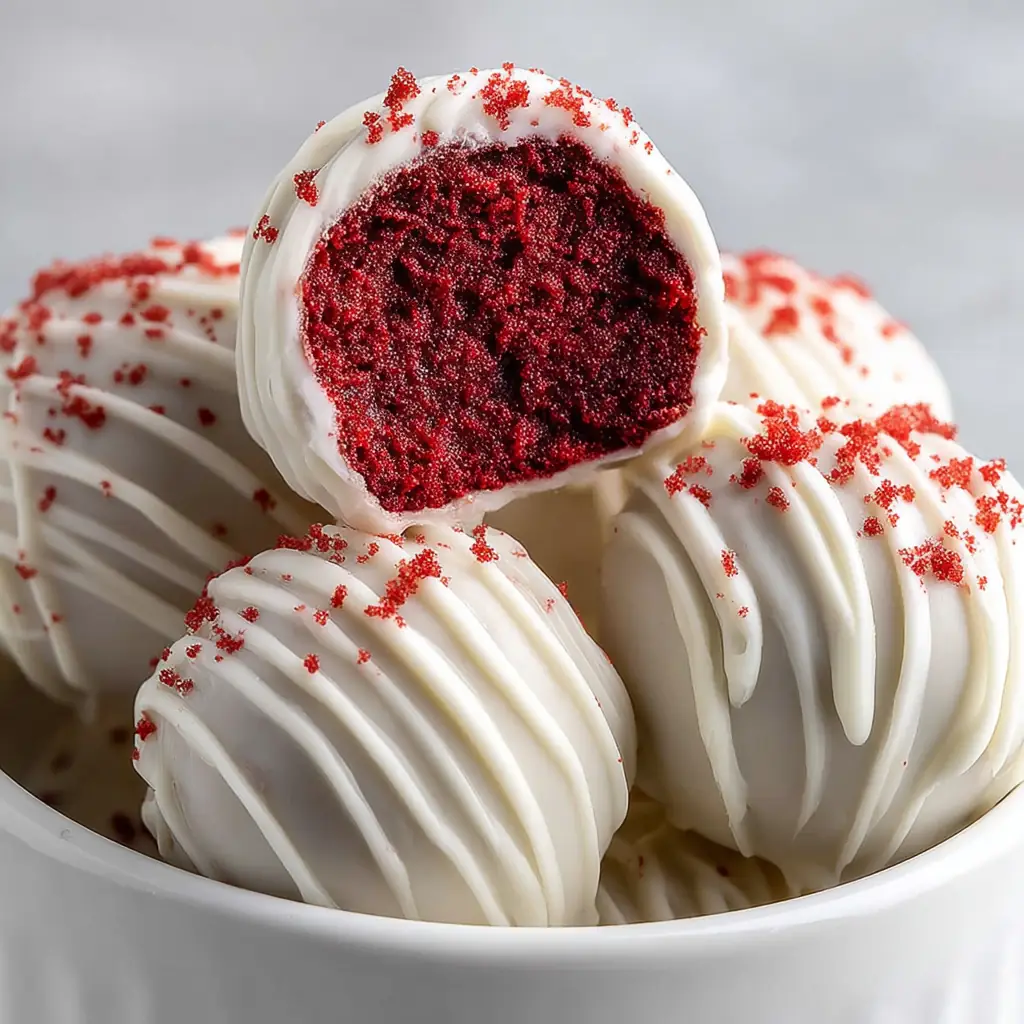
- Perfectly Sized: These cake pops are delightful one-bite wonders, ideal for portion control and sharing. They make it easy to enjoy a sweet treat without overindulging.
- Rich Flavor: The combination of cocoa and buttermilk creates the classic red velvet taste that is both tangy and sweet. This balance is maintained in the cake pops, ensuring every bite is as flavorful as a full slice of cake.
- Easy to Make: With simple ingredients and straightforward steps, these cake pops are accessible to home cooks of all skill levels. The process is streamlined, yet it invites creativity at every step.
- Versatile Coating: Using almond bark or white chocolate, the candy coating adds a delightful crunch to contrast the soft interior. This coating can be customized with various toppings, from sprinkles to crushed nuts.
- Make-Ahead Friendly: You can prepare these up to three days in advance, making them perfect for parties or gifting. The flavors meld beautifully over time, enhancing the overall taste.
Ingredients: Building Blocks of Flavor
- Flour: Provides the structure needed for the cake, ensuring each pop holds its shape.
- Cocoa Powder: Adds the classic chocolatey flavor that defines red velvet.
- Baking Soda and Salt: Helps the cake rise and enhances the other flavors.
- Canola Oil: Ensures the cake is moist and tender.
- Sugar: Sweetens the batter and balances the cocoa.
- Buttermilk: Adds tanginess and tenderness, a signature of red velvet.
- Egg White: Binds the ingredients together, contributing to the cake’s structure.
- Red Food Coloring: Gives the cake its signature hue, enhancing its visual appeal.
- Vanilla Extract and White Vinegar: Adds depth of flavor and reacts with baking soda for a tender crumb.
- Cream Cheese and Powdered Sugar: Creates a creamy, sweet filling that binds the cake crumbs.
- Almond Bark or White Chocolate: For a smooth, sweet coating that complements the cake’s tang.
Step-by-Step Instructions: Crafting Perfection
- Prepare and Preheat: Begin by preheating your oven to 350°F and prepare 4 cupcake liners in a tin, setting the stage for the magic to unfold.
- Mix Dry Ingredients: Sift together the flour, cocoa powder, baking soda, and salt in a small bowl, ensuring a smooth, lump-free mixture.
- Blend Wet Ingredients: In another bowl, beat the canola oil, sugar, buttermilk, egg white, red food coloring, vanilla extract, and vinegar using an electric mixer until well combined.
- Combine and Bake: Gradually add the dry ingredients to the wet mixture, stirring until just combined. Divide the batter evenly among the cupcake liners and bake for 20-22 minutes. Allow them to cool completely before proceeding.
- Crumble and Mix: Once cool, crumble the cupcakes into fine crumbs. In a bowl, mix the softened cream cheese and powdered sugar until smooth, then add the crumbs and mix thoroughly.
- Shape and Chill: Roll the mixture into balls using a heaping tablespoon for each and place them on a plate. Refrigerate for at least 4 hours to ensure they hold their shape.
- Melt and Coat: Melt the almond bark in the microwave in 30-second intervals, stirring until smooth. Dip the chilled balls into the coating, using a fork to turn, then place them on wax paper to dry.
Prep Time: 20 minutes
Cooking Time: 22 minutes
Total Time: 42 minutes
Yield: 10 servings
Calorie Breakdown: Mindful Indulgence
| Component | Amount |
|---|---|
| Calories | 330 |
| Carbohydrates | 19g |
| Protein | 8g |
| Fat | 26g |
| Sugar | 13g |
Patricia’s Tips for Success: Mastering the Art
- Vibrant Color: Use gel food coloring for a more vibrant red hue without altering the texture. Liquid food coloring can sometimes affect the consistency of the batter.
- Cool Completely: Ensure the cake is completely cool before crumbling to avoid a sticky mess. This also helps in achieving a finer crumb texture.
- Chill Thoroughly: Refrigerate the cake balls for at least 4 hours to ensure they hold their shape during coating. This step is crucial for a smooth, even finish.
- Smooth Coating: If the melted almond bark thickens, reheat gently in the microwave to achieve a smooth consistency. A smooth coating is key to a professional-looking finish.
- Even Coating: For an even coating, use a fork and tap gently on the edge of the bowl to remove excess chocolate. This prevents pooling at the base of the cake pops.
Cooking Variations: Tailor to Your Taste
- Mocha Twist: Add a tablespoon of espresso powder to the cake batter for a mocha twist, enhancing the cocoa flavor with a hint of coffee.
- Citrusy Kick: Use orange zest in the cake batter for a citrusy kick, complementing the tanginess of the buttermilk.
- Chocolate Lovers: Substitute milk chocolate for the coating for a richer, more indulgent taste that chocolate lovers will adore.
Serving Suggestions: Elevate the Experience
- Party Pleaser: Serve these cake pops at a birthday party for a fun, colorful treat that both kids and adults will enjoy.
- Elegant Favor: Wrap each cake pop individually in cellophane for an elegant wedding favor, adding a personal touch to your special day.
- Afternoon Delight: Pair with a hot cup of coffee or tea for a delightful afternoon snack, perfect for enjoying a moment of relaxation.
Additional Thoughts: Beyond the Recipe
The beauty of these Red Velvet Cake Pops lies in their simplicity and versatility. They are not just a treat but a conversation starter, a centerpiece, and a reflection of joy in baking. This recipe allows you to explore creativity, from experimenting with different coatings to customizing decorations for various occasions. Each pop encapsulates a burst of flavor and a memory, making them not just a dessert but a delightful experience to share with loved ones.
Join the Conversation: Share Your Story
I’d love to hear your thoughts on these Red Velvet Cake Pops! Did they remind you of a special memory, or did you create a new one while making them? Share your experiences and any variations you tried. Let’s celebrate the joy of baking and the delicious moments it brings into our lives. Your feedback and stories are the heart of this blog!
Conclusion: A Celebration of Flavor and Memory
These Red Velvet Cake Pops are more than just a recipe; they are an invitation to indulge in creativity and nostalgia. Perfect for any occasion, they bring a smile to your face and a touch of elegance to your table. Try them out, and you might just find yourself transported to a cozy kitchen filled with warmth and love.
Frequently Asked Questions: Your Queries Answered
Can I use a different type of oil?
Yes, vegetable oil is a suitable substitute for canola oil, maintaining the cake’s moisture.How long can I store these cake pops?
They can be stored in the refrigerator for up to 3 days, maintaining their texture and flavor.Can I freeze the cake pops?
Yes, freeze them without the coating, and dip them when ready to serve for ultimate freshness.What if I don’t have buttermilk?
You can make a substitute by mixing regular milk with a teaspoon of vinegar or lemon juice, achieving a similar tangy effect.How do I fix a crumbly mixture?
Ensure the cream cheese is well softened; add a little more if needed for binding, ensuring a smooth, cohesive mixture.Can I make these without the food coloring?
Yes, but the distinctive red color will be absent, resulting in a more natural brown hue that still tastes delicious.Is there a non-dairy option for the cream cheese?
Yes, use a dairy-free cream cheese alternative available at most supermarkets, perfect for those with dietary restrictions.
Red Velvet Cake Pops
Ingredients
Equipment
Method
- In a cupcake tin, place 4 cupcake liners on the outside edge. Preheat the oven to 350-degrees F, and gather all ingredients.
- In a small bowl, sift together the flour, baking soda, salt and cocoa powder. In another bowl, beat together the canola oil, sugar, buttermilk, egg white, red dye, vinegar, and vanilla using an electric mixer. Slowly add the dry ingredients to the wet ingredients.
- Divide the batter between the four cupcake liners and bake at 350° for 20-22 minutes until a cake tester comes out clean. Let cool completely on a wire rack.
- When cool, crumble the cupcakes into crumbs. In a bowl, mix the softened cream cheese and powdered sugar. Add the crumbs and stir very well.
- Scoop a heaping tablespoon of the mixture into your hands and then roll into balls. Place the balls on a plate and refrigerate at least 4 hours.
- To make the coating, chop the almond bark into 1″ chunks and place in a bowl. Heat on medium power in the microwave in 30-second intervals, stirring in between until melted. Dip each ball into the coating quickly, using a fork to turn, then let them dry on a piece of wax paper.