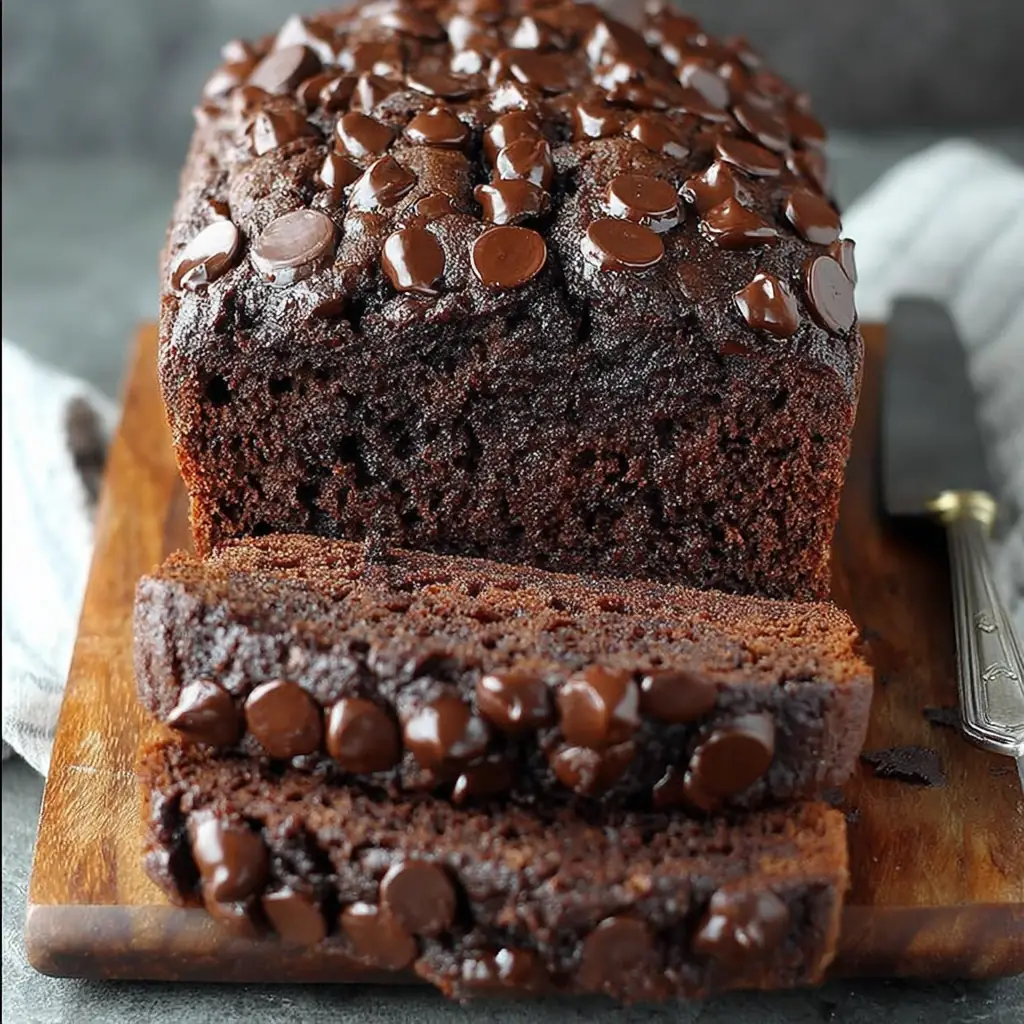
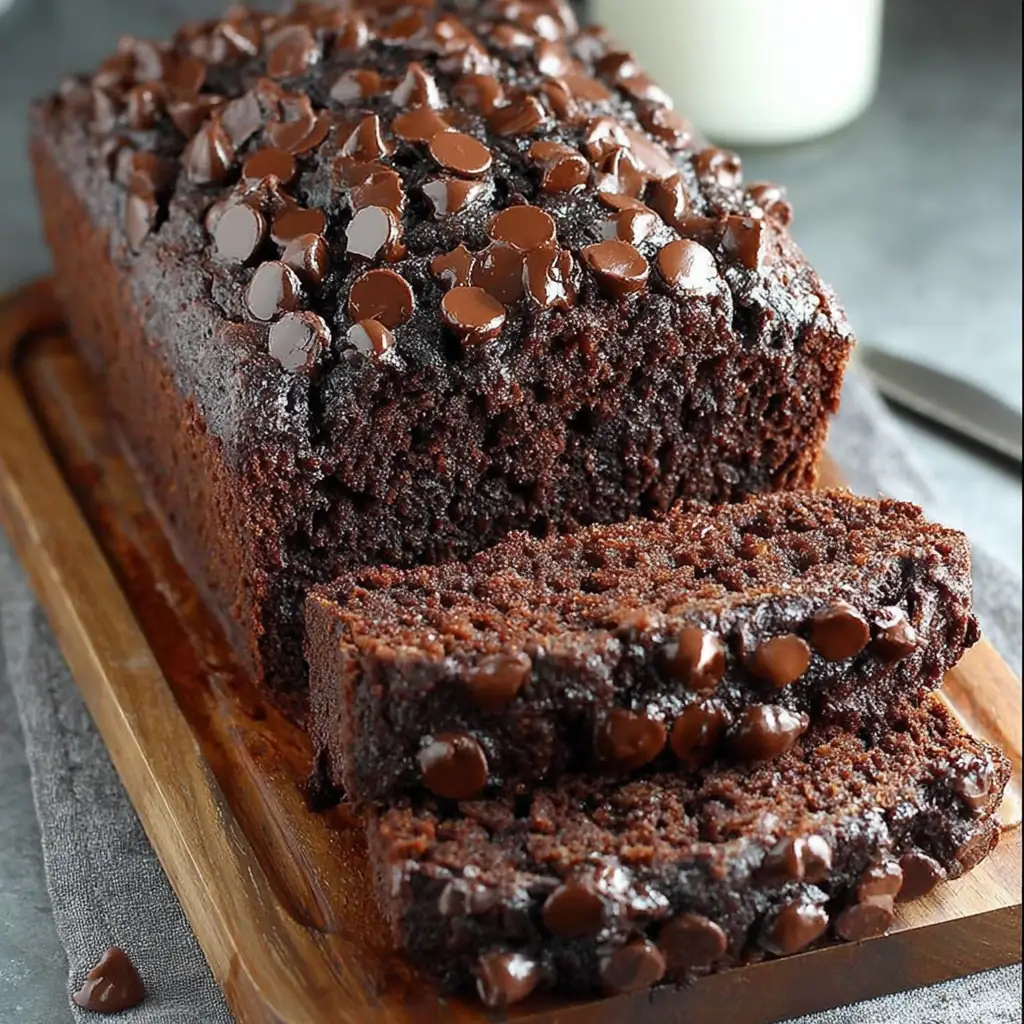
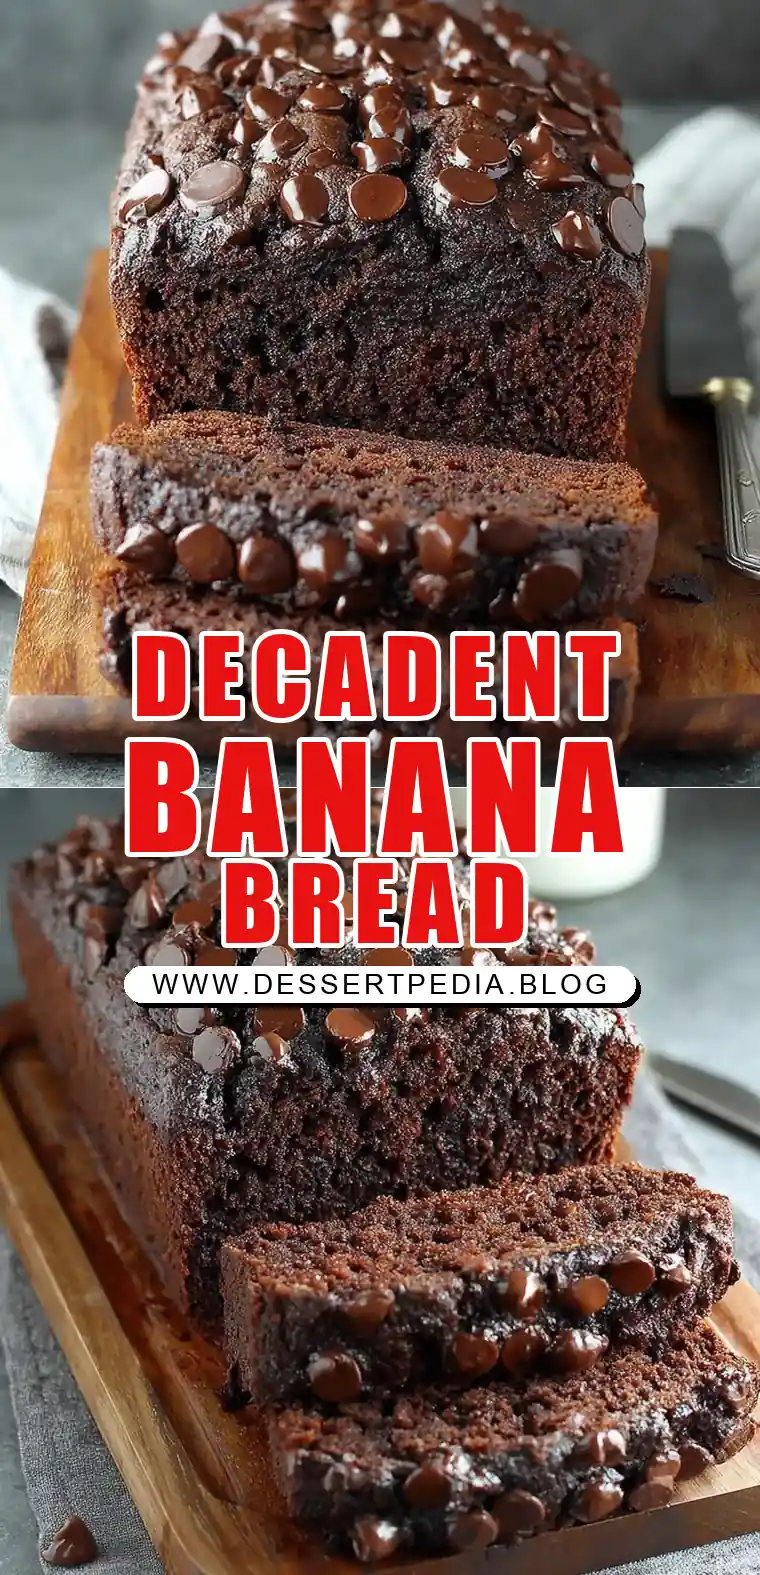
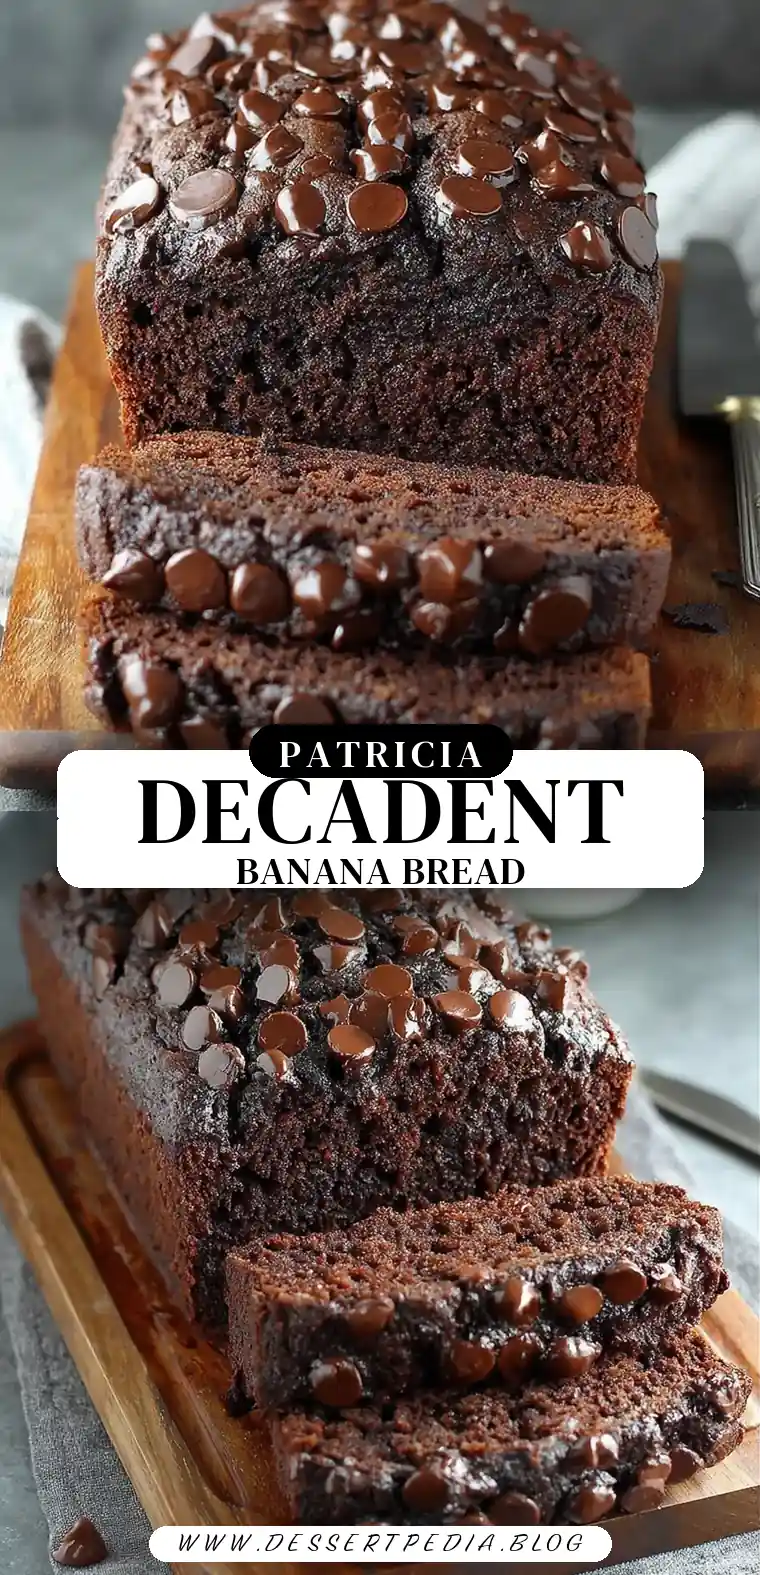
Chocolate Banana Bread
Unveiling the Legacy of Chocolate Banana Bread: A Journey Through Nostalgia and Flavor
As a child, nothing felt as comforting as the sweet aroma wafting from my grandmother’s kitchen on a lazy Sunday morning. Her Chocolate Banana Bread was a staple, a recipe lovingly crafted and shared among family members. It was more than just a delightful treat; it was a symbol of warmth, care, and togetherness. Now, I share this cherished recipe with you, hoping to bring a slice of that nostalgic coziness into your home. This Chocolate Banana Bread is not only a delicious indulgence but also incredibly easy to make, making it perfect for both novice bakers and seasoned kitchen veterans. Join me as we dive into this mouthwatering recipe, blending rich chocolate and ripe bananas to create a loaf so delicious that it might just become your new family tradition.
The Heartwarming Story Behind the Recipe
My grandmother’s kitchen was a place of magic, where ingredients were transformed into stories, and recipes became family heirlooms. The Chocolate Banana Bread was born out of the necessity to use up overripe bananas, but it quickly became a family favorite. Each bite was a reminder of Sunday mornings filled with laughter, stories, and the gentle hum of the old radio playing in the background.
As I grew older, I realized that this bread was more than just a culinary creation. It was a lesson in love and patience, a testament to the idea that the simplest ingredients could create the most profound joy. Baking this bread in my own kitchen now, I am transported back to those cherished moments, and I hope to impart that same sense of nostalgia and warmth to you.
Why This Recipe Works:
The success of this Chocolate Banana Bread lies in its simplicity and the perfect harmony of its ingredients. Here’s why this recipe is a winner:
Moist and Flavorful: The combination of ripe bananas and chocolate creates a moist texture and rich flavor profile. The natural sweetness of the bananas complements the deep, rich flavors of the chocolate, creating a symphony of taste that is hard to resist.
Simple Ingredients: This recipe calls for pantry staples, making it easy to whip up whenever you have ripe bananas on hand. There’s no need for complicated or expensive ingredients, which makes this bread accessible to everyone.
Quick Preparation: With minimal prep time, this recipe is a convenient option for busy days. You can have it mixed and in the oven in just a few minutes, leaving you free to enjoy your day while the magic happens in the oven.
Versatile: Whether you’re serving it as a breakfast treat, a midday snack, or a decadent dessert, this bread fits the bill perfectly. It’s adaptable to any occasion, and its versatility is one of its greatest strengths.
Family-Friendly: Loved by kids and adults alike, this bread is a crowd-pleaser at gatherings. Its rich chocolate flavor and moist texture make it a hit with everyone, from picky eaters to sophisticated palates.
Freezer-Friendly: You can easily freeze any leftovers for later enjoyment, ensuring no slice goes to waste. This makes it an excellent option for meal prepping or for having a quick treat on hand whenever the craving strikes.
Ingredients Overview
Understanding the role of each ingredient can greatly enhance your baking experience:
All-purpose flour: This provides the necessary structure to the bread. It’s the foundation upon which the other flavors are built.
Dutch process cocoa: Known for its rich, deep chocolate flavor, this cocoa powder is what gives the bread its intense chocolatey taste.
Baking soda: This is a leavening agent that helps the bread rise, creating a light and airy texture.
Sea salt: A small amount of salt enhances the overall flavor, balancing the sweetness and bringing out the chocolate’s richness.
Ripe bananas: The star of the show, ripe bananas add moisture and natural sweetness. Their flavor intensifies as they ripen, making them perfect for baking.
Unsalted butter and oil: These fats add richness and keep the bread tender. The combination ensures a moist crumb without being greasy.
Light brown sugar: This sweetener adds a hint of caramel flavor, complementing the chocolate and banana beautifully.
Egg: Acting as a binder, the egg helps hold the ingredients together, ensuring the bread has the right structure.
Pure vanilla extract: This enhances the chocolate and banana flavors, adding depth and warmth to the bread.
Semisweet chocolate chips: These melt into gooey pockets of chocolate goodness, providing bursts of flavor in every bite.
Step-by-Step Instructions
To ensure the best results, follow these detailed steps:
Preheat the Oven: Start by preheating your oven to 350°F (175°C). Grease a 9-by-5-inch loaf pan with nonstick cooking spray. This step ensures that the bread doesn’t stick to the pan, making it easier to remove once baked.
Mix Dry Ingredients: In a medium bowl, whisk together the flour, cocoa powder, baking soda, and sea salt. Set aside. Whisking these ingredients helps to evenly distribute the baking soda and salt, which is crucial for the bread’s texture.
Prepare Wet Ingredients: In a large bowl, mash the ripe bananas with a fork. It’s important to mash them well to avoid large chunks in the bread. Add the melted butter and oil, stirring until combined.
Combine Sugar, Egg, and Vanilla: Stir in the brown sugar, egg, and vanilla extract. Mix until smooth. This step ensures that the sugar is well incorporated, which is key for a uniform sweetness.
Incorporate Dry Ingredients: Gradually stir the dry ingredients into the wet ingredients, being careful not to overmix. Overmixing can lead to a dense loaf, so mix just until everything is combined. Stir in ¾ cup of the chocolate chips.
Pour and Top: Pour the batter into the prepared pan and sprinkle the remaining ¼ cup of chocolate chips over the top. This gives the bread a delightful appearance and an extra layer of chocolatey goodness.
Bake: Place the pan in the oven and bake for 50-65 minutes. Check for doneness by inserting a toothpick into the center; it should come out mostly clean, with just a few melted chocolate chips clinging to it.
Cool: Remove the pan from the oven and place it on a wire cooling rack. Allow the bread to cool in the pan for 15 minutes. This initial cooling period helps the bread set, making it easier to remove from the pan.
Finish Cooling and Slice: Run a knife around the edges, carefully remove the bread from the pan, and let it cool on the rack until slightly warm. Slice and serve. Using a serrated knife will ensure clean slices without crumbling.
Prep Time: 15 minutes
Cooking Time: 50-65 minutes
Total Time: 65-80 minutes
Yield: 4-6 Servings
Table: Calorie Breakdown for a Typical Serving
| Calories | Carbs | Protein | Fat | Sugar |
|---|---|---|---|---|
| 311kcal | 39g | 4g | 15g | 25g |
Patricia’s Tips for Success
To achieve the perfect loaf, here are my tried-and-true tips:
Use Overripe Bananas: For the best sweetness and moisture, use bananas that are heavily speckled or even black. Their flavor is more intense, and they mash more easily.
Avoid Overmixing: Once you add the dry ingredients to the wet, mix just until combined. Overmixing can lead to a tough, dense loaf.
Check for Doneness: Start checking your bread at 50 minutes to prevent overbaking. Every oven is different, and you don’t want to lose the bread’s moistness.
Clean Slices: Use a serrated knife for clean slices. This type of knife cuts through the bread’s crust without squishing the soft interior.
Melted Coconut Oil: If you’re using coconut oil, make sure it’s fully melted and cooled before adding it to the mixture. This ensures it mixes evenly with the other ingredients.
Cooking Variations
One of the joys of baking is experimenting with different flavors. Here are a few variations to try:
Mocha Twist: Add a teaspoon of espresso powder to the dry ingredients for a mocha-flavored bread. The coffee enhances the chocolate flavor, creating a rich, sophisticated taste.
Dark Chocolate Delight: Substitute dark chocolate chips for the semisweet ones for a more intense chocolate flavor. This variation is perfect for true chocolate lovers.
Nutty Pleasure: Swirl in a tablespoon of peanut butter for a nutty addition. The combination of chocolate, banana, and peanut butter is a classic that never disappoints.
Serving Suggestions
This bread is delicious on its own, but here are a few ways to elevate your serving experience:
Dessert Indulgence: Serve warm with a scoop of vanilla ice cream for dessert. The contrast of the cold ice cream with the warm bread is simply divine.
Relaxing Breakfast: Enjoy a slice with a cup of coffee for a relaxing breakfast. The rich flavors of the bread pair beautifully with a strong, hot brew.
Berry Delight: Top with a dollop of whipped cream and fresh berries. The tartness of the berries balances the sweetness of the bread, creating a refreshing treat.
Additional Thoughts
The beauty of this Chocolate Banana Bread lies in its simplicity and adaptability. Whether you’re looking to create a cozy morning ritual or impress guests with a delightful treat, this recipe has you covered. The balance of chocolate and banana offers both comfort and indulgence, making it a versatile addition to any occasion. Remember to savor each bite, as this bread is not just food; it’s a warm hug from the kitchen.
Join the Conversation
I’d love to hear how your Chocolate Banana Bread turned out! Did you add any personal twists or share it with loved ones? Join the conversation in the comments below and let’s celebrate the joy of baking together. Your stories and experiences enrich our community and inspire more kitchen adventures.
Conclusion
This Chocolate Banana Bread is more than just a recipe; it’s a warm invitation to indulge, share, and create memories. As you slice into this rich, chocolatey loaf, may you find the same comfort and joy that I have cherished over the years. Happy baking, and may your kitchen be filled with the sweet aroma of love and laughter!
Frequently Asked Questions
Q: Can I use regular cocoa powder instead of Dutch process?
A: Yes, but the flavor may be slightly less intense and the color lighter. Dutch process cocoa is treated to neutralize its acidity, which can affect the taste and color of your bread.
Q: How do I know when the banana bread is done?
A: A toothpick inserted into the center should come out mostly clean, with only a few chocolate bits. This ensures the bread is cooked through but still retains its moistness.
Q: Can I make this recipe vegan?
A: Absolutely! Substitute the egg with a flax egg (1 tablespoon ground flaxseed mixed with 3 tablespoons water) and use coconut oil and dairy-free chocolate chips.
Q: What’s the best way to store leftover banana bread?
A: Wrap it in plastic wrap and keep it on the counter for up to 4 days, or freeze for up to a month. Make sure it’s completely cooled before wrapping to prevent condensation and sogginess.
Q: Can I add nuts to the recipe?
A: Definitely! Chopped walnuts or pecans make a great addition, adding a crunchy texture that contrasts nicely with the soft bread.
Q: Can I use frozen bananas?
A: Yes, just thaw and drain any excess liquid before mashing. Frozen bananas tend to release more liquid, so draining them prevents the batter from becoming too wet.
Q: How do I prevent the bread from sticking to the pan?
A: Ensure your pan is well-greased with nonstick spray or line it with parchment paper. This will make it much easier to remove the bread once it’s baked.
In conclusion, this Chocolate Banana Bread is a testament to the power of simple ingredients and heartfelt traditions. As you embark on your baking journey, may you find joy in each step and a sense of accomplishment in every slice. Happy baking!
Chocolate Banana Bread
Ingredients
Equipment
Method
- Heat your oven to 350°F. Grease a 9-by-5-inch loaf pan with nonstick cooking spray and set aside.
- In a medium bowl, whisk together the flour, cocoa powder, baking soda, and sea salt. Set aside.
- In a large bowl, mash the ripe bananas with a fork. Add the melted butter and oil and stir until combined.
- Stir in the brown sugar, egg, and vanilla extract. Stir until smooth.
- Stir the dry ingredients into the wet ingredients, don’t overmix. Stir in ¾ cup of the chocolate chips.
- Pour batter into prepared pan. Sprinkle the remaining ¼ cup of chocolate chips over the top of the bread.
- Bake for 50-65 minutes, or until a toothpick inserted into the center of the bread comes out mostly clean.
- Remove the pan from the oven and set on a wire cooling rack. Let the bread cool in the pan for 15 minutes.
- Run a knife around the edges of the bread and carefully remove from the pan. Let the bread cool on the wire cooling rack until slightly warm. Cut into slices and serve.