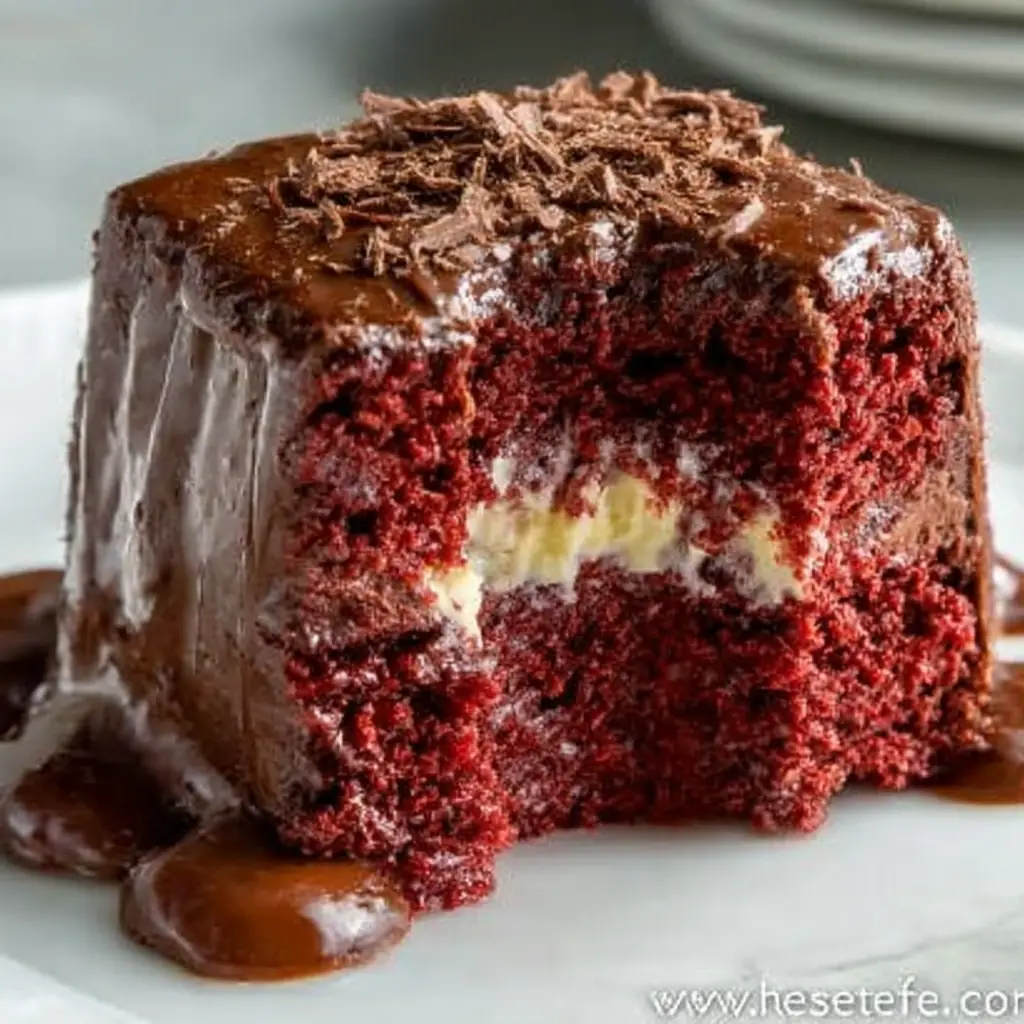
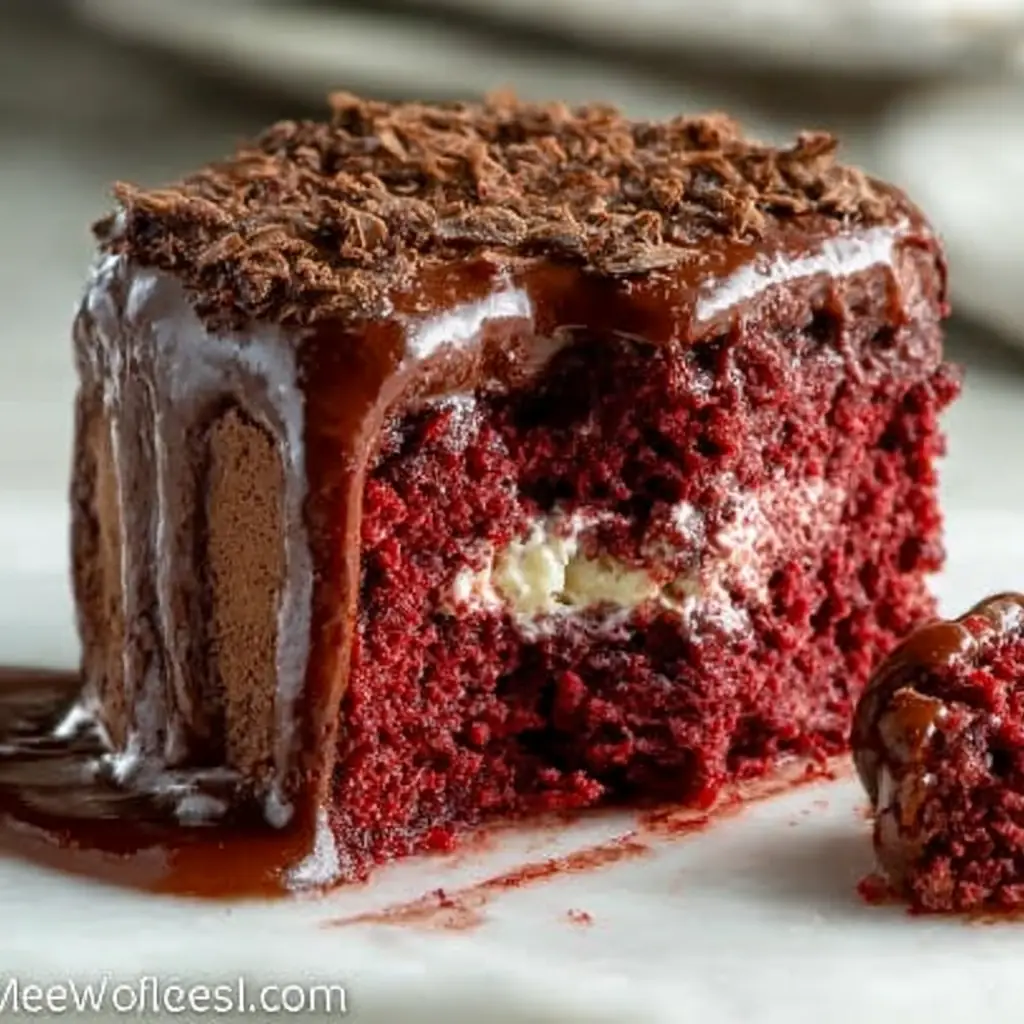
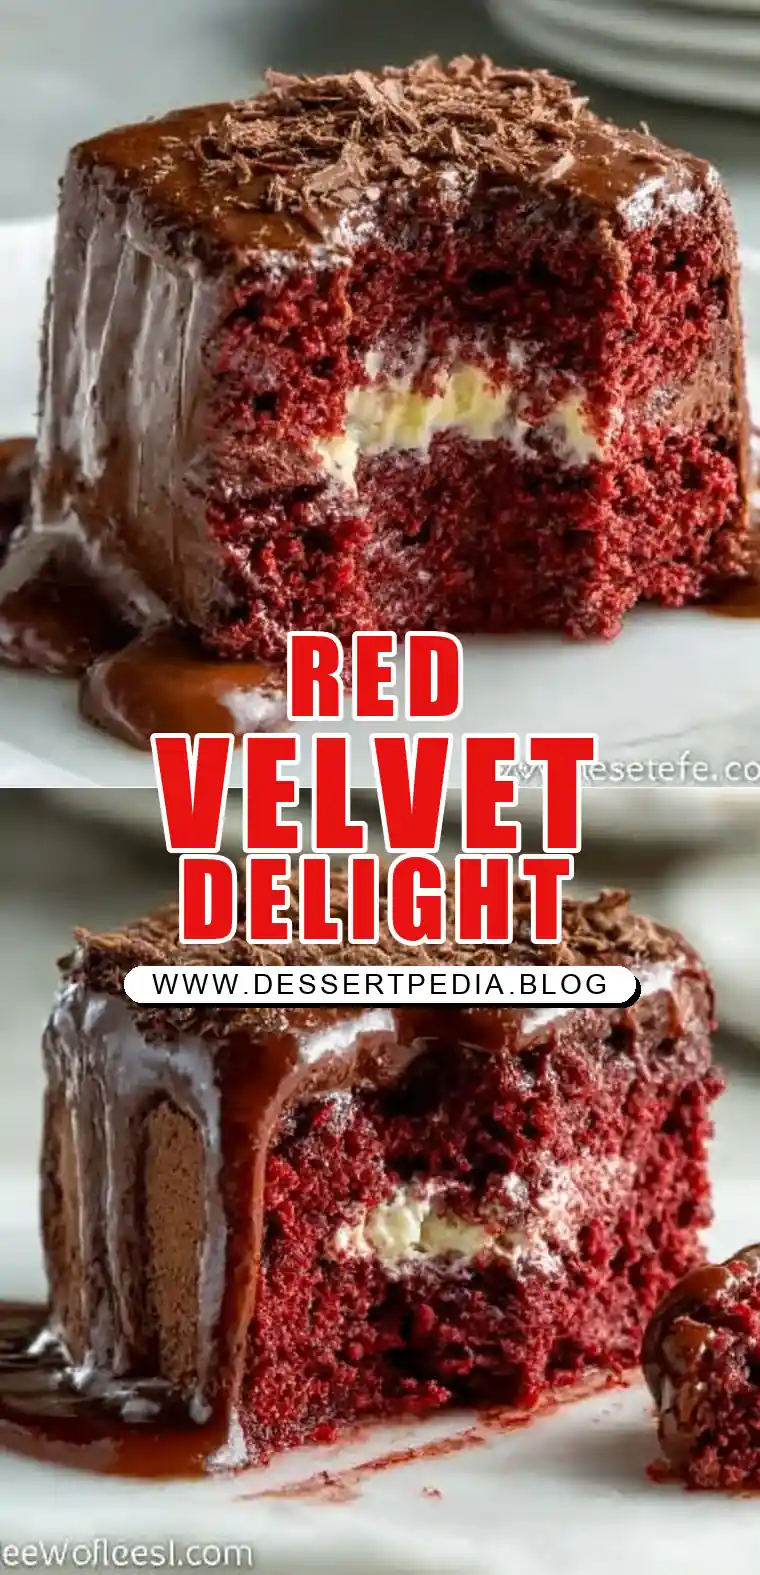
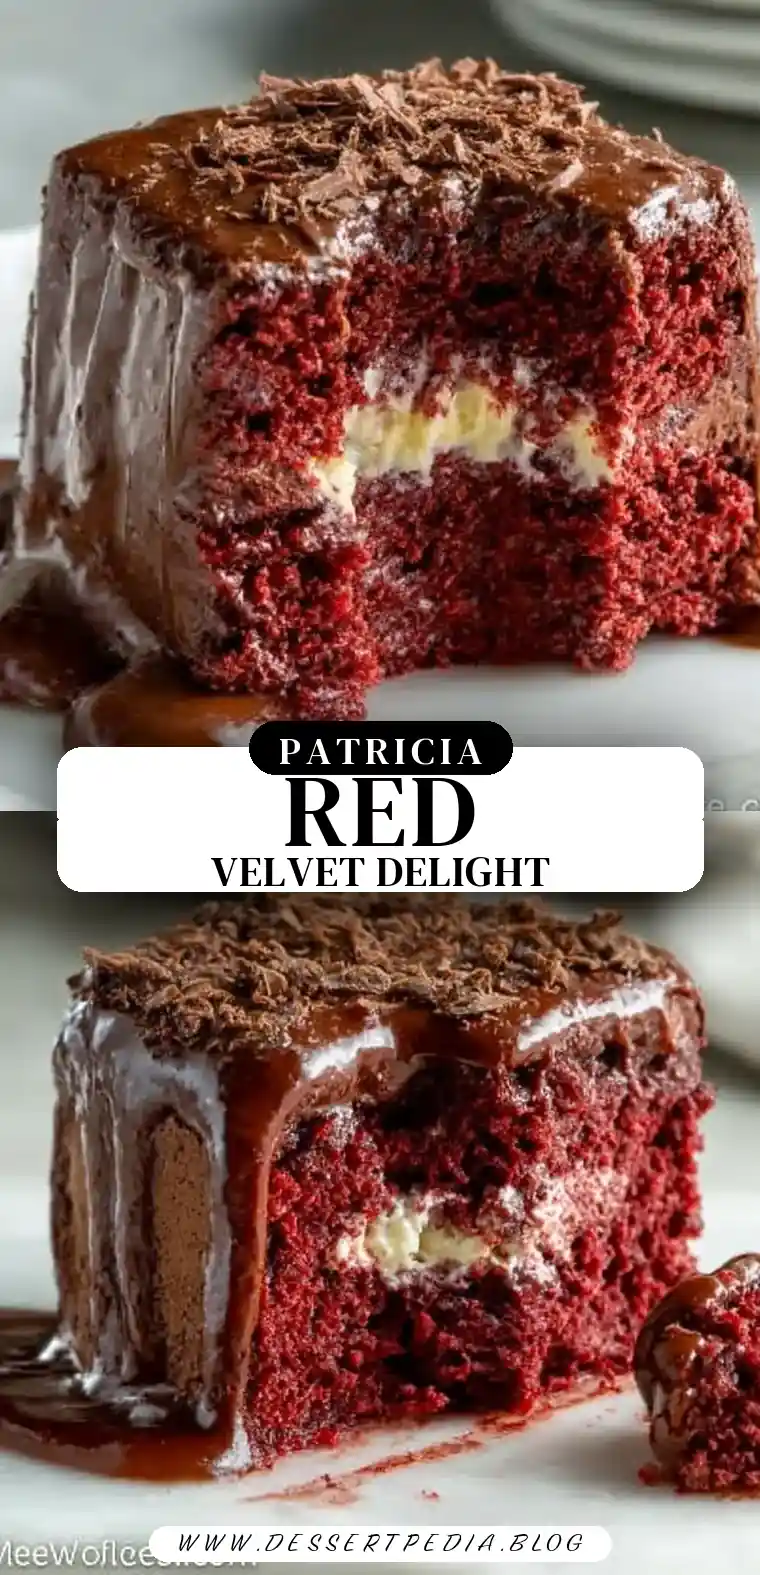
Red Velvet Cheesecake Recipe
The Magic of a Cozy Weekend Bake: Red Velvet Cheesecake
There’s something innately magical about a cozy weekend spent baking, isn’t there? The gentle hum of the oven, the sweet scents wafting through the house—it’s a comforting ritual that invites warmth and joy into our lives. This Red Velvet Cheesecake Recipe is a tribute to those cherished moments, inspired by afternoons spent in my grandmother’s kitchen. Her love for combining the rich, velvety textures of classic red velvet with the creamy indulgence of cheesecake has always been a family favorite. It’s a dessert that not only satisfies the sweet tooth but also weaves nostalgia and love into every bite.
Why This Recipe Works
This Red Velvet Cheesecake combines the best of both worlds—combining the rich cocoa flavors of red velvet cake with the creamy, smooth texture of cheesecake. Let’s explore why this recipe is a delightful choice for any occasion:
Decadent Flavor Fusion: The rich cocoa flavor melds seamlessly with the creamy cheesecake, creating a luxurious taste experience. This unique mixture ensures that every bite is a burst of flavor, a dance between chocolate and creaminess that delights the palate.
Visual Appeal: The vibrant red hue is not only eye-catching but also adds a festive touch to any occasion. Whether it’s Christmas, Valentine’s Day, or a simple family gathering, this dessert stands out as a centerpiece.
Low-Carb Delight: With just 6g net carbs per slice, this dessert caters to those watching their carb intake without sacrificing flavor. It’s a guilt-free indulgence that doesn’t compromise on taste.
Versatility: The optional chocolate sauce drizzle allows for customization based on personal preference. You can make it as simple or as decadent as you desire.
Simple Ingredients: Accessible components mean you can recreate this masterpiece without a trip to a specialty store. This ensures that the recipe is not only tasty but also convenient.
Effortless Preparation: Clear steps and common kitchen tools ensure this recipe is approachable for home cooks of all levels. Even if you’re new to baking, the straightforward instructions will guide you to success.
Ingredients
- 8 ounces cream cheese: Ensure it’s softened for a smooth mixture.
- 2 large eggs: Room temperature for better integration.
- 1 egg yolk: Adds richness to the texture.
- 1/2 teaspoon vanilla extract: Enhances the overall flavor.
- 2 teaspoons chocolate liquid stevia: Provides sweetness without extra carbs.
- Pinch of salt: Balances flavors.
- Natural red food coloring: For that classic red velvet appearance.
- 1/3 cup unsweetened cocoa powder: Delivers deep chocolate notes.
- 1/2 cup sour cream: Adds tang and creaminess.
- Optional chocolate sauce: 3 ounces sugar-free chocolate chips melted with 2 Tbsp. unsalted butter.
Step-by-Step Instructions
Preheat and Prepare: Start by preheating your oven to 325 degrees F. This ensures that the oven is at the right temperature when your cheesecake is ready to be baked.
Mixing the Batter: In a stand mixer or a large mixing bowl with an electric hand mixer, blend the softened cream cheese, eggs, vanilla, salt, natural food coloring, and sweetener on medium speed until smooth and well incorporated. This creates a homogenous mixture that will bake evenly.
Incorporate Cocoa and Sour Cream: Add the cocoa powder and sour cream, then blend on high speed until the mixture is smooth and homogeneous. The cocoa adds depth, while the sour cream provides a creamy tanginess.
Prepare the Pan: Grease or line a 4-inch springform pan with parchment paper. Wrap the bottom of the pan with aluminum foil to form a seal. This prevents water from seeping into the cheesecake during the water bath.
Create a Water Bath: Place the pan into an 8-by-8-inch baking dish and pour hot water into the dish until it’s halfway up the sides of the springform pan. This helps the cheesecake cook evenly and prevents cracking.
Baking Time: Pour the cheesecake filling into the springform pan and bake for 40-45 minutes. Check at 35 minutes if using an electric oven, then continue baking until the center is set. A slightly jiggly center is ideal, as it will firm up when cooled.
Cooling and Setting: Remove from the oven and allow the cake to cool for 10 minutes. Remove from the water bath and refrigerate for 4-6 hours or overnight. This allows the flavors to meld and the texture to set perfectly.
Finishing Touch: Before serving, combine the melted chocolate with melted butter in a small bowl and mix until smooth. Drizzle over the cheesecake if desired. This step is optional but adds an extra layer of indulgence.
Prep Time: 15 minutes
Cooking Time: 45 minutes
Total Time: 1 hour
Yield: 4-6 servings
Table: Calorie Breakdown for a Typical Serving
| Nutrient | Amount |
|---|---|
| Calories | 307 |
| Carbohydrates | 9g |
| Protein | 7g |
| Fat | 28g |
| Sugar | 3g |
Patricia’s Tips for Success
Tip 1: Soften your cream cheese properly to avoid lumps in the batter. This is crucial for a smooth, creamy texture.
Tip 2: For a vibrant red hue, adjust the amount of food coloring to your liking. More coloring will create a deeper shade, while less will give a softer look.
Tip 3: Use a water bath to prevent cracks and ensure even baking. This technique is essential for achieving a professional-looking cheesecake.
Tip 4: Allow the cheesecake to cool slowly in the oven for a smoother texture. A slow cool-down helps prevent sudden temperature changes that can cause cracks.
Tip 5: Taste the batter before adding eggs to adjust sweetness if necessary. This is an opportunity to ensure the flavor is just right.
Tip 6: Refrigerate the cheesecake overnight for the best flavor development. The flavors will deepen and the texture will improve.
Tip 7: If you’re out of chocolate stevia, vanilla stevia works as a great substitute. It adds a different but equally delightful flavor profile.
Cooking Variations
Variation 1: Swap chocolate stevia for vanilla extract and a pinch of cacao for a subtle twist. This variation offers a more traditional cheesecake flavor with a hint of chocolate.
Variation 2: Incorporate crushed nuts into the batter for added texture. Pecans or walnuts work beautifully and add a crunchy contrast to the creaminess.
Variation 3: Use a different natural food coloring for a unique visual appeal. Try using purple or green for a fun twist that suits different occasions.
Variation 4: Experiment with flavored extracts like almond or peppermint for a seasonal touch. These extracts can transform the cheesecake into a festive delight.
Variation 5: Add a graham cracker crust for an extra layer of flavor and texture. This classic addition brings a familiar crunch and complements the creamy filling.
Serving Suggestions
Suggestion 1: Serve with fresh berries for a burst of freshness. The tartness of berries like raspberries or strawberries balances the richness of the cheesecake.
Suggestion 2: Pair with a scoop of vanilla ice cream to complement the rich flavors. The cold, creamy ice cream enhances the dessert’s overall experience.
Suggestion 3: Accompany with a cup of freshly brewed coffee or tea. The bitterness of coffee or the subtlety of tea provides a perfect counterpart to the sweetness.
Suggestion 4: Garnish with mint leaves for a pop of color and aroma. This simple garnish adds elegance and a refreshing scent.
Suggestion 5: Present as a stunning centerpiece for holiday gatherings or special occasions. Its striking appearance makes it an attractive addition to any dessert table.
Additional Thoughts
Baking is as much about the journey as it is about the destination. This Red Velvet Cheesecake Recipe is a testament to the joys of creating something beautiful and delicious from simple ingredients. Each step, from blending the batter to the final drizzle of chocolate, is an opportunity to infuse love and care into your creation. Whether you’re a seasoned baker or a kitchen novice, this recipe promises not only a delightful dessert but also a rewarding experience. Baking offers a moment of mindfulness, a chance to slow down and savor the process.
Join the Conversation
I invite you to share your own baking stories and experiences with this Red Velvet Cheesecake Recipe. Did you make any variations or have a unique serving suggestion? Perhaps you have a cherished memory tied to baking with loved ones. Connect with fellow food enthusiasts in the comments below, or tag #TasteBudsApproved on social media to showcase your beautiful creations. Let’s inspire each other to find joy in the kitchen!
Conclusion
This Red Velvet Cheesecake Recipe is more than just a dessert; it’s a celebration of flavor, tradition, and the joy of home baking. With its rich taste, stunning presentation, and low-carb appeal, it’s a dish that you’ll want to make again and again. So gather your ingredients, preheat the oven, and take a delicious journey back to the heartwarming comfort of your grandmother’s kitchen. Celebrate the moments of togetherness and creativity that baking brings into our lives.
Frequently Asked Questions
Q: Can I use regular sugar instead of stevia?
A: Yes, you can substitute with an equivalent amount of sugar, but it will increase the carb content. Consider using erythritol or another sugar alternative to keep it low-carb.
Q: How can I prevent my cheesecake from cracking?
A: Ensure your cream cheese is softened, use a water bath, and avoid overbaking. Additionally, let it cool gradually to prevent sudden temperature changes.
Q: Can I make this cheesecake ahead of time?
A: Absolutely! It actually tastes better after refrigerating overnight. This allows the flavors to meld and the texture to firm up.
Q: What if I don’t have a springform pan?
A: You can use a regular cake pan, but it may be harder to remove the cheesecake intact. Line it well with parchment paper for easier removal.
Q: Is it necessary to use food coloring?
A: While it’s not essential, the red color is traditional for red velvet. Without it, the cake will lack its signature appearance.
Q: How do I know when the cheesecake is done?
A: The center should be set but still slightly jiggly. It will firm up as it cools, resulting in the perfect texture.
Q: Can I freeze this cheesecake?
A: Yes, wrap it well in plastic and foil before freezing. Thaw in the refrigerator before serving to maintain its texture and flavor.
Red Velvet Cheesecake
Ingredients
Equipment
Method
- Preheat oven to 325 degrees F.
- In a stand mixer, combine the softened cream cheese, eggs, vanilla, salt, natural food coloring, and sweetener. Blend on medium speed until smooth.
- Add in the remaining ingredients and blend on high speed until smooth.
- Grease or line a 4-inch springform pan with parchment paper. Wrap the bottom of the pan with aluminum foil and place in a baking dish.
- Pour hot water into the dish until it’s halfway up the sides of the springform pan.
- Pour the cheesecake filling into the springform pan and bake for 40-45 minutes. Check at 35 minutes for electric ovens.
- Remove from the oven and let cake cool for 10 minutes.
- Remove from the water bath and refrigerate 4-6 hours or overnight.
- When ready to serve, combine the melted chocolate and melted butter together in a small bowl and mix until smooth. Drizzle over cheesecake, if desired.