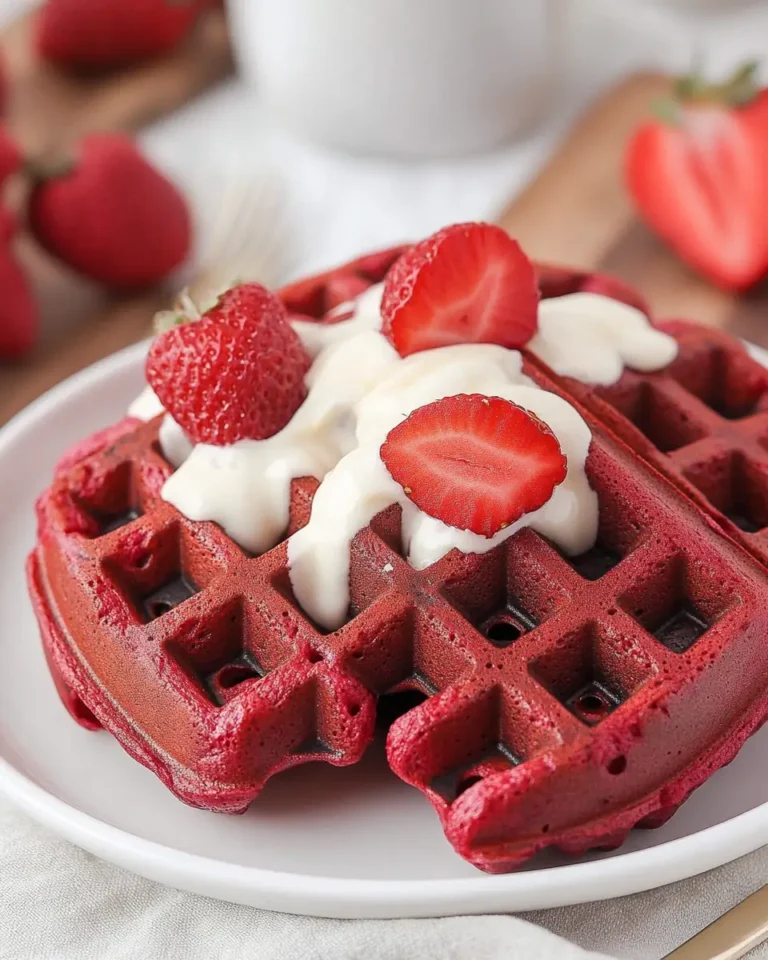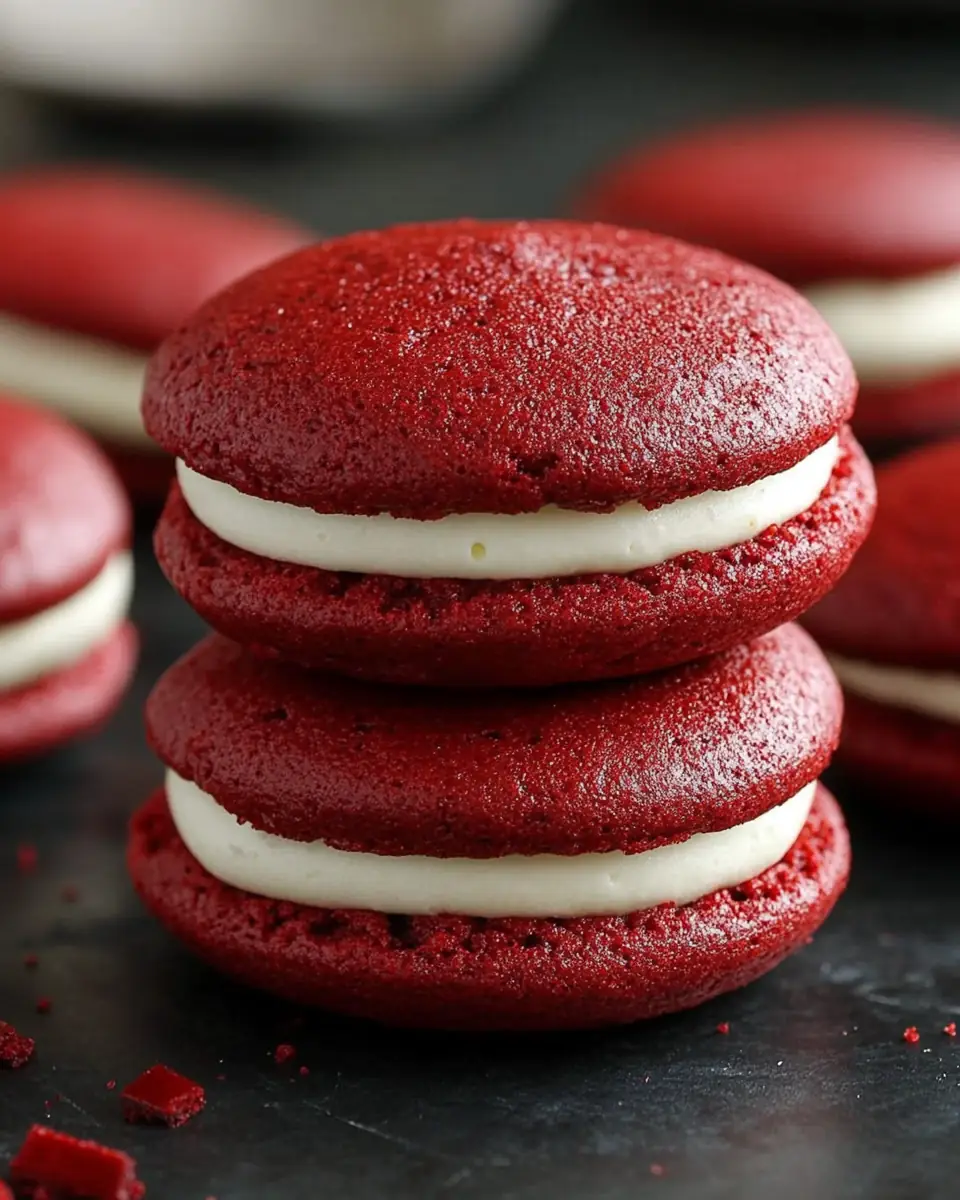
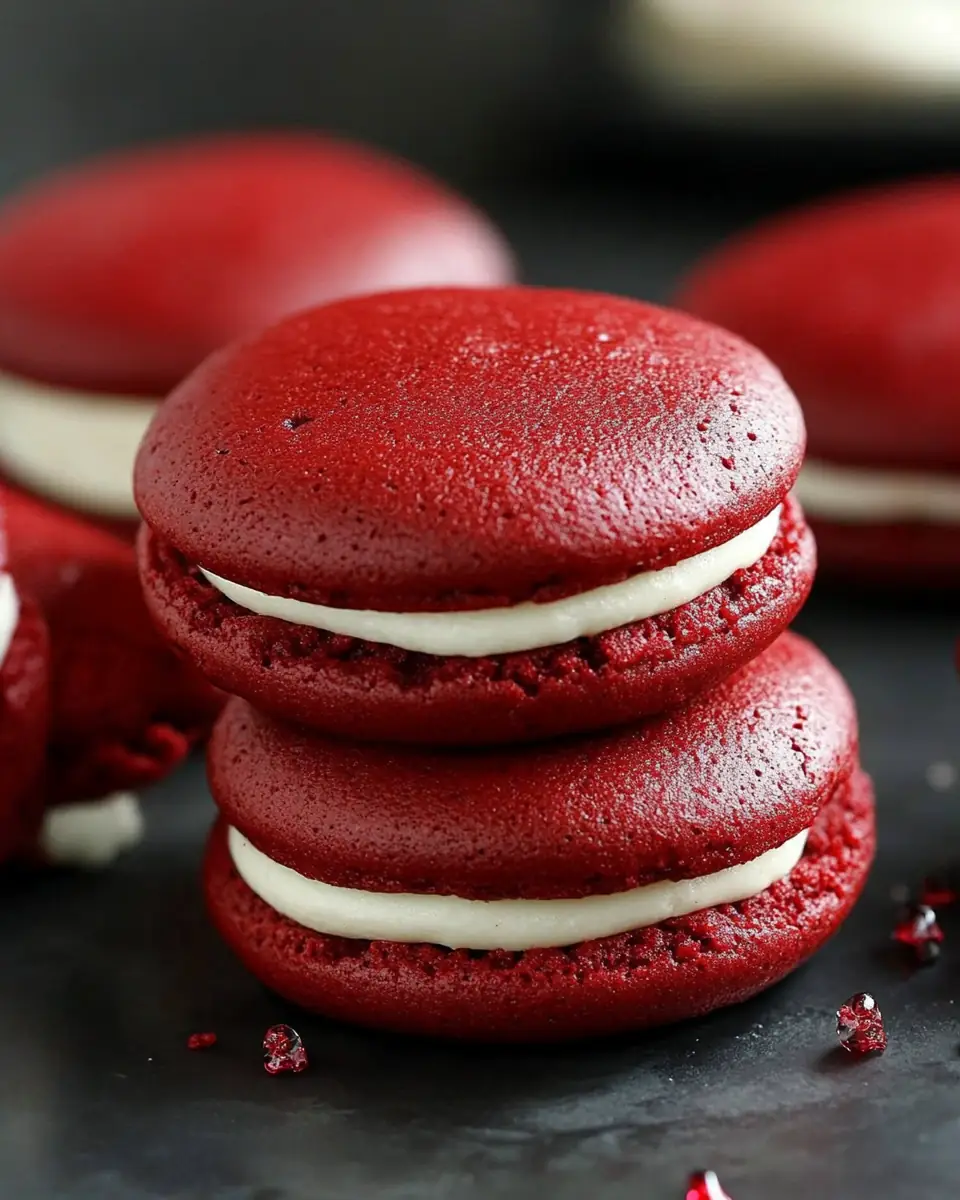
Red Velvet Whoopie Pies
Introduction
If I close my eyes, I can almost feel the cozy warmth of my grandmother’s kitchen, where the scent of freshly baked treats wafted through the air like a comforting hug. One of my fondest memories is of us baking together on lazy Sunday afternoons, her gentle guidance leading me through the magical process of turning simple ingredients into something delicious. Inspired by those cherished moments, I’m thrilled to share a recipe that combines the nostalgia of red velvet cake with the playful charm of whoopie pies. Say hello to Red Velvet Whoopie Pies—an indulgent treat that’s not only a feast for the taste buds but also a delight to create. In this article, we will explore the simplicity, versatility, and delightful experience of making these whoopie pies, ensuring that your kitchen is filled with warmth and joy.
Why This Recipe Works
Ease of Preparation
The magic of this recipe lies in its simplicity. By utilizing a box mix, the recipe streamlines the process, ensuring that even novice bakers can achieve consistent, delicious results. The convenience of a boxed mix removes the guesswork associated with measuring dry ingredients, allowing you to focus on the joy of baking. This approach also makes it easy to involve kids in the process, introducing them to the kitchen in a fun and stress-free way.
Time Efficiency
In our fast-paced world, finding time to indulge in baking can be a challenge. This recipe addresses that challenge by offering a quick solution, taking only about 20 minutes from start to finish. Whether you’re preparing a quick dessert for unexpected guests or a spontaneous treat for yourself, these whoopie pies fit seamlessly into your schedule without compromising on flavor or quality.
Flavor Delight
Red velvet is a classic flavor known for its subtle cocoa notes and vibrant red hue. When paired with creamy, tangy cream cheese frosting, it creates a delightful taste experience that balances richness with a hint of tartness. This harmonious combination makes these whoopie pies a standout treat, offering a taste that’s both familiar and exciting.
Versatile Serving
These whoopie pies are as versatile as they are delicious. They can be enjoyed as a quick snack, a delightful dessert, or even as a show-stopping centerpiece at gatherings. Their sandwich-style presentation makes them easy to serve and eat, whether you’re hosting a casual get-together or a more formal event.
Kid-Friendly
The playful nature of whoopie pies makes them a hit with kids. Their hand-held size and sandwich form are fun to eat, inviting children to enjoy their dessert in a way that’s both interactive and delicious. Involving kids in the preparation process can also be a rewarding experience, allowing them to explore their creativity while learning basic baking skills.
Ingredients
• 1 box red velvet cake mix: The base that simplifies the recipe and provides consistent results.
• 1/2 cup water: Essential for adding moisture to the batter, ensuring a smooth mix.
• 1/2 cup vegetable oil: Contributes to a moist and tender crumb, enhancing the texture of the cookies.
• 3 large eggs: Provide structure and richness to the batter, helping the cookies hold their shape.
• 1 teaspoon vanilla extract: Adds depth to the flavor profile, enhancing the overall taste.
• Cream cheese frosting: The creamy filling that perfectly complements the red velvet, adding a luxurious touch.
Step-by-Step Instructions
Prep Your Oven and Baking Sheets:
Begin by preheating your oven to 350°F (175°C). Line two or three baking sheets with parchment paper to prevent sticking and make cleanup easy. This step ensures that your cookies bake evenly and don’t stick to the pan.Mix the Batter:
In a large mixing bowl, combine the red velvet cake mix, water, oil, eggs, and vanilla extract. Whisk or mix until the batter is smooth with no lumps remaining. This step is crucial for achieving a uniform batter that bakes evenly.Shape the Cookies:
Using a heaping tablespoon (or small cookie scoop), drop rounds of batter onto the prepared baking sheets. Be sure to leave about 2 inches of space between each one to allow for spreading. This spacing ensures that the cookies don’t merge during baking, resulting in perfectly shaped whoopie pies.Bake the Cookies:
Bake for 10–12 minutes, or until the cookies are set and spring back lightly when touched. Remove from the oven and let them cool completely on the baking sheets or a wire rack. Proper cooling is essential to prevent the cookies from becoming too soft or breaking when handled.Assemble the Whoopie Pies:
Once the cookies are fully cooled, spread 1–2 tablespoons of cream cheese frosting onto the flat side of one cookie. Top with a second cookie to create a sandwich. Repeat with remaining cookies. This step is where the magic happens, as the creamy filling transforms the cookies into delightful whoopie pies.Serve and Enjoy:
Enjoy immediately or refrigerate for 15–20 minutes to help the frosting set for easier eating. Chilling the whoopie pies allows the frosting to firm up, making them easier to handle and enhancing the overall eating experience.
Prep Time: 10 minutes
Cooking Time: 10 minutes
Total Time: 20 minutes
Yield: 4-6 Servings
Table: Calorie Breakdown for a Typical Serving
| Nutrient | Amount per Serving |
|---|---|
| Calories | 151 kcal |
| Carbohydrates | 16 g |
| Protein | 2 g |
| Fat | 9 g |
| Sugar | 8 g |
Patricia’s Tips for Success
Tip 1: Use room temperature eggs for better blending. This small adjustment ensures that the eggs incorporate smoothly into the batter, resulting in a consistent texture.
Tip 2: Avoid overbaking to keep the cookies soft and tender. Checking for doneness by touch helps maintain the perfect texture and prevents the cookies from becoming too dry.
Tip 3: Let the cookies cool completely before frosting to prevent melting. This tip is crucial for achieving a clean, professional-looking finish.
Tip 4: For uniform cookies, use a cookie scoop. Consistency in size ensures that each whoopie pie is perfectly balanced and visually appealing.
Tip 5: Refrigerate the whoopie pies briefly to set the frosting before serving. This step enhances the eating experience, making the pies easier to handle and enjoy.
Cooking Variations
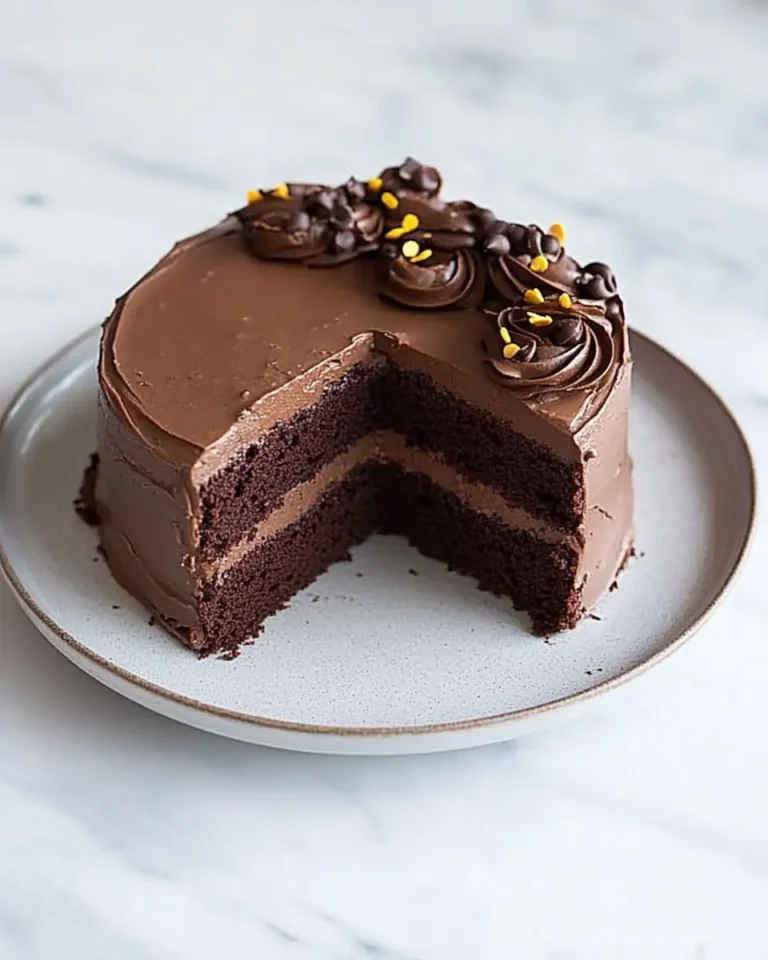
Variation 1: Substitute chocolate cake mix for a chocolatey twist. This variation offers a rich, decadent alternative for chocolate lovers.
Variation 2: Add mini chocolate chips to the batter for extra texture. The added crunch and burst of chocolate elevate the overall experience.
Variation 3: Use flavored cream cheese frosting, like vanilla or chocolate, for a unique taste. Experimenting with flavors allows you to tailor the pies to your personal preferences.
Serving Suggestions
Suggestion 1: Pair with a hot cup of coffee or tea for an afternoon treat. The warmth of the beverage complements the richness of the whoopie pies, creating a comforting experience.
Suggestion 2: Serve with fresh berries on the side for a refreshing contrast. The tartness of the berries balances the sweetness of the pies, adding a refreshing element.
Suggestion 3: Dust with powdered sugar for an elegant presentation. This simple touch elevates the visual appeal, making the pies suitable for special occasions.
Additional Thoughts
These Red Velvet Whoopie Pies are more than just a dessert; they’re a celebration of flavors and memories. The vibrant red hue is a showstopper, while the creamy filling adds a luxurious touch. They transport me back to those weekend afternoons with my grandmother, reminding me of the simple joys found in baking and sharing food with loved ones. Whether it’s the nostalgia or the delightful taste, these whoopie pies have a way of bringing people together, making every bite a moment to savor. The process of making them is as rewarding as the final product, offering an opportunity to create, share, and enjoy moments of culinary delight.
Join the Conversation
I’d love to hear your take on these Red Velvet Whoopie Pies! Do they remind you of any special memories or inspire any creative variations? Whether you’re a seasoned baker or trying your hand at baking for the first time, your experiences and stories bring this recipe to life. Share your thoughts and photos in the comments below or tag me on social media. Let’s create a community of passionate home cooks who celebrate the joy of baking! Your feedback and creativity inspire others, fostering a community of culinary enthusiasts who find joy in the art of baking.
Conclusion
These Red Velvet Whoopie Pies are a delightful combination of ease, flavor, and nostalgia, making them a perfect baking project for any day. Their vibrant color and creamy filling make them not only a treat for the eyes but a joy to taste. Whether you’re baking for yourself, your family, or a group of friends, these whoopie pies are sure to impress and satisfy. The recipe’s simplicity and versatility ensure that you can enjoy the process and the delightful results, creating memories and moments to cherish.
Frequently Asked Questions
Q: Can I make the cookies ahead of time?
A: Yes, you can bake the cookies a day in advance and store them in an airtight container. Preparing in advance allows you to focus on assembly when you’re ready to serve.
Q: Can I freeze the whoopie pies?
A: Absolutely! Wrap them individually and freeze for up to a month. Freezing provides a convenient way to enjoy them later, ensuring they’re always on hand for a sweet treat.
Q: What if I don’t have cream cheese frosting?
A: You can make a simple buttercream frosting as a substitute. This alternative offers a different flavor profile while maintaining the creamy texture.
Q: Can I use homemade red velvet cake mix?
A: Yes, homemade mix works great; just adjust for the same volume. Using homemade mix allows you to control the ingredients and tailor the flavor to your liking.
Q: How do I store leftovers?
A: Keep them in an airtight container in the refrigerator for up to three days. Proper storage ensures freshness and maintains the delightful texture of the whoopie pies.
Q: Can I use a different oil?
A: Yes, melted coconut oil or canola oil can be used as alternatives. These options offer different flavor nuances and can be used based on personal preference.
Q: How can I make them gluten-free?
A: Use a gluten-free cake mix and ensure other ingredients are gluten-free. This adaptation makes the recipe accessible to those with dietary restrictions, allowing everyone to enjoy this delightful treat.


Red Velvet Whoopie Pies
Ingredients
Equipment
Method
- Set your oven to 350°F (175°C). Line two or three baking sheets with parchment paper to prevent sticking and make cleanup easy.
- In a large mixing bowl, combine the red velvet cake mix, water, oil, eggs, and vanilla extract. Whisk or mix until the batter is smooth with no lumps remaining.
- Using a heaping tablespoon (or small cookie scoop), drop rounds of batter onto the prepared baking sheets. Be sure to leave about 2 inches of space between each one to allow for spreading.
- Bake for 10–12 minutes, or until the cookies are set and spring back lightly when touched. Remove from the oven and let them cool completely on the baking sheets or a wire rack.
- Once the cookies are fully cooled, spread 1–2 tablespoons of cream cheese frosting onto the flat side of one cookie. Top with a second cookie to create a sandwich. Repeat with remaining cookies.
- Enjoy immediately or refrigerate for 15–20 minutes to help the frosting set for easier eating.